Application to show elapsed time from entered start time, with clock or individual starts on user-selected screen. Best used with RaceResult presenter as this app can automatically make the timer smaller, so it can fit over the presenter window without pressing F11 on the presenter window, or show results directly in the app.
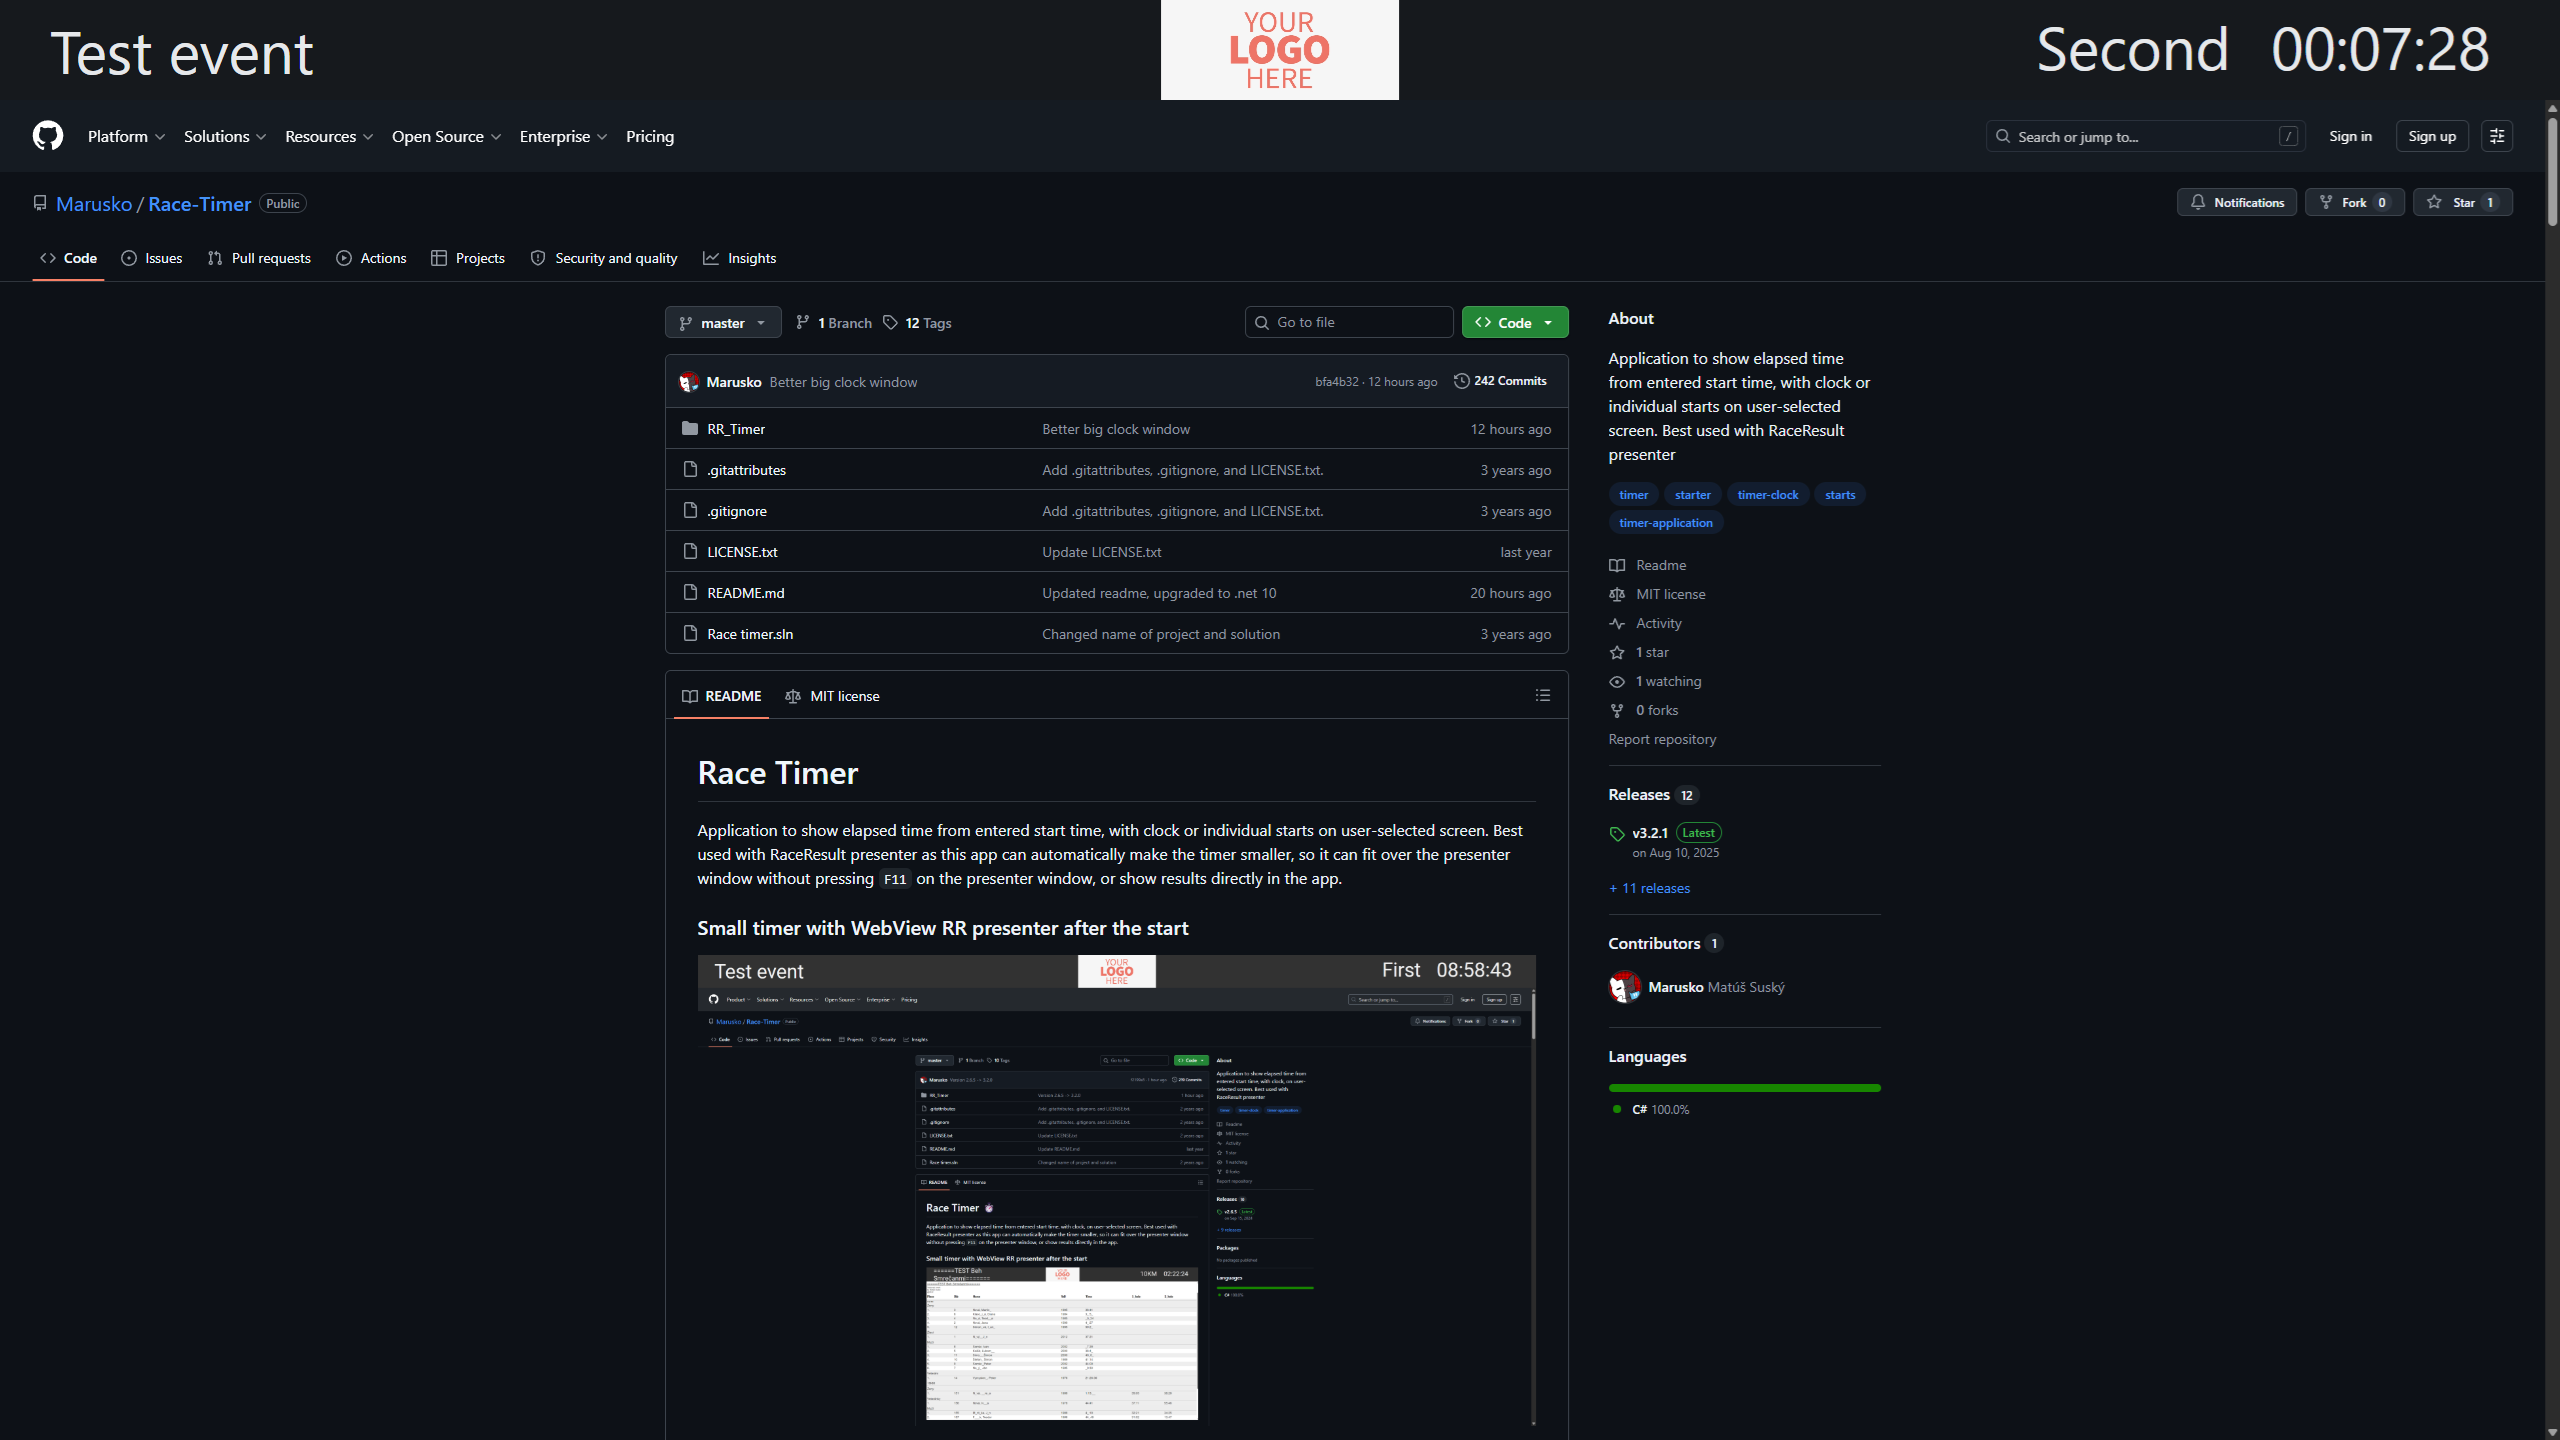
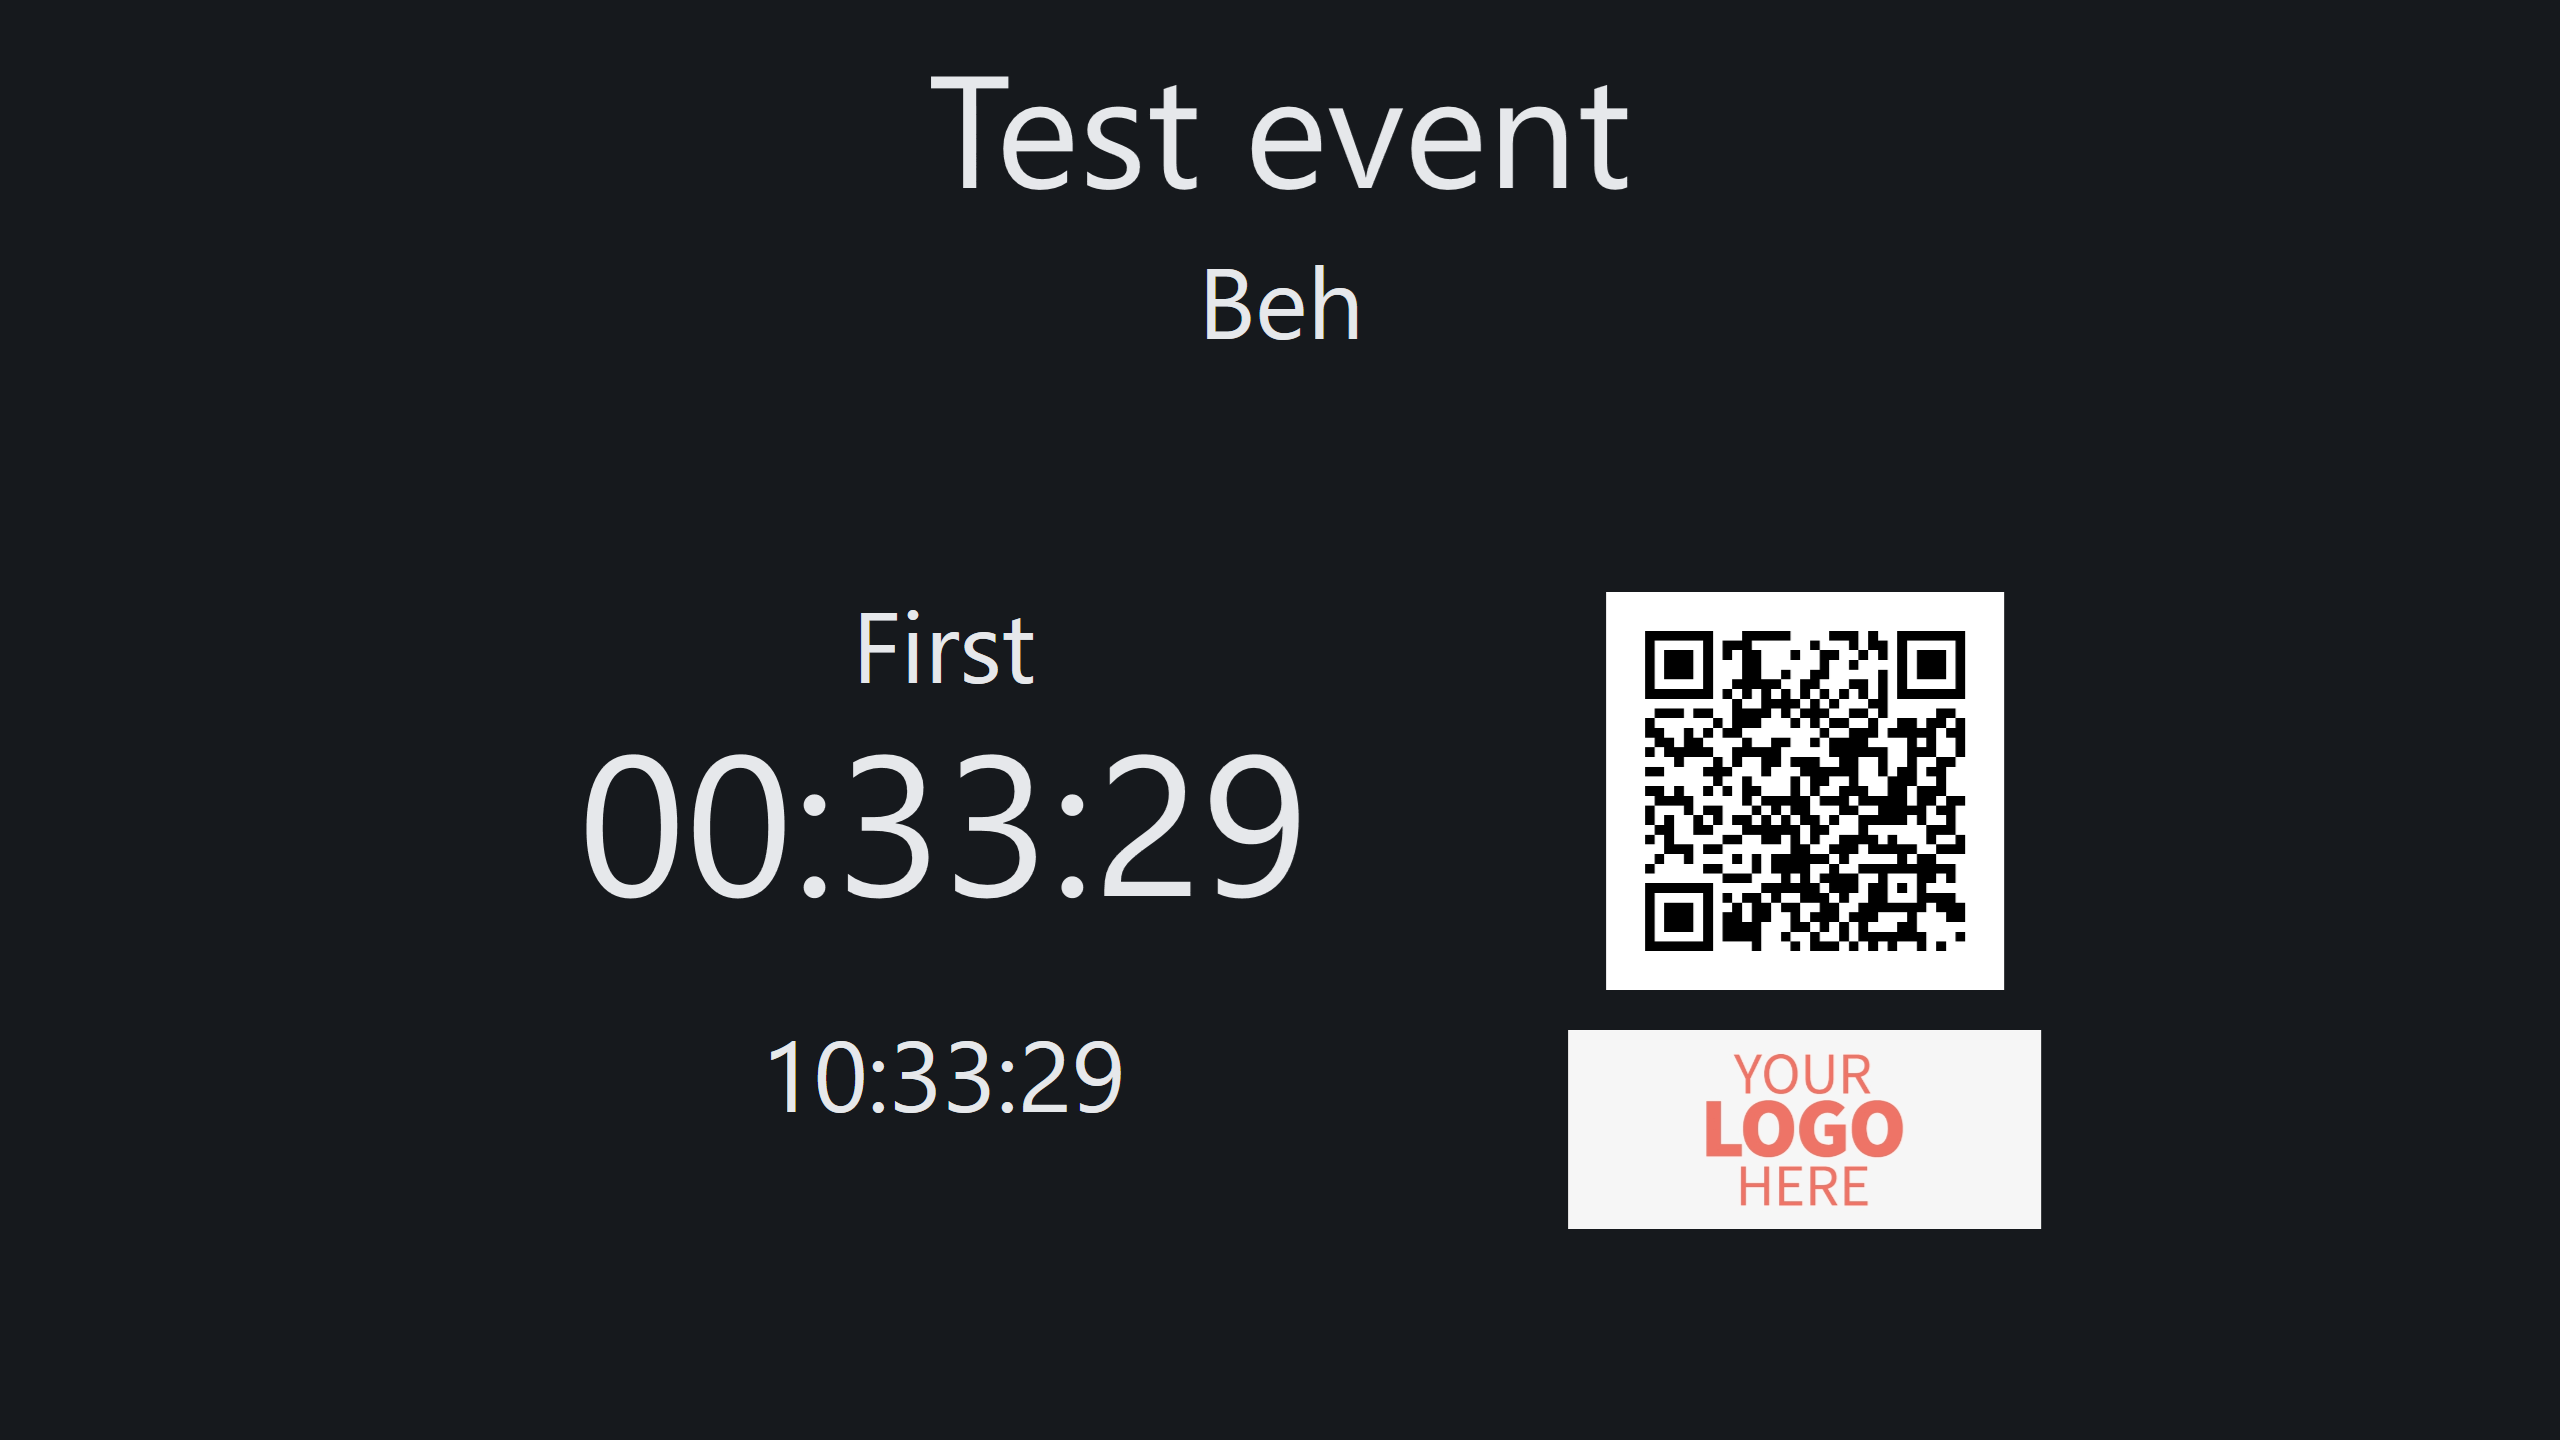
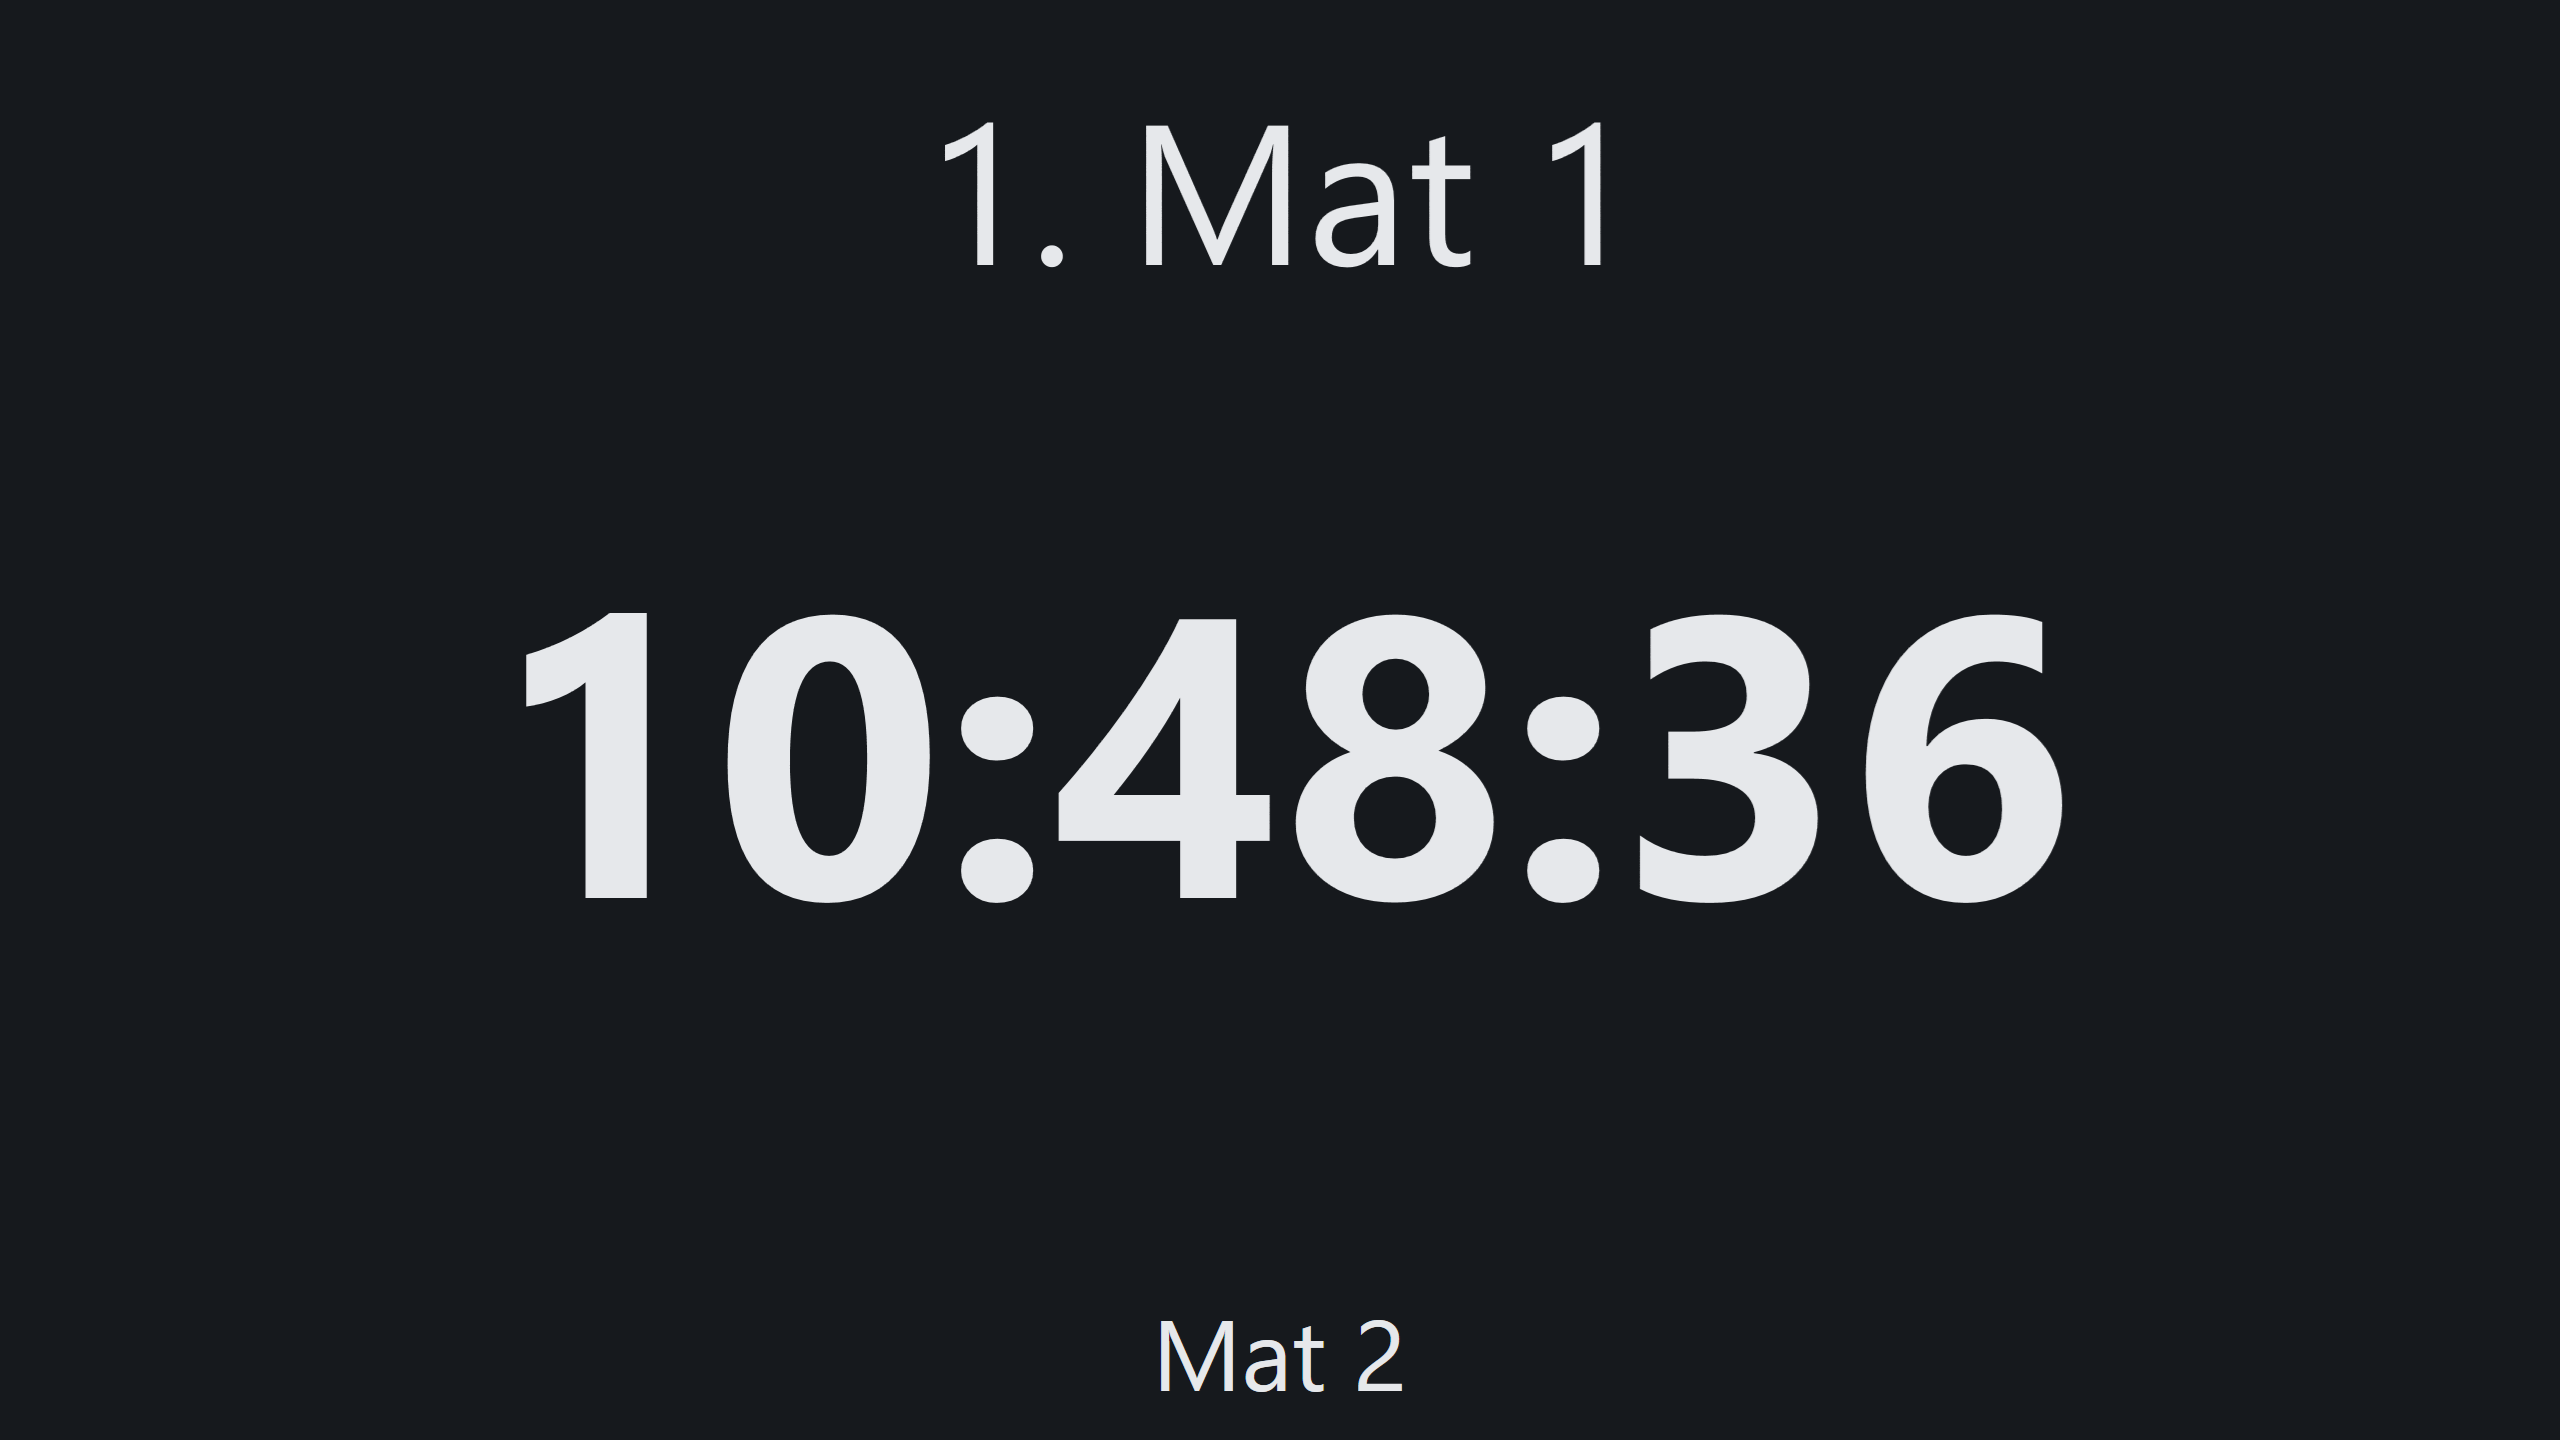
- Show a big timer with the event name on the result presenting screens when no one has finished
- Show a small timer when someone has finished
- Automatic switch from the big fullscreen timer to the small timer
- Manual switching between big and small timer
- Show results directly in the app
- Event name and type can be entered manually or using the RaceResult Simple API link
- The APIs the app needs can be created in RaceResult by the app itself - log in, pick an event, done
- When start times are
largerthan the current time, instead of a timer, the clock is shown - When the timer is on fullscreen, you can choose the position of the timer
- You can import your logo, it best works for a rectangle logo
- You can import your own QR code or provide a link and the app will convert it
- Multiple contests with start times, manual or from API
- Individual start times from CSV file or RaceResult API
- Info panel with custom scrolling messages shown periodically over the small timer
- Time synchronized with an NTP server, independent of the PC clock
When someone finishes the race, the count in RR is updated and cashed on the second API link. The app checks this second link every 15 seconds. When the clock switches to the small clock, the app stops checking the second link.
You can choose on which screen the timer will be shown, the list of screens is refreshed every 20 seconds. If the timer is open, refreshing the list of screens is paused.
You can import contests with names and start times from Race Result, edit them, or create them manually. Elapsed times are scrolled through when the timer window is open.
You can import individual starts from CSV file or RaceResult API with auto update. The application will display participant name, countdown to their start with beeps and next participant.
The app requires .NET 10 (Windows Desktop Runtime) to be installed. Most probably you already have it. If not, it will be downloaded and installed when installing the Race Timer.
The timer is synchronized with an NTP server (pool.ntp.org) so elapsed times stay accurate regardless of the PC clock. The synchronization status is shown in the bottom-left corner of the main window.
- Download installer
- Run the setup
- You will get an
Unknown publisherwarning, press install1 - That's it!
Only works with RaceResult Simple API
The app can create the Simple API entries in RaceResult itself, so nothing has to be defined in RaceResult by hand and nothing has to be copied out of it. The manual way described in Preparation still works exactly as before.
- Press the Create API button at the bottom of the left side menu
- Server -
events.raceresult.com, change it only for your own (on-premise) server - Use HTTPS - leave it on, turn it off only for your own server without a certificate
- Login method - User (name and password) or API key
- Press Log in
- Pick the event from the list - the upcoming events of the account, each with its name, date and place. With more than five events a search box appears above the list
- Press Create API - the API selection window opens
- Tick the APIs to create and press Create
- The links are shown with a Copy button next to each of them
- From here it is the same as with a link copied out of RaceResult - paste it into the right box and press
Load
- Required, ticked and locked - the API timer cannot work without them
- All API list (
api) - the link the app loads, it lists all the other APIs - Event name and type (
main)
- All API list (
- Optional, ticked and can be turned off
- Finished count (
count) - without it switching to the small timer is manual - Contests (
contest) - without it contests and their start times have to be added by hand - Start times (
starts) - individual start times, a CSV file can be used instead
- Finished count (
- API link (api) - always shown. Paste it into the
Finish API Timertab, into the API Link box, and pressLoad - Starts API link (starts) - shown only when the starts were part of this run. The individual starts are
loaded from their own link, not from the shared one. Paste it into the same box, which is then called
Only starts API Link, after checking Enable individual starts and Use list from API on the
Startstab
The links are not filled in anywhere automatically - copy them with the Copy button and paste them where they belong. The rest of the app works exactly as it did before.
- What is missing is created
- What is set up differently (a disabled API, another endpoint) is corrected, keeping its key - so a link already pasted somewhere else stays valid
- What is correct is left alone - running it again on an event that is already set up changes nothing
- The other APIs of the event (for example Time Maker's or Trakster's) are left untouched
- Nothing is ever deleted - an API left unticked is simply not created, and if it is already on the event it stays
- The login lasts only while the Create API window is open, closing it logs the app out of RaceResult
- Neither the password nor the API key is stored anywhere
- Back returns to the event list, so another event can be set up without logging in again
- Log out allows logging in with another account
- With HTTPS turned off the app warns about the insecure connection - the access key travels in the link
- If your starts are not kept in a split named
Start, change theStart.ToDfield in the createdstartsAPI
You can import a CSV file with participants and their start times, or use RaceResult API.
CSV file format is [Bib];[Name];[Start time]
23;Mat 6;20:35:00
52;Mat 7;20:35:15
53;Mat 8;20:35:30
54;Mat 9;20:35:45
55;Mat 10;20:36:00
You NEED to either choose CSV file or provide API link, or the starts will not work
- Open the event in RR website > Main Window > Access Rights/Simple API > Simple API
- Select Custom from the left dropdown menu, in the details write or copy
data/list?&fields=Bib,DisplayName,Start.ToD&sort=Start.ToD&listformat=JSON, and in the label writestarts‼️ Important (see the picture) - Click the blue icon on this API under the
Linkcolumn on the right, then copy the link and paste it into theFinish API Timertab in theAPI linktext box and clickLoadbutton‼️ Only after enabling starts

The app filters the loaded starts by a Race Result field so it only fetches upcoming/recent participants and auto-refreshes the list. This field defaults to
Start.ToD.Decimal, but some events use a different field. If your starts don't load or auto-update, change the Start time filter field value inStarts>Setupto match your event's field.
If you don't time the race with RaceResult or don't want to create links, simply use the Timer tab to set up the timer. Automatic switching of timer windows is disabled. You can still manually switch the windows.
Only works with RaceResult Simple API
You don't have to create these by hand - see Creating the APIs automatically
- Open the event in RR website > Main Window > Access Rights/Simple API > Simple API
- Select Settings from the left dropdown menu, in the details write or copy
EventName,EventType, and in the label writemain‼️ Important (see the picture)

If you don't enter the Count link, the automatic switching of timer windows will be disabled. You can still manually switch the windows.
- Open the event in RR website > Main Window > Access Rights/Simple API > Simple API
- Select Custom from the left dropdown menu, in the details write or copy
data/count?filter=[Finished]=1, and in the label writecount‼️ Important (see the picture)

If you don't enter the Contest link, you will have to add and edit contest and start times manually
- Open the event in RR website > Main Window > Access Rights/Simple API > Simple API
- Select Custom from the left dropdown menu, in the details write or copy
contests/get, and in the label writecontest‼️ Important (see the picture)

If you don't enter this API link, the API timer will not work
- Open the event in RR website > Main Window > Access Rights/Simple API > Simple API
- Select Custom from the left dropdown menu, in the details write or copy
simpleapi/get, and in the label writeapi‼️ Important (see the picture) - Click the blue icon on this API under the
Linkcolumn on the right, then copy the link and paste it into theFinish API Timertab in theAPI linktext box and clickLoadbutton


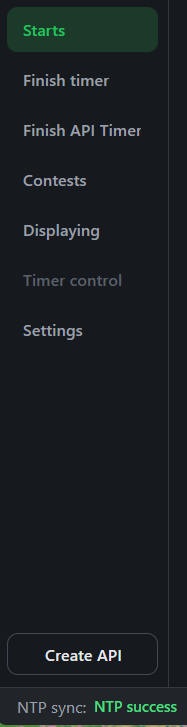
- Starts - Menu for setting up and controlling individual participant starts
- Finish timer - Menu for entering event name, type, and logo image, and starting the timer
- Finish API Timer - Menu for entering API link or link for starts, logo image, and starting the timer
- Contests - Menu for adding contests with start times manually and editing them
- Displaying - Menu for setting up results and QR code
- Timer control - Menu for switching between fullscreen and small timer, closing the timer, refreshing the WebView, and setting new start times
- Settings - Choosing the screen on which the timer will be displayed, choosing the timer layout and informations about the app
- Create API - Button at the bottom of the menu, opens the window which logs into RaceResult and creates the APIs on the chosen event
- NTP success / NTP fail - Status of NTP timer synchronization
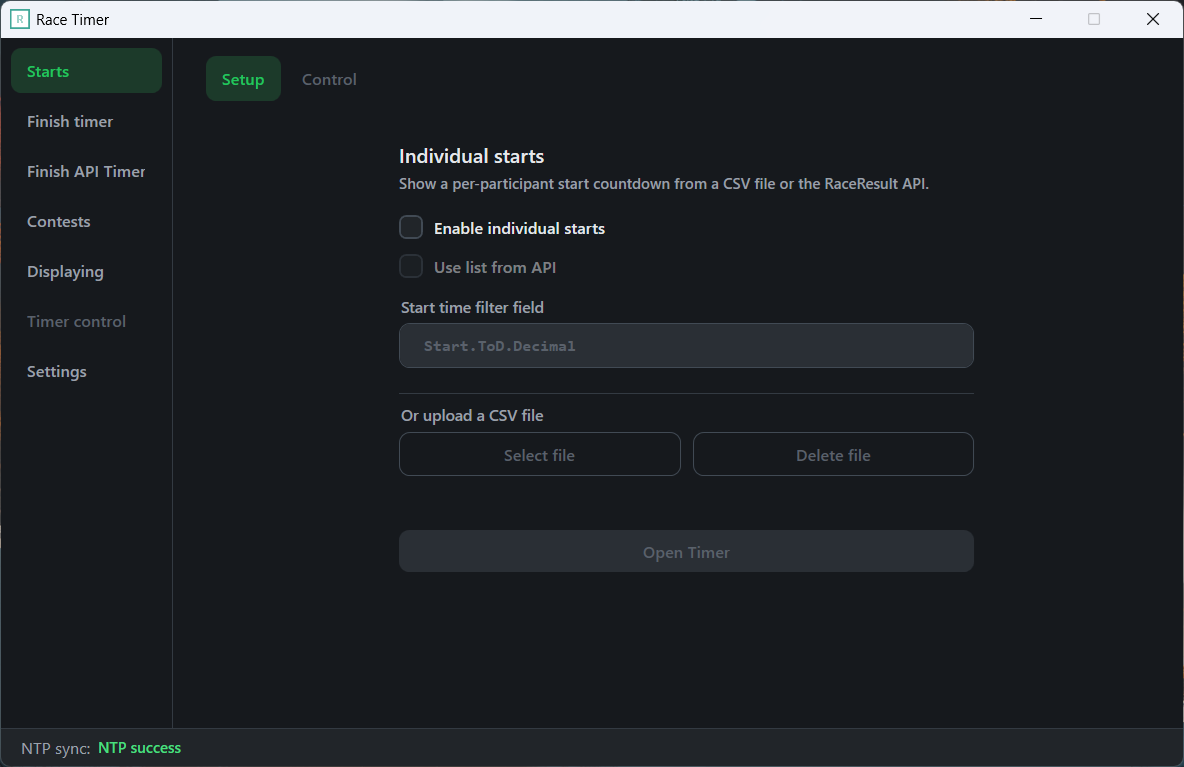
- Setup - Tab for setting up the start times
- Enable individual starts - Enable or disable individual starts
- Use list from API - Switch between using CSV file as source or RaceResult API as source
- Start time filter field - Race Result field used to filter and auto-update the starts loaded from the API, defaults to
Start.ToD.Decimal. Enabled only when Use list from API is checked. Change it if your event uses a different field - Select file - Select the start times CSV file, above the button will be shown the name of the file, enabling the delete button
- Delete file - Delete loaded starts from CSV file
- Open Timer - Opens the starts window on selected screen, disables all tabs and enables Control
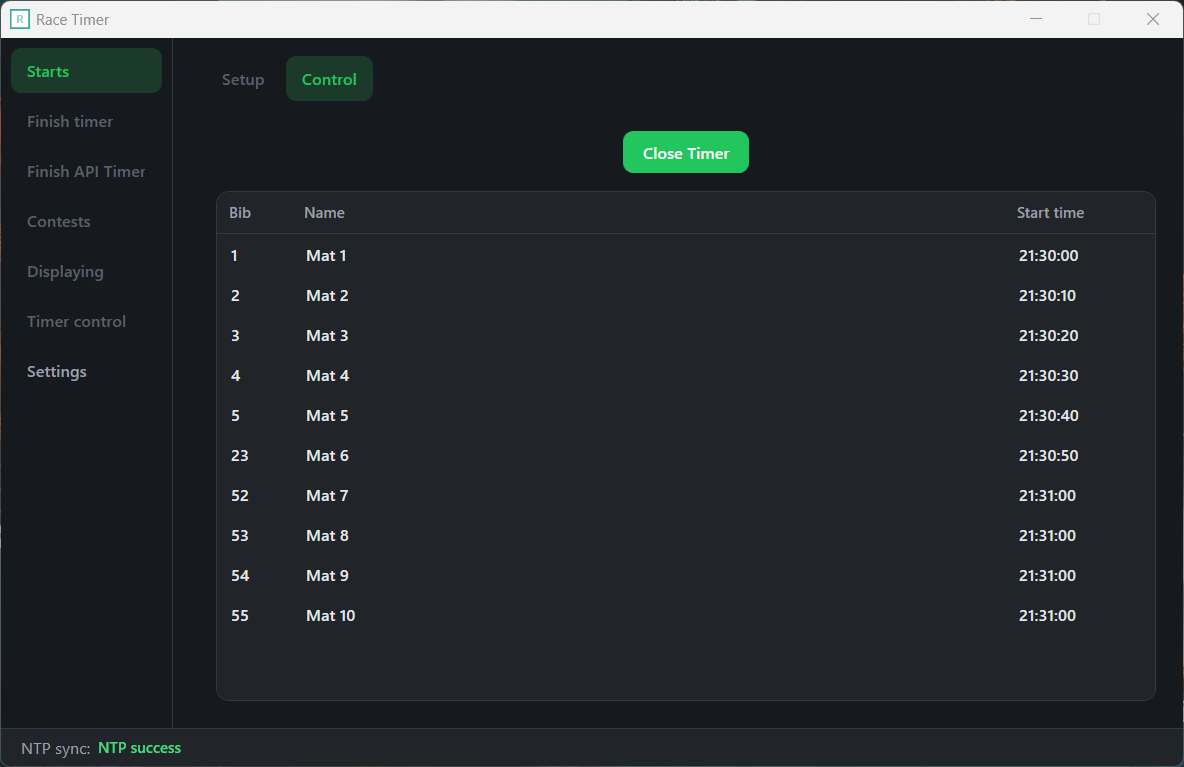
- Control - Tab for controlling the start times window
- Close timer - Closes the starts window and clears the start time list
- Start times - Shows next participants that will be starting
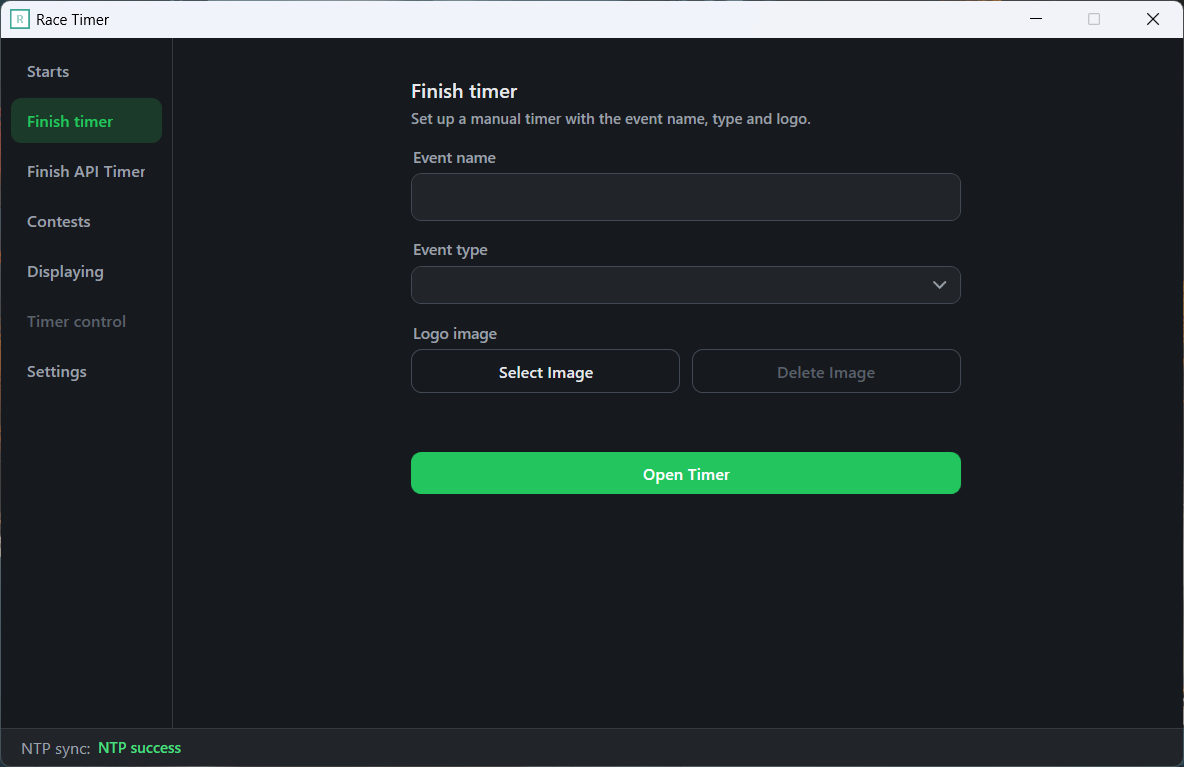
- Event name - Event name that will be displayed with the timer
- Event type - Event type that will be displayed on the big fullscreen timer
- Select image - Choose an image from the PC to be displayed as the logo, it best works with a rectangle logo, above the button will be shown the name of the image, enabling the delete button (shared with API Timer)
- Delete image - Clear the selected image (shared with API Timer)
- Open timer - Open fullscreen timer, disables all tabs and enables Timer control
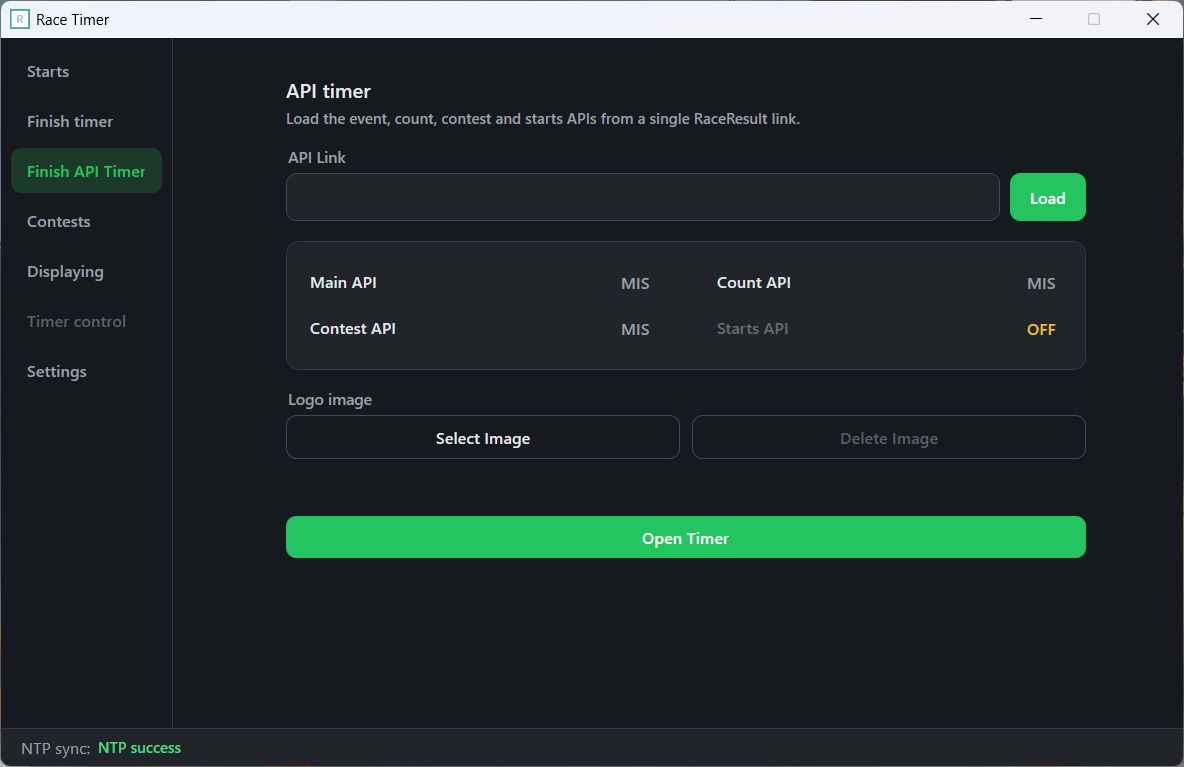
- API Timer - Tab for entering links and setting up the API timer
- API Link - Here enter the API link to get all other APIs or starts API
- Load - Loads all three APIs, loads Contest if possible, and sets the status of the API links below (or single API if using starts)
- Statuses can be:
MIS- The link is missingOFF- The link is disabledERR- Something went wrong when reading the linkOK- The link is correct
- Select image - Choose an image from the PC to be displayed as the logo, it best works with a rectangle logo, above the button will be shown the name of the image, enabling the delete button (shared with Timer)
- Delete image - Clear the selected image (shared with Timer)
- Open timer - Open fullscreen timer, disables all tabs and enables Timer control
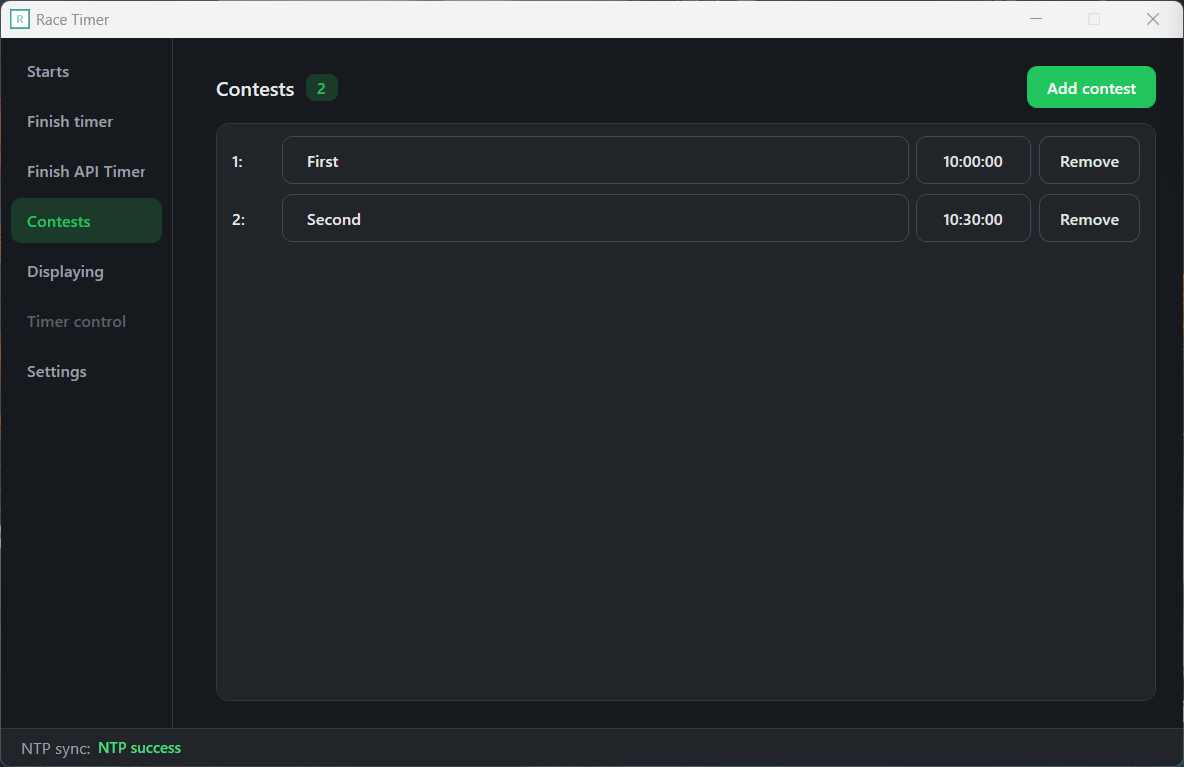
- Add contest - Adds a new line to the list below
- For each contest
- Name - Name of the contest which will be shown with elapsed time
- Start time - Start time of the contest
- Remove - Removes this contest from the list
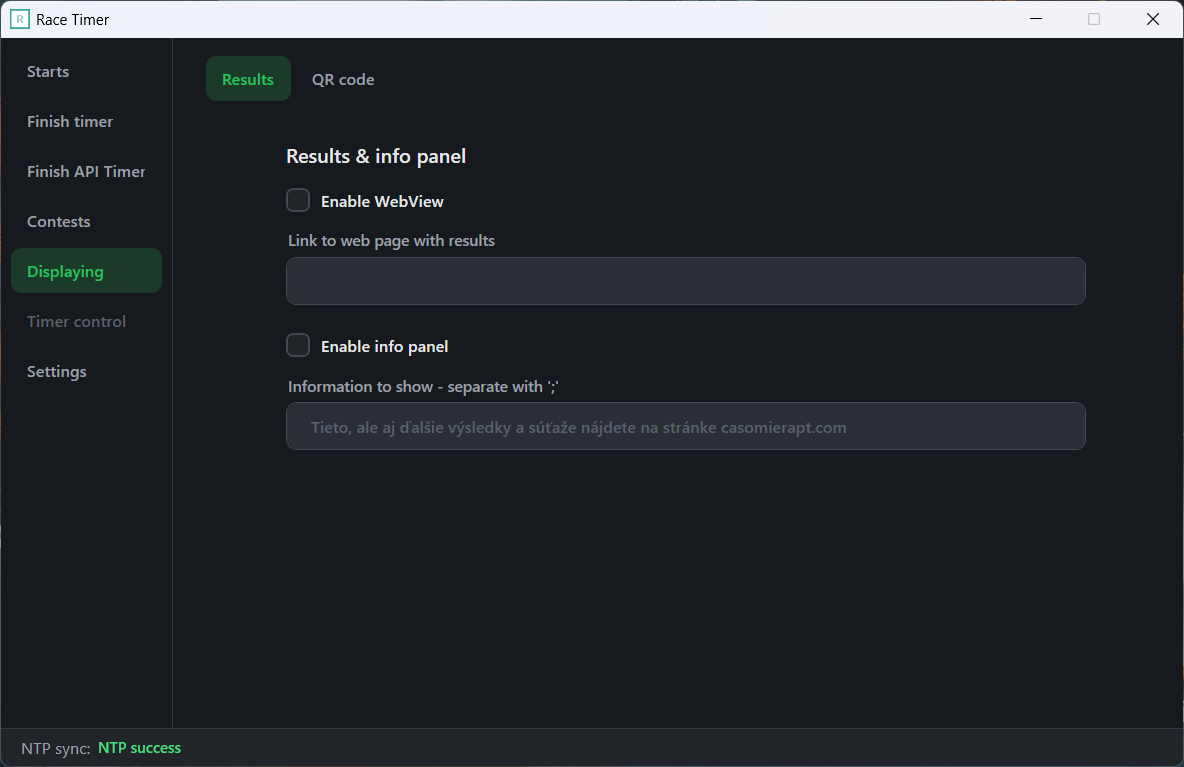
- Results - Tab for setting up the webview results and info panel
- Enable WebView - If checked MiniTimer will have its browser, in which the results will be shown
- Link to web page with results - Here enter the link with results, which will be shown with the MiniTimer
- Enable info panel - If checked MiniTimer will show info panel with custom information - panel will be shown every 3 minutes for 30 seconds
- Information to show - Here enter the information you want to show, you can show multiple information separated by
;
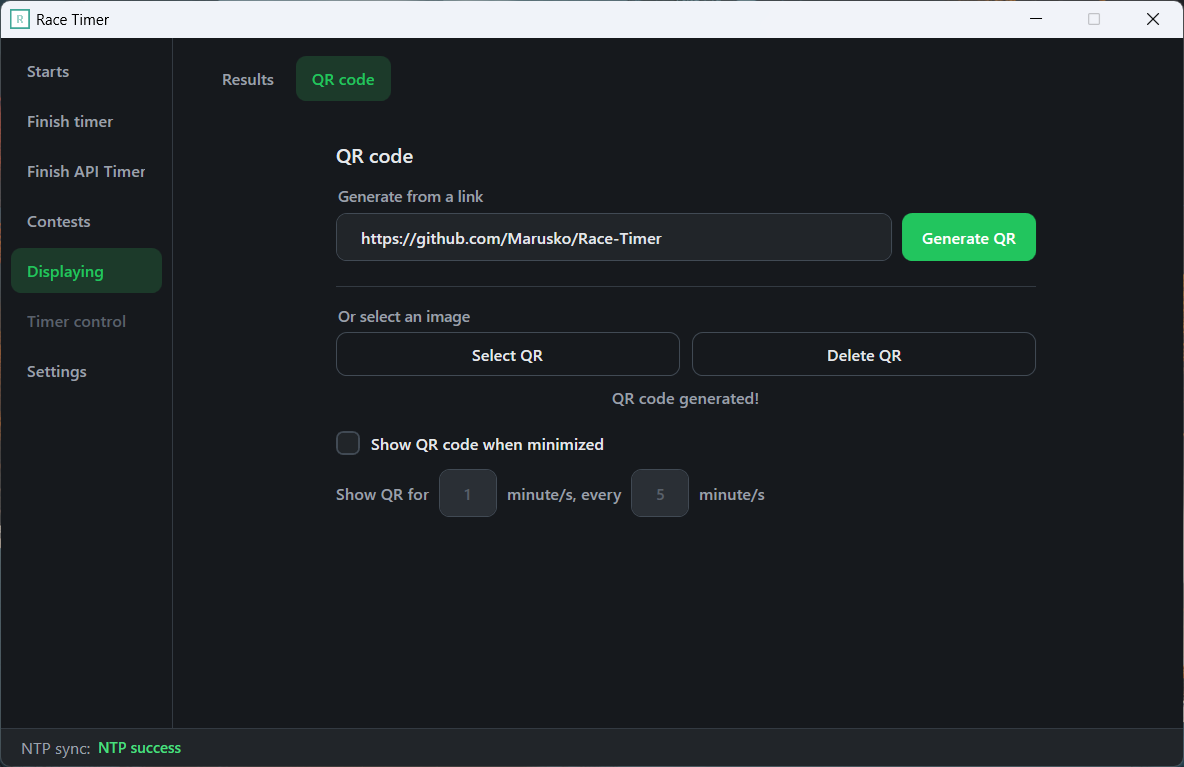
- QR code - Tab for setting up the QR code
- Generate QR code - Here enter the link to convert to a QR code
- Generate QR - Generates the QR code and sets it
- Select QR - Choose an image from the PC to be displayed as a QR code, above the button will be shown the name of the image, enabling the delete button
- Delete QR - Clear the selected QR code
- Show QR code when minimized - If checked, MiniTimer will periodically show a QR code, based on input from the two text boxes below in the 1 - 60 range
Tab is enabled when the timer is open
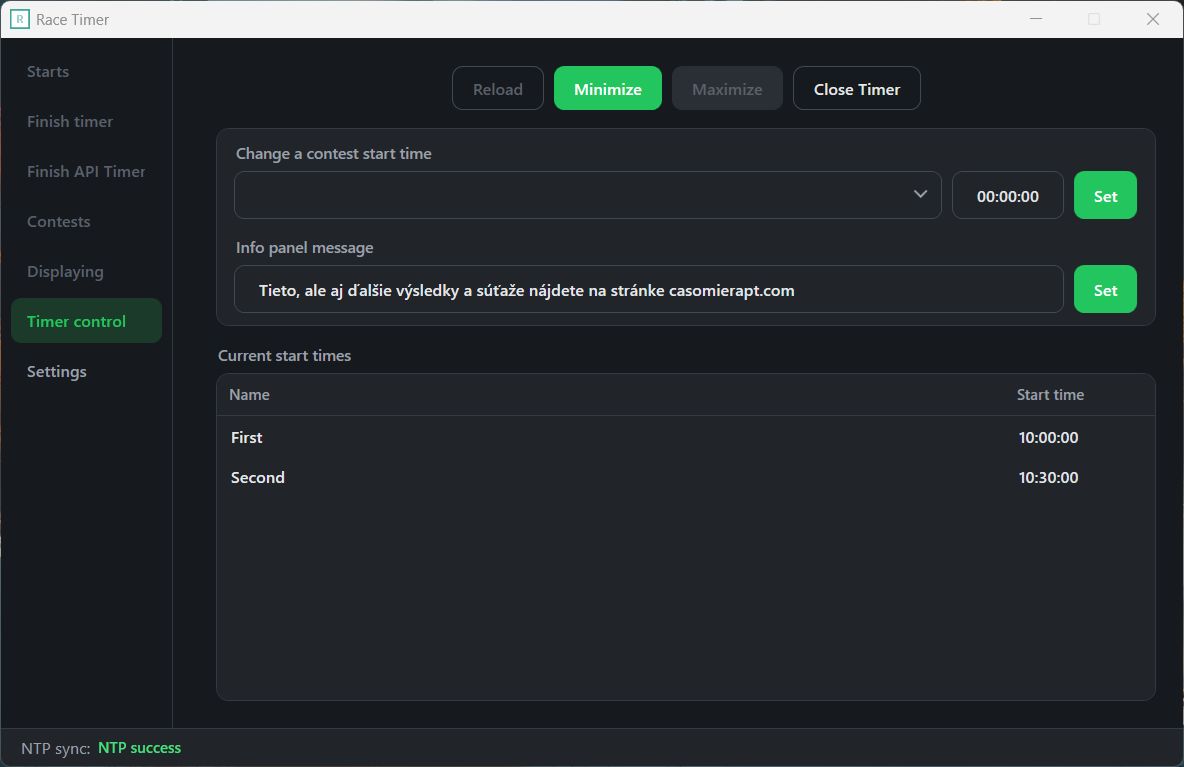
- Reload - To manually reload WebView, if it is enabled
- Minimize - To manually switch from fullscreen to the small timer
- Maximize - To manually switch from the small to the fullscreen timer
- Close timer - To close the timer window, the timer window also closes when closing the main window
- Contest selection - Here select the contest, for which the start time has to be changed
- New start time - Here enter new start time for the selected contest
- Set - Sets the new start time for selected contest
- New information - Here enter new information to show on info panel
- Set - Sets the new information, new information will be show on next panel show
- Current start times - Table shows currently set start times
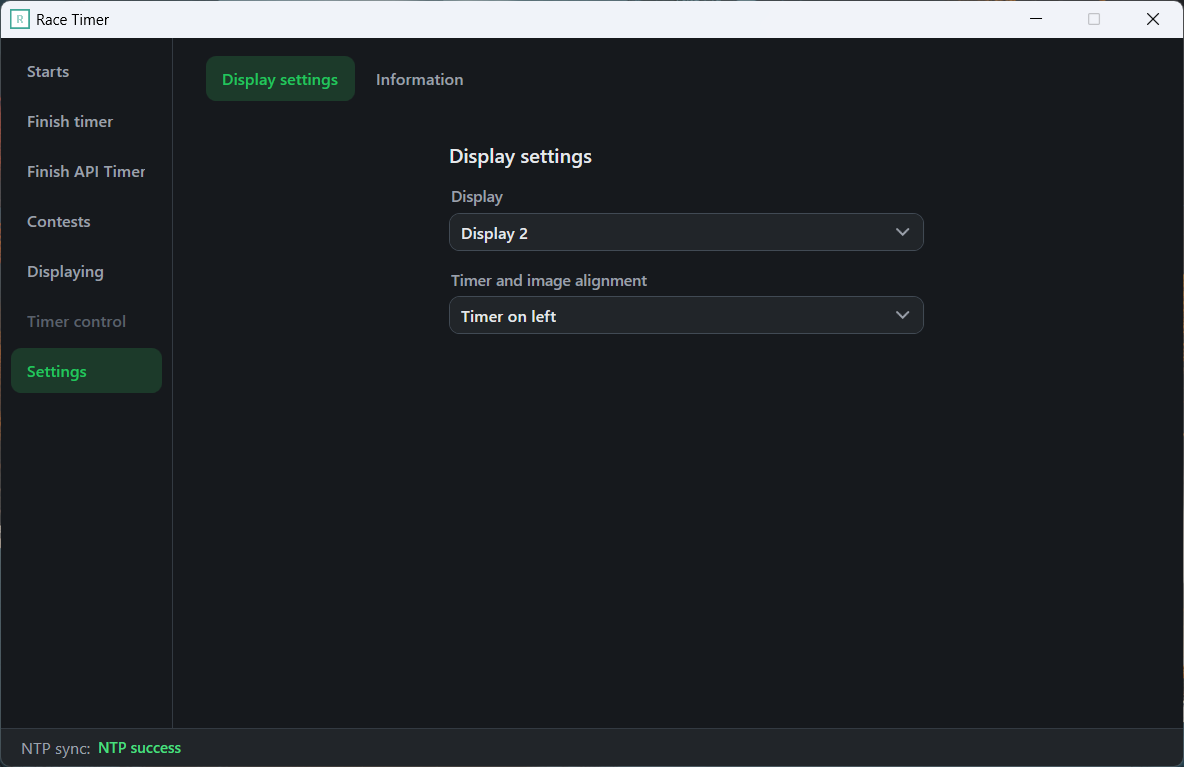
- Display setting - Tab for selecting display to show the timer or starts and timer position
- Display - List of connected displays to choose, on which the timer window will be opened. Display names here sometimes AREN'T the same as in Windows settings
- Timer and image alignment - List of available alignments
- Timer on top - Timer on top, clock in the middle, logo on the bottom, QR code NOT displayed
- Timer on left - Timer and clock on the left side, logo and QR code on the right side
- Timer on right - Timer and clock on the right side, logo and QR code on the left side
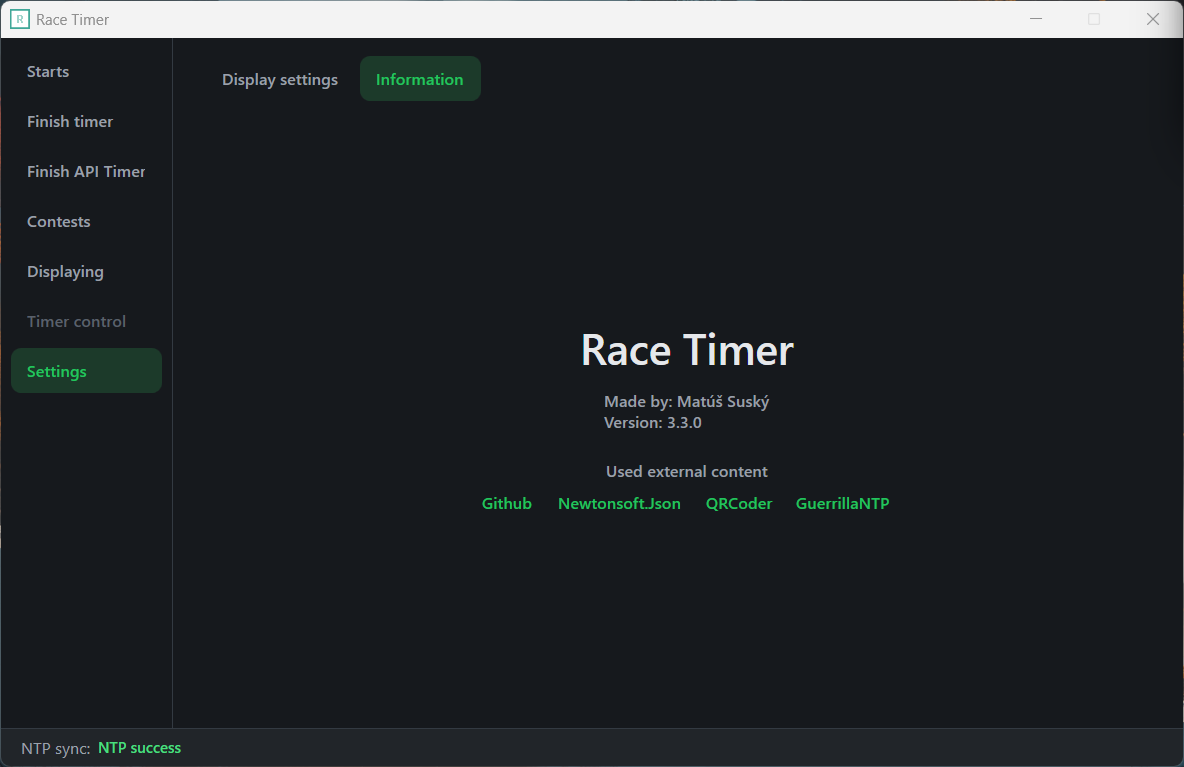
- Information - Tab with informations about the application
❗ Disclaimers "RR" and "RaceResult" are trademarked by and belong to race result AG. I make no claims to these or any assets belonging to race result AG and use them purely for informational purposes only.
THE SOFTWARE IS PROVIDED “AS IS”, WITHOUT WARRANTY OF ANY KIND, EXPRESS OR IMPLIED, INCLUDING BUT NOT LIMITED TO THE WARRANTIES OF MERCHANTABILITY, FITNESS FOR A PARTICULAR PURPOSE, AND NONINFRINGEMENT.
Footnotes
-
This app doesn't collect anything from PC or RR. I don't have a signing certificate ↩