- Signin to AWS usning rootuser credentials: https://aws.amazon.com/
after login screen
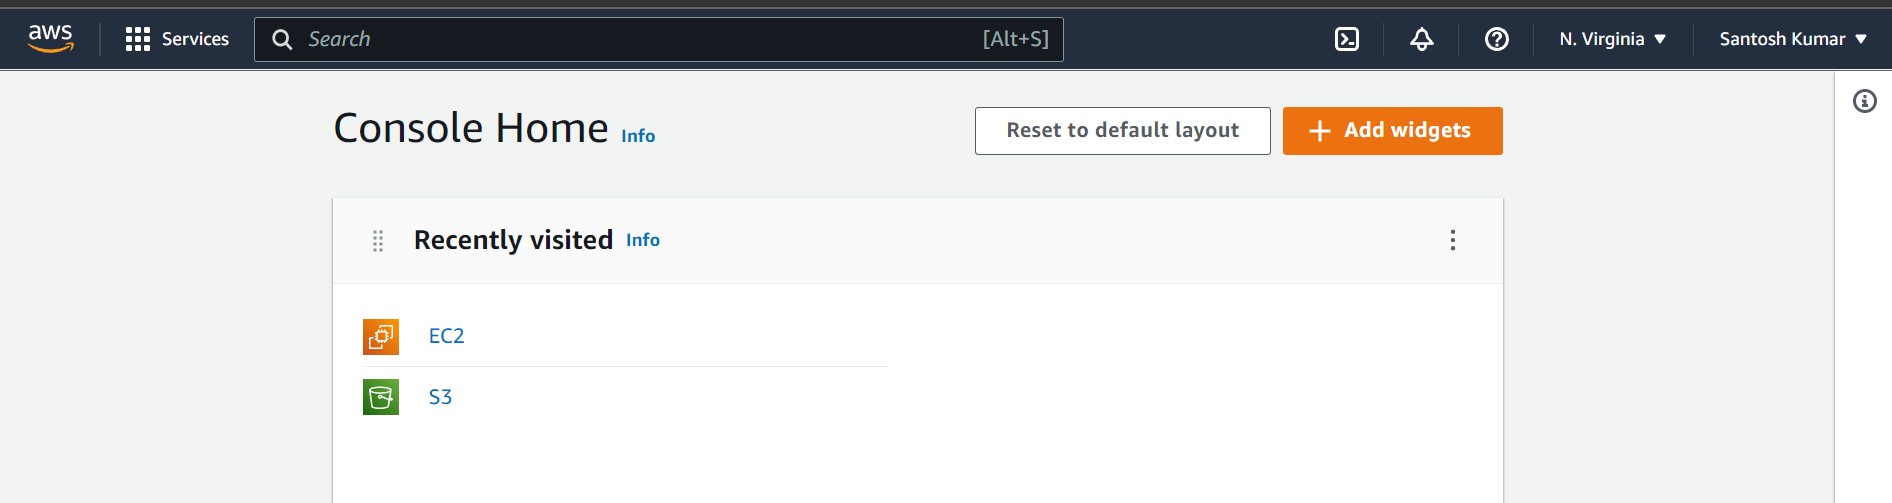
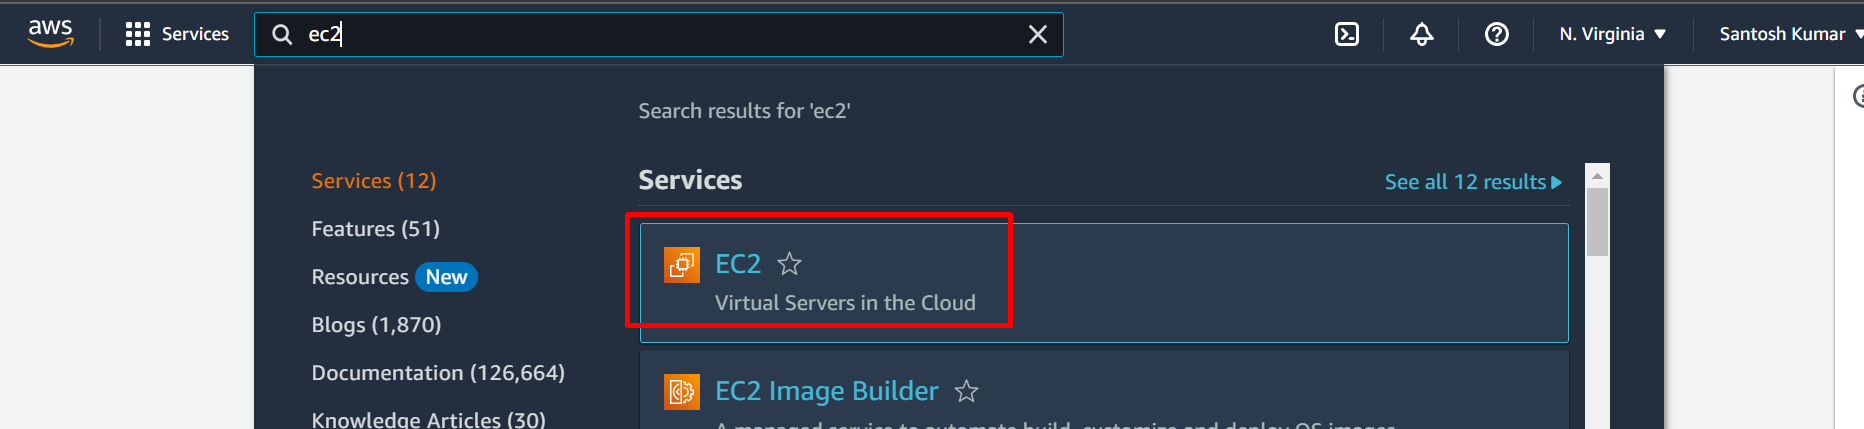
- We will use EC2 Serive
Amazon Elastic Compute Cloud (Amazon EC2) provides scalable computing capacity in the Amazon Web Services (AWS) Cloud. Using Amazon EC2 eliminates your need to invest in hardware up front, so you can develop and deploy applications faster.EC2 is kind of Virtual Machine where we can install any operating system and perform any activity on top of it. Other alternatives in AWS such as Lambda, Elastic Beanstalk and there are some separate platform also available in AWS for machine learning projects as well - Go to EC2 (Services > EC2 or search EC2 in search bar)
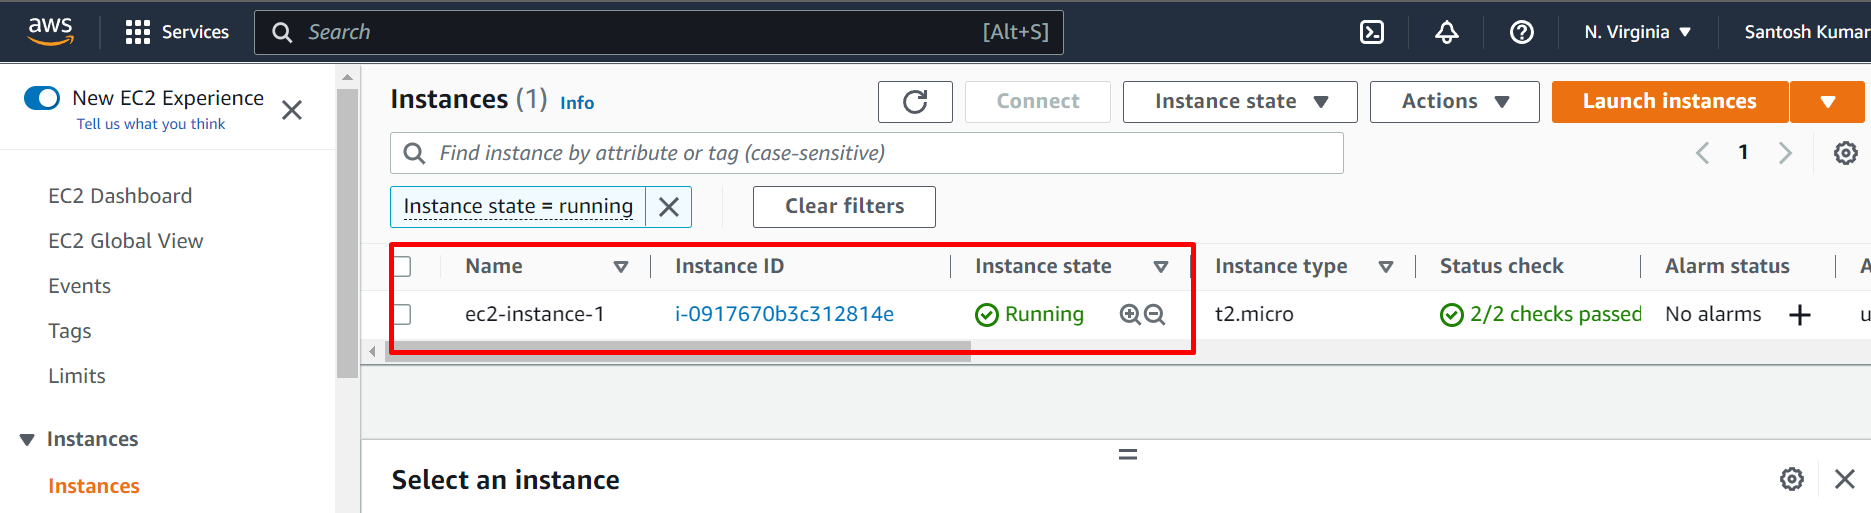
 Clikc on Instances and check running instances
 One already running instance in my account
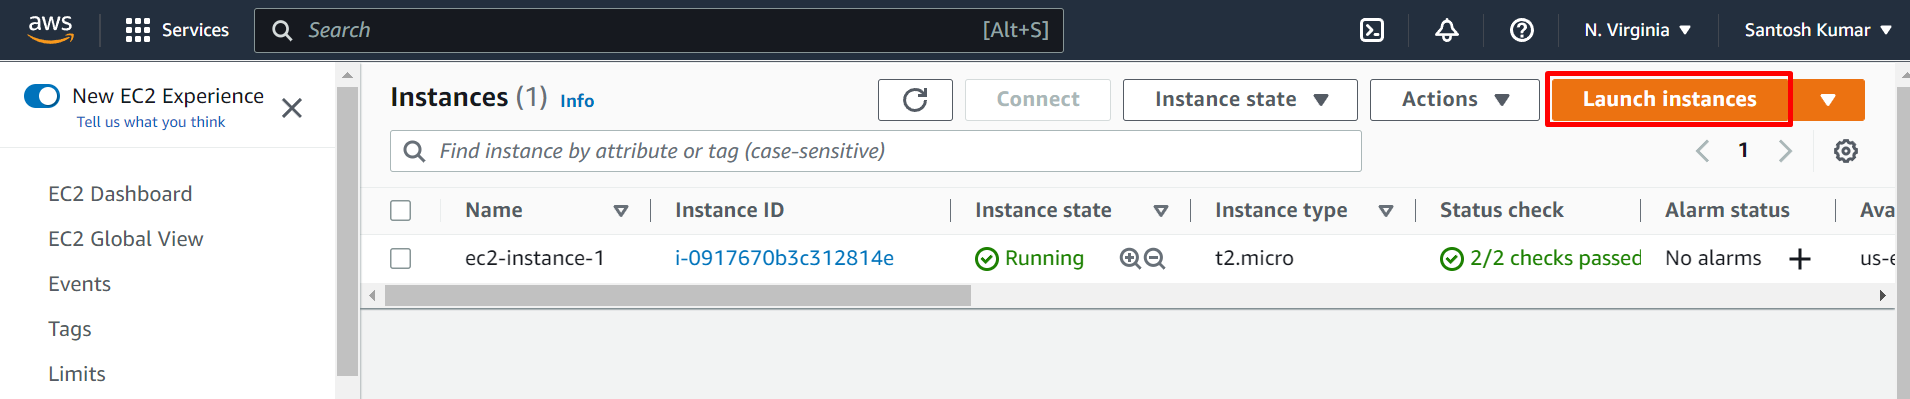
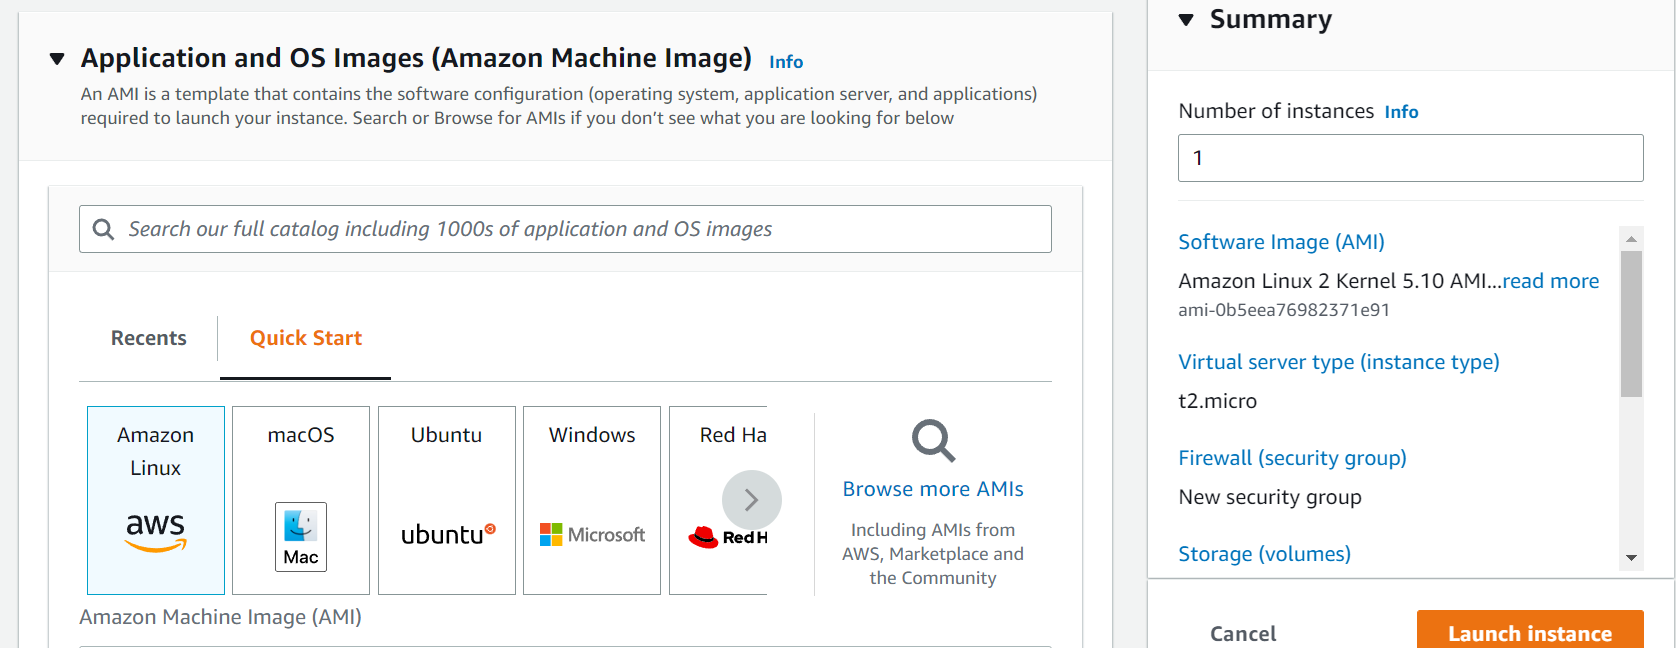
- Click on Launch Instances
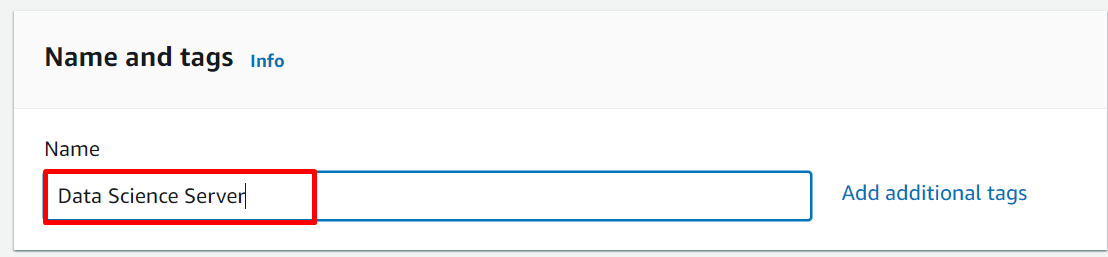
- Give Name
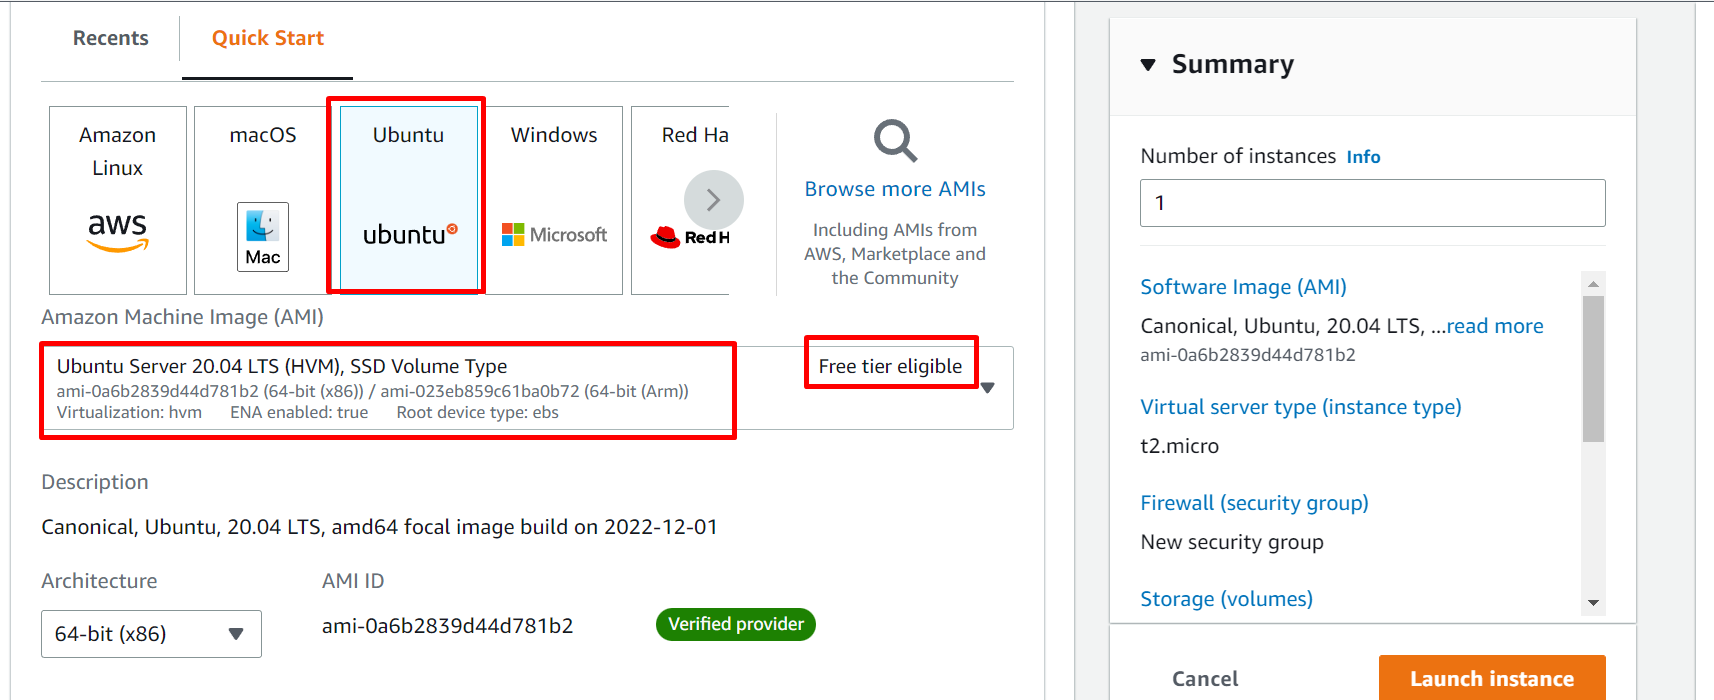
- Select OS, here we can install any OS in our instance, we will use Ubuntu
- Select Instane Type: very important step, if you wan to use for free, then only select
free tires eligibletype else you will have to pay for your service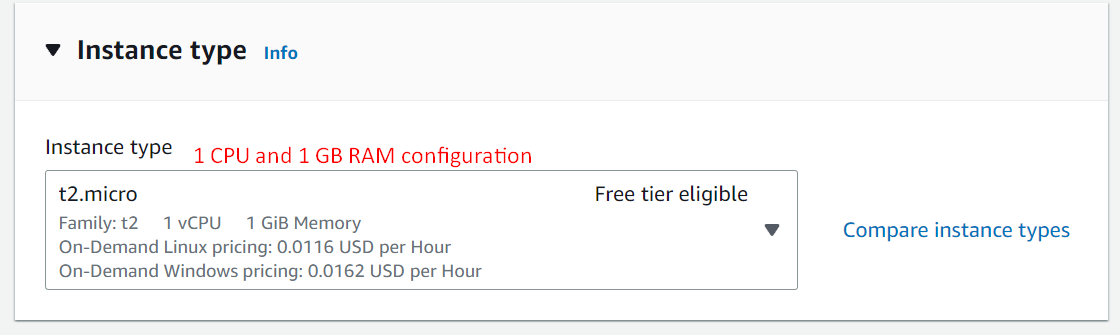
- Create a Key Pair for access this instance outside
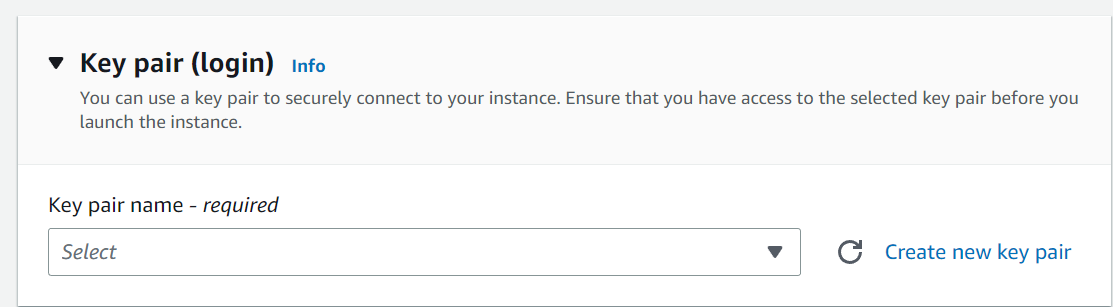
- Click on
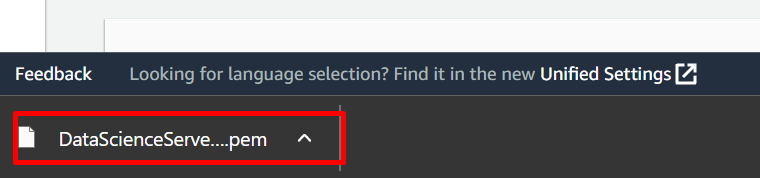
Create new Key pair, give relatable key any name and clickCreate key paira.pemfile will be downlaoded keep it safe and private, without this key cannot be loggedin into this instance.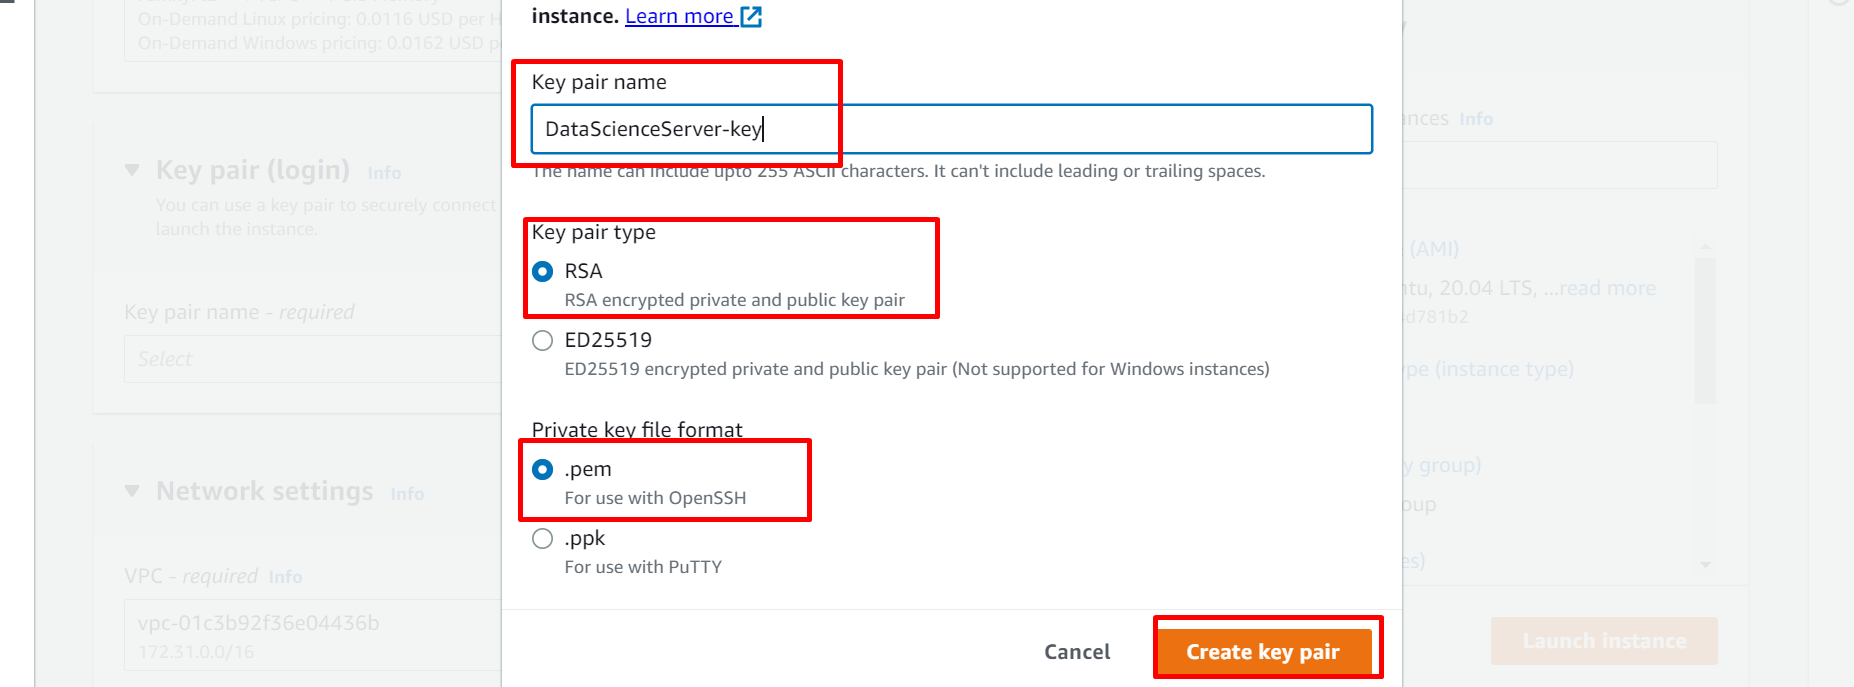
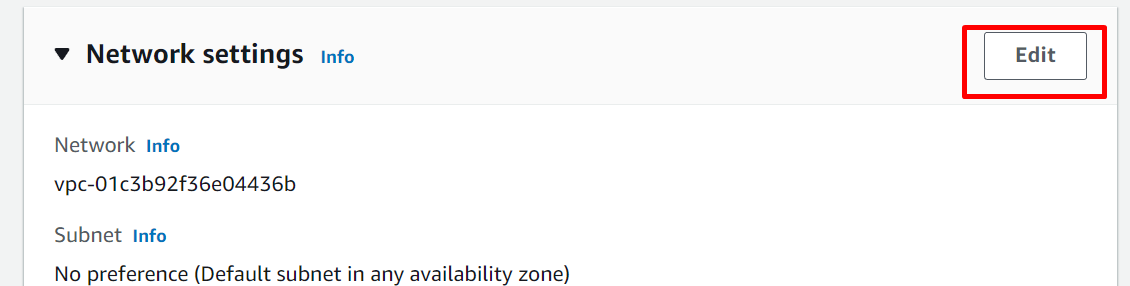
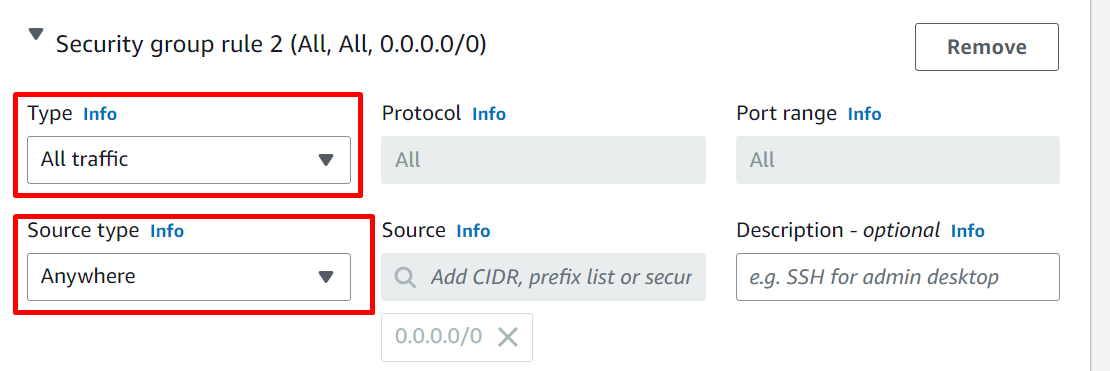
- Network Settings: very import step, click on Edit button
- Come down and click Add Security Group Rule button
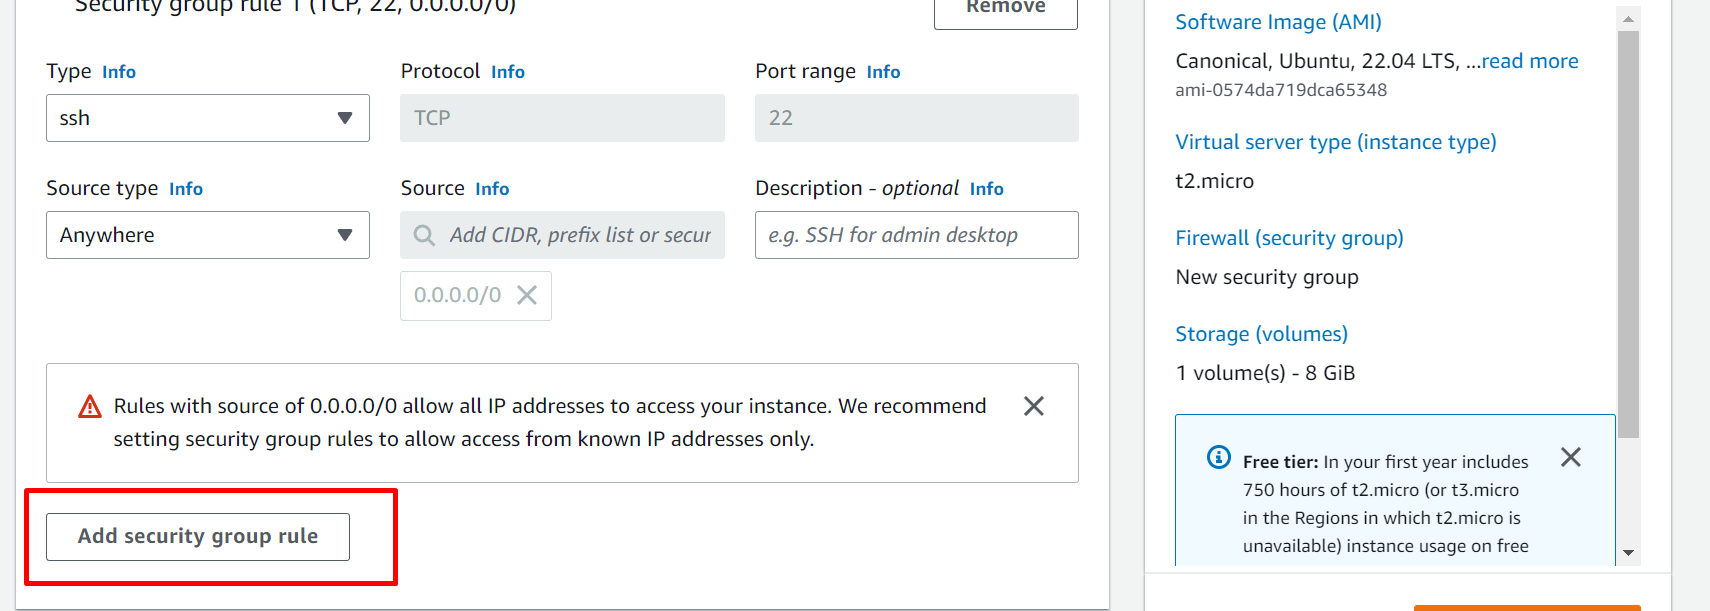
- Select Type :
All Trafficand Source Type :Anywhere, do not touch any other fields - Note: Without this security group we will not able to see webapps
-
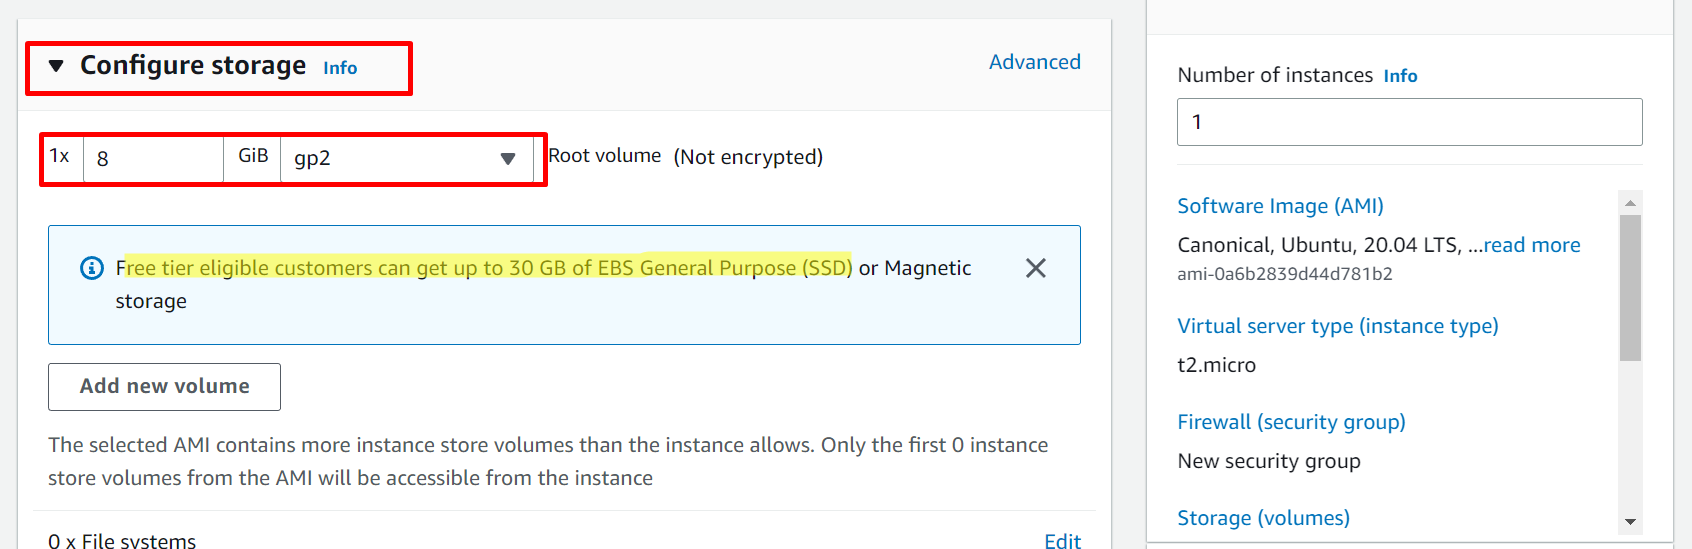
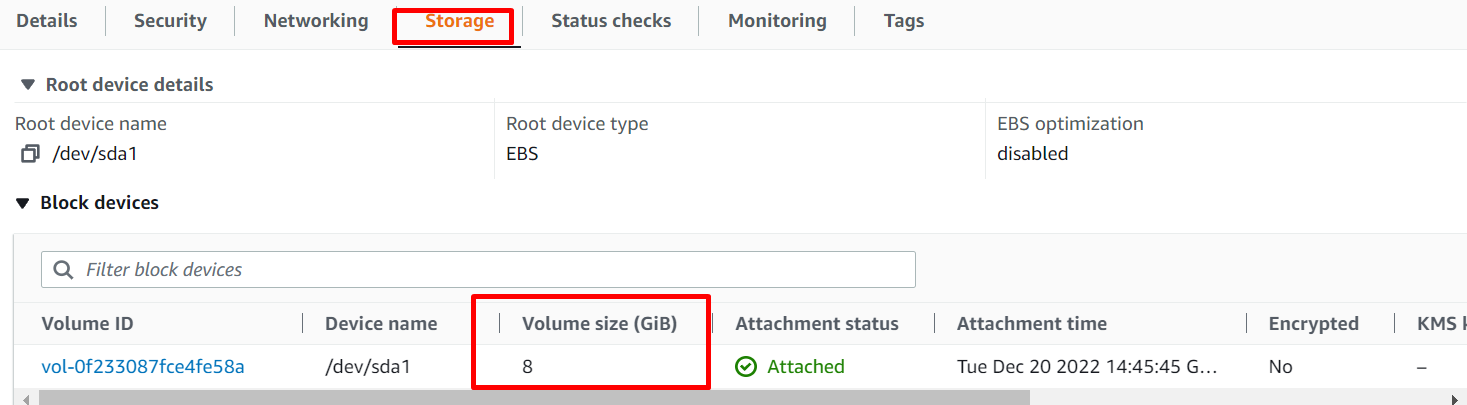
Configure Storage: this is the C drive storage, select as per required, free account only get 30gb per account here we selecting 8GB C drive storage.
-
Done with basic configuration, now click on
Launch Instance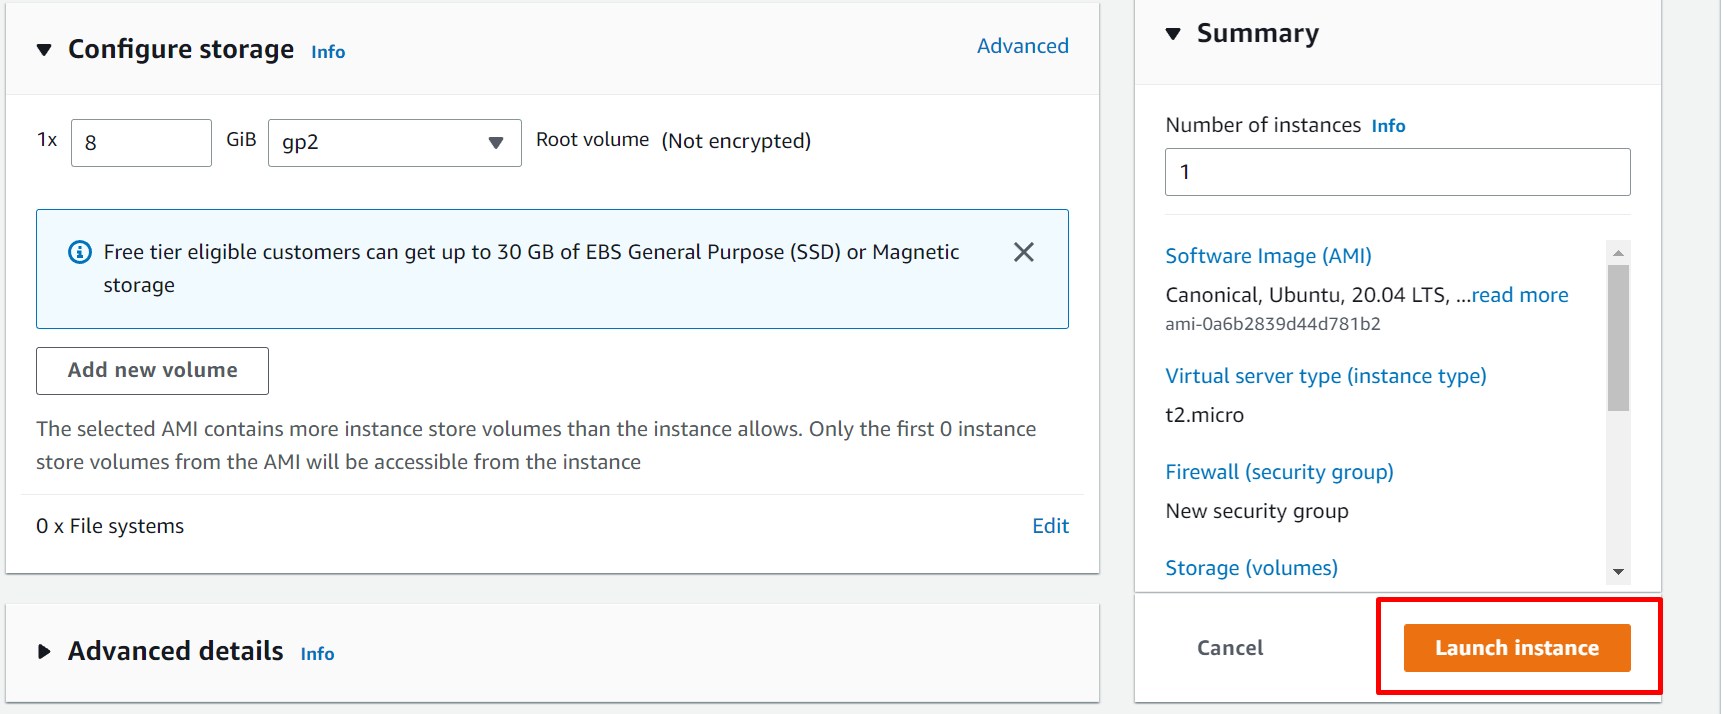
-
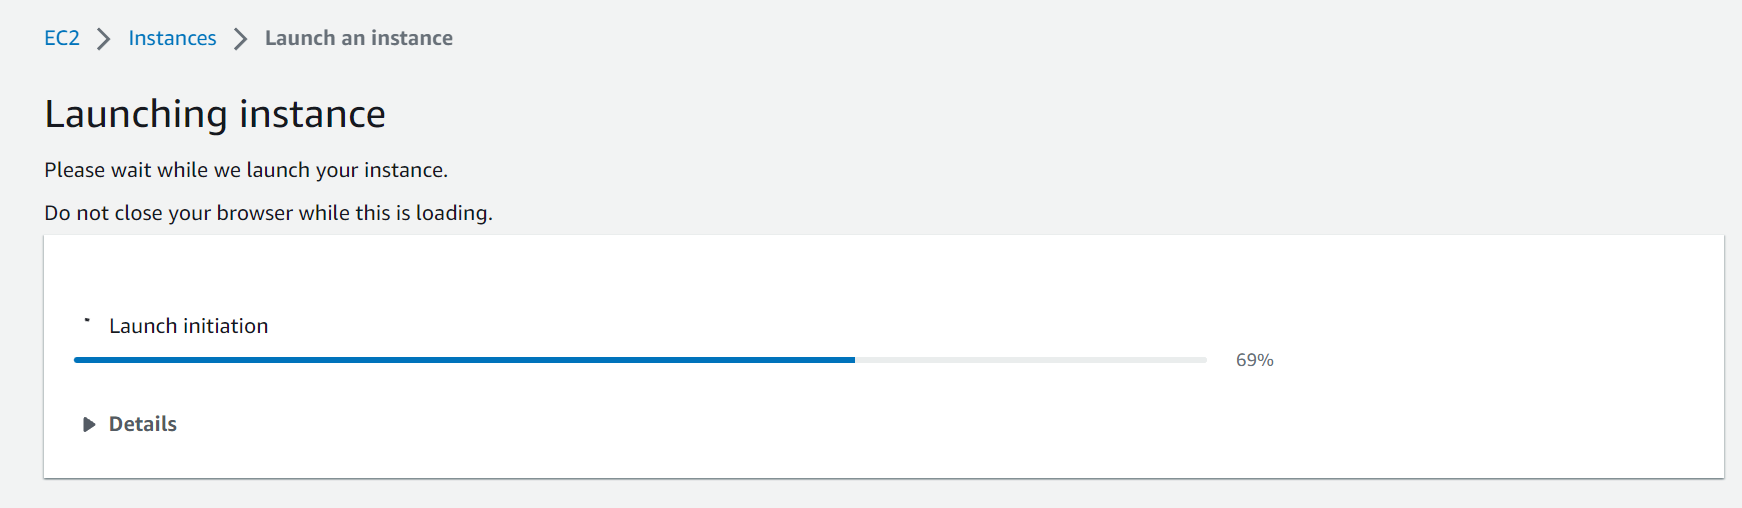
Launching Status:
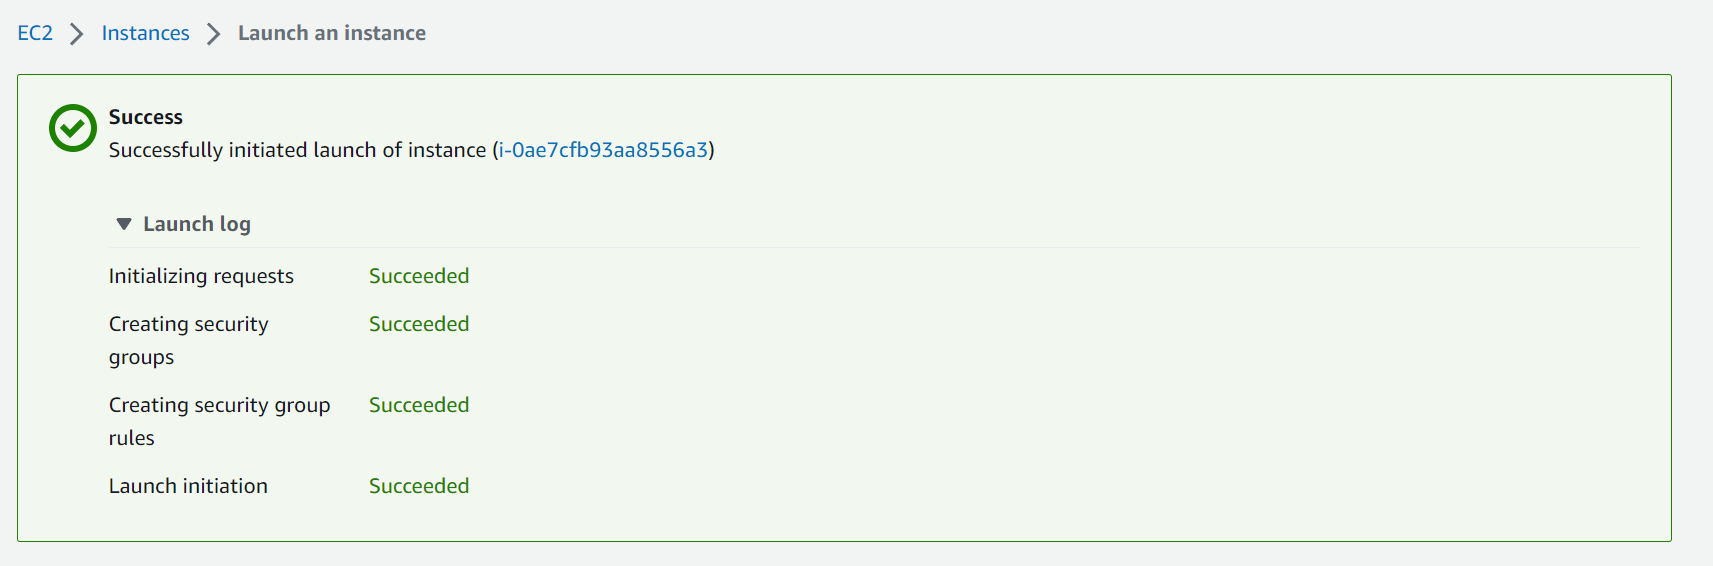
-
Check Created Instance Click on Instances, remove filter if any applies, all instaces will display
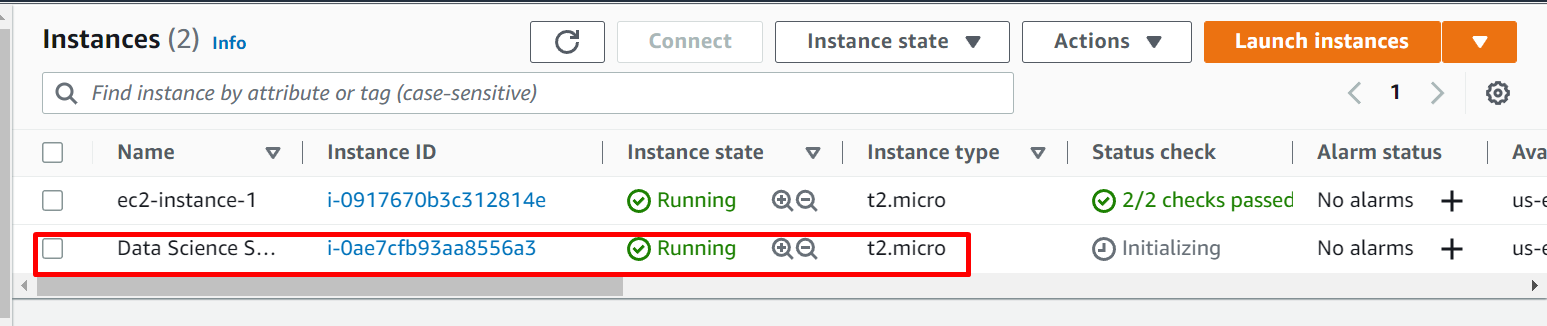 Click on
 Instance idto check the full details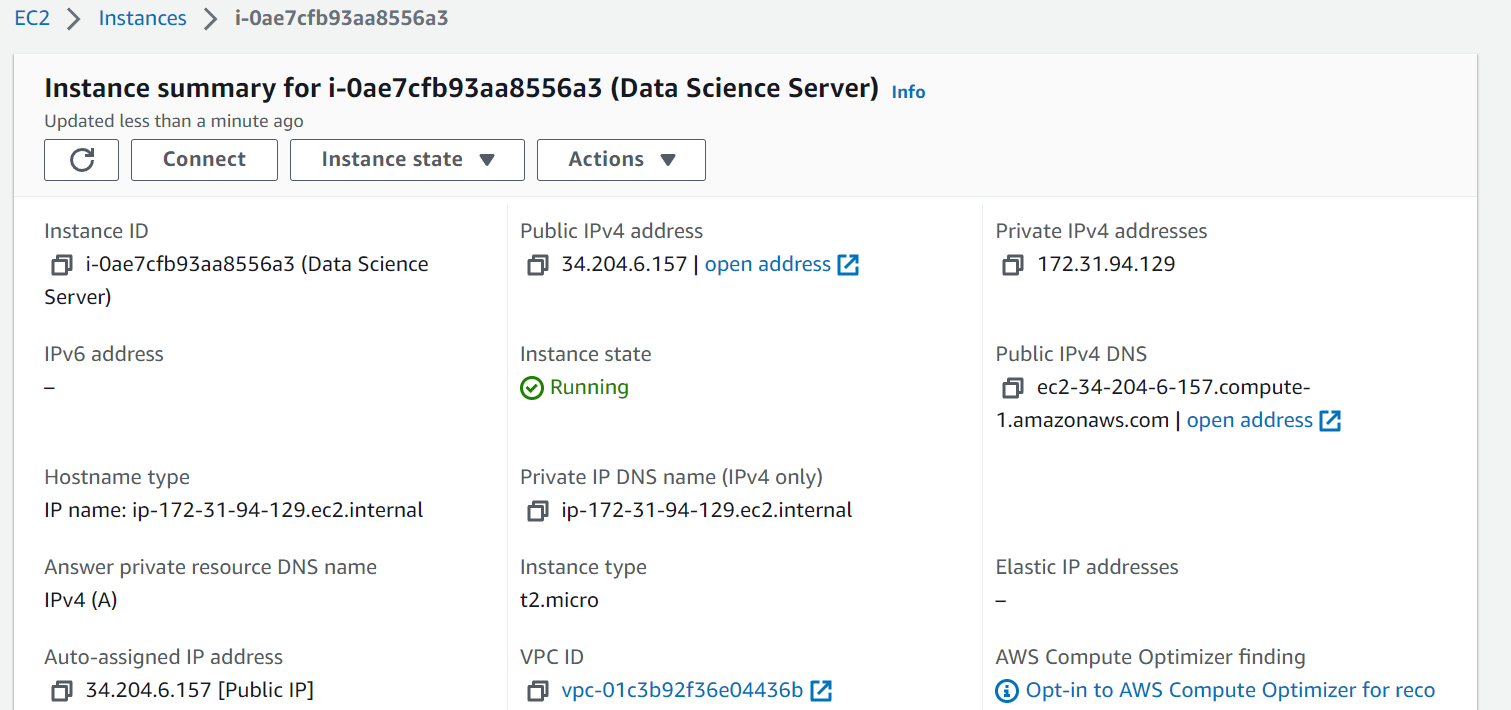
- We can communicate using any terminal like windows cms, linux terminal, gitbash terminal, putty etc...
- Click on Instance Id
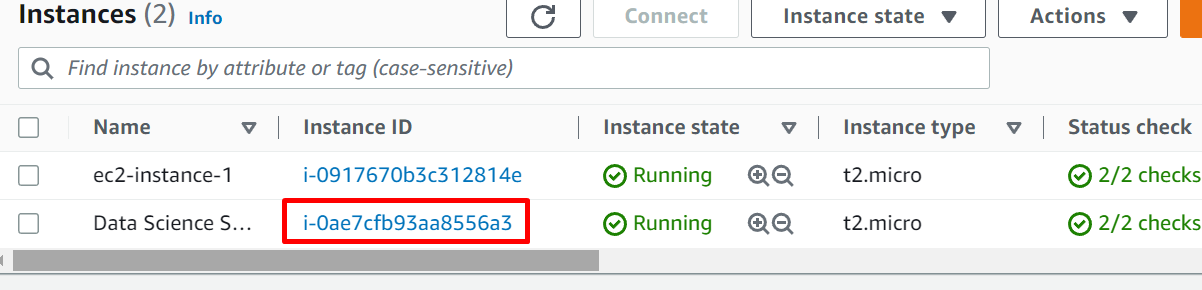
- Click on
Connect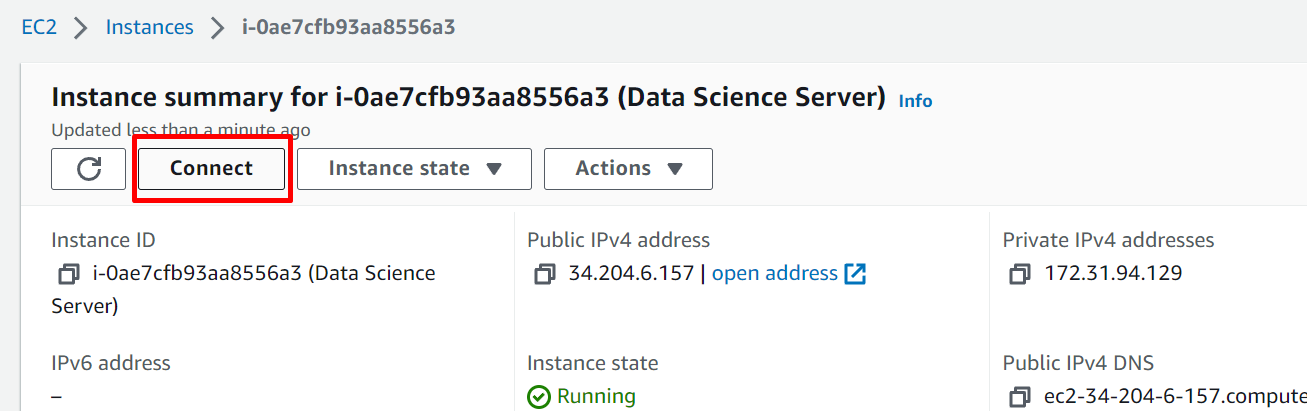
- Go to
SSH Clientand copy the example command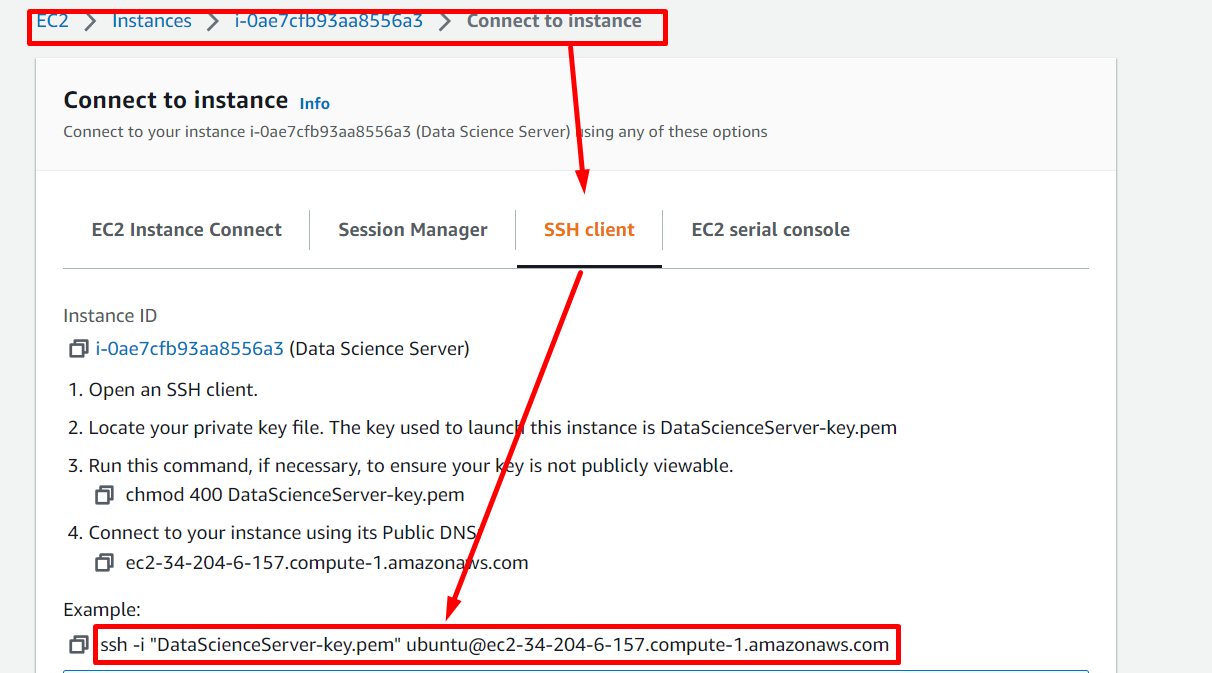
- Now, go to local system where login key has been downloaded or move that key to any specific folder then open
CMDat the specific folder
- now open cmd in key folder
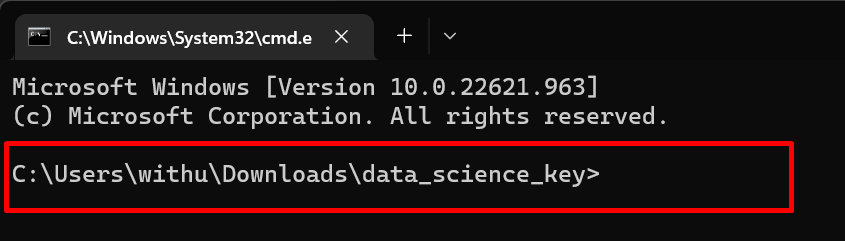
- now paste the copied command in cmd and press enter

- Now, type
yesand press enter.... bingooo!! we are not connected to our instance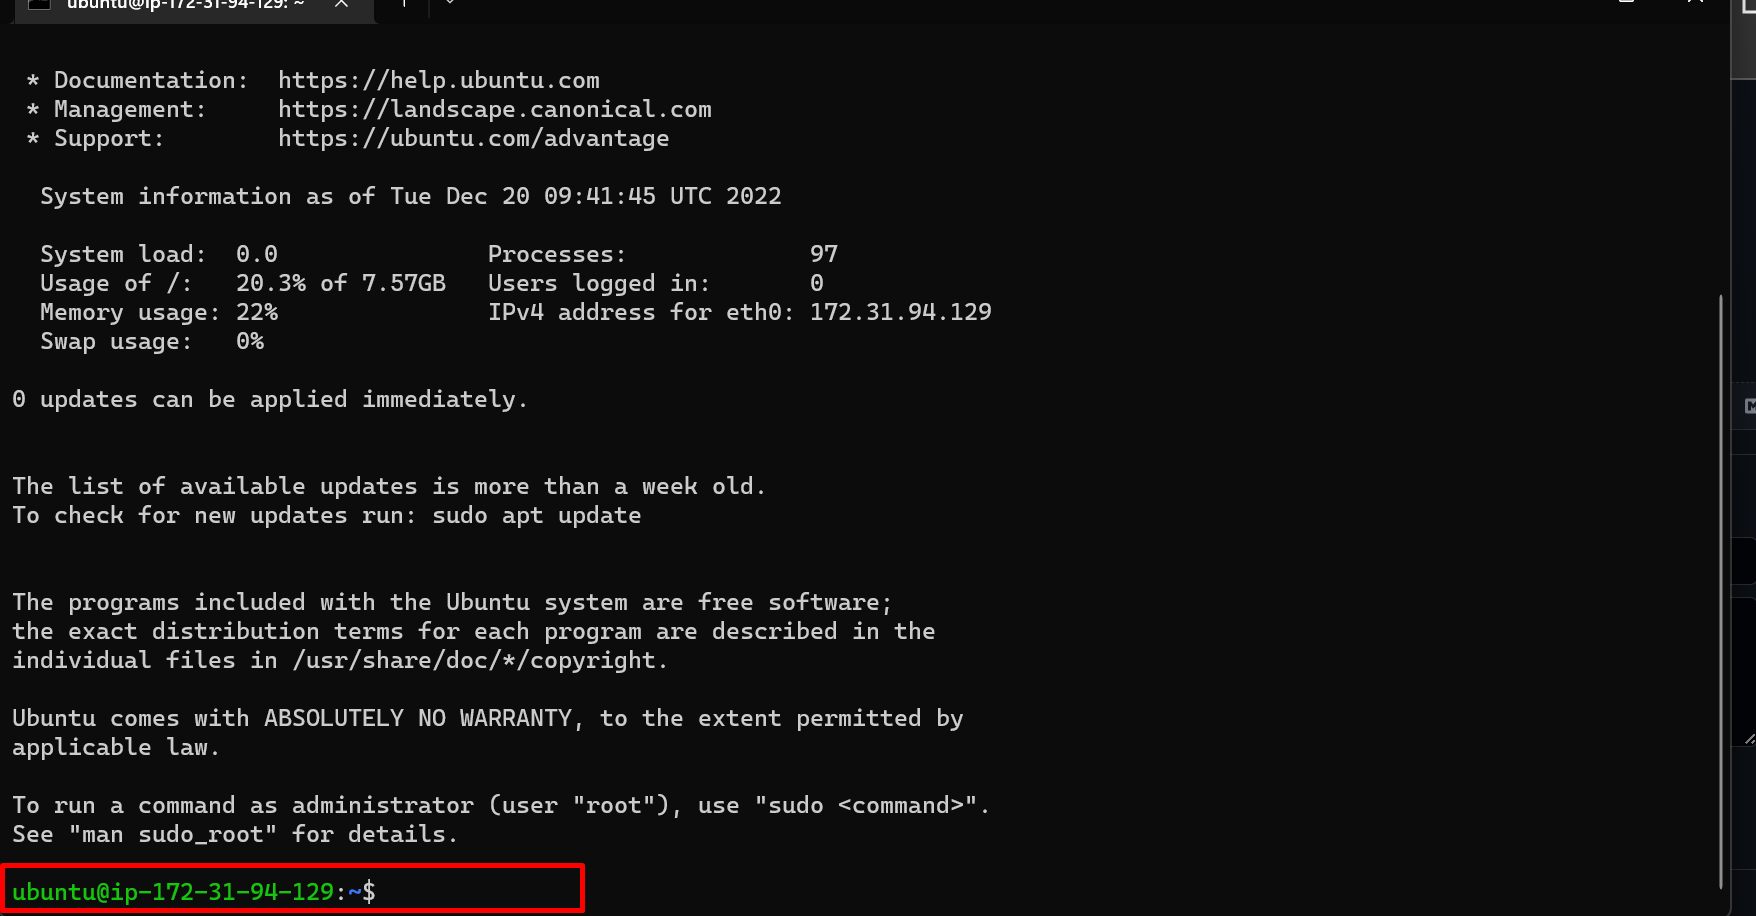
2. We cannot connect our instance using windows cmd if does not support ssh communication, for that we can use below methods
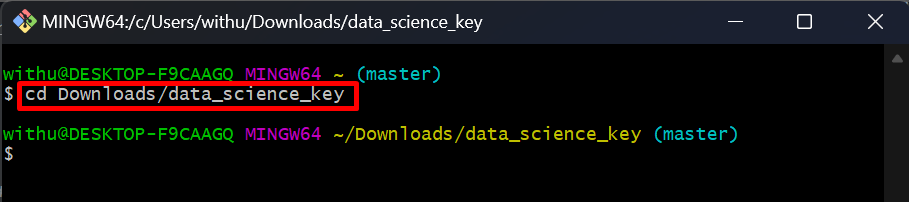
- open gitbash terminal and change directory where key is present
- Paste the same command and press enter
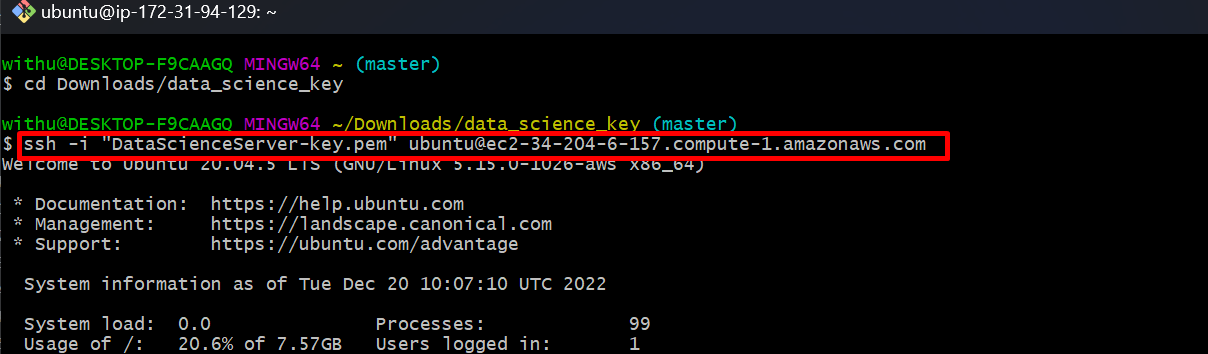 connected to instance
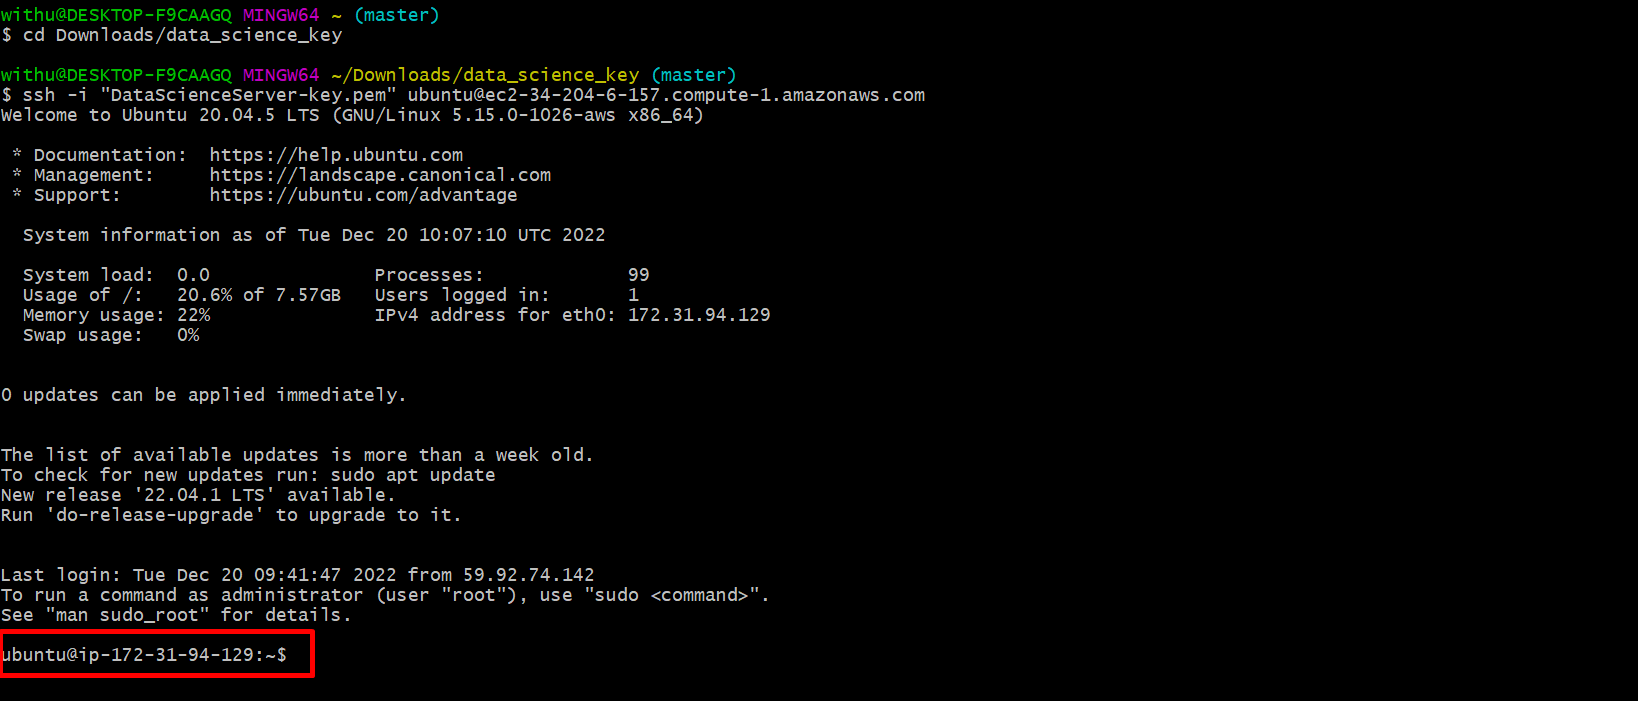
B. We can connect using Putty https://www.putty.org/
- Check the OS,
cmd: cat /etc/os-release, is that the same as we configured while creating instance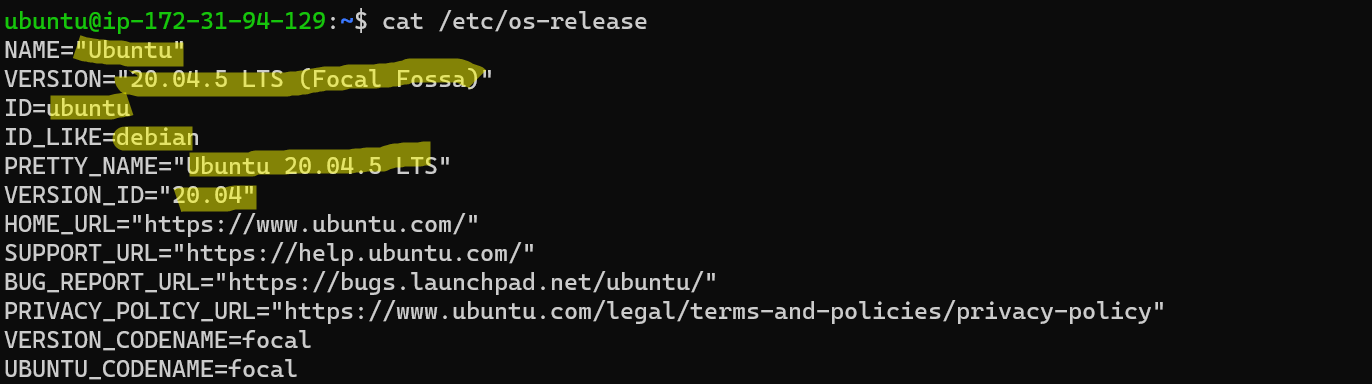
- Let's Check RAM details
cmd: free -mwe have selected 1gb
- Check CPU details
cmd: lscpuselected 1 CPU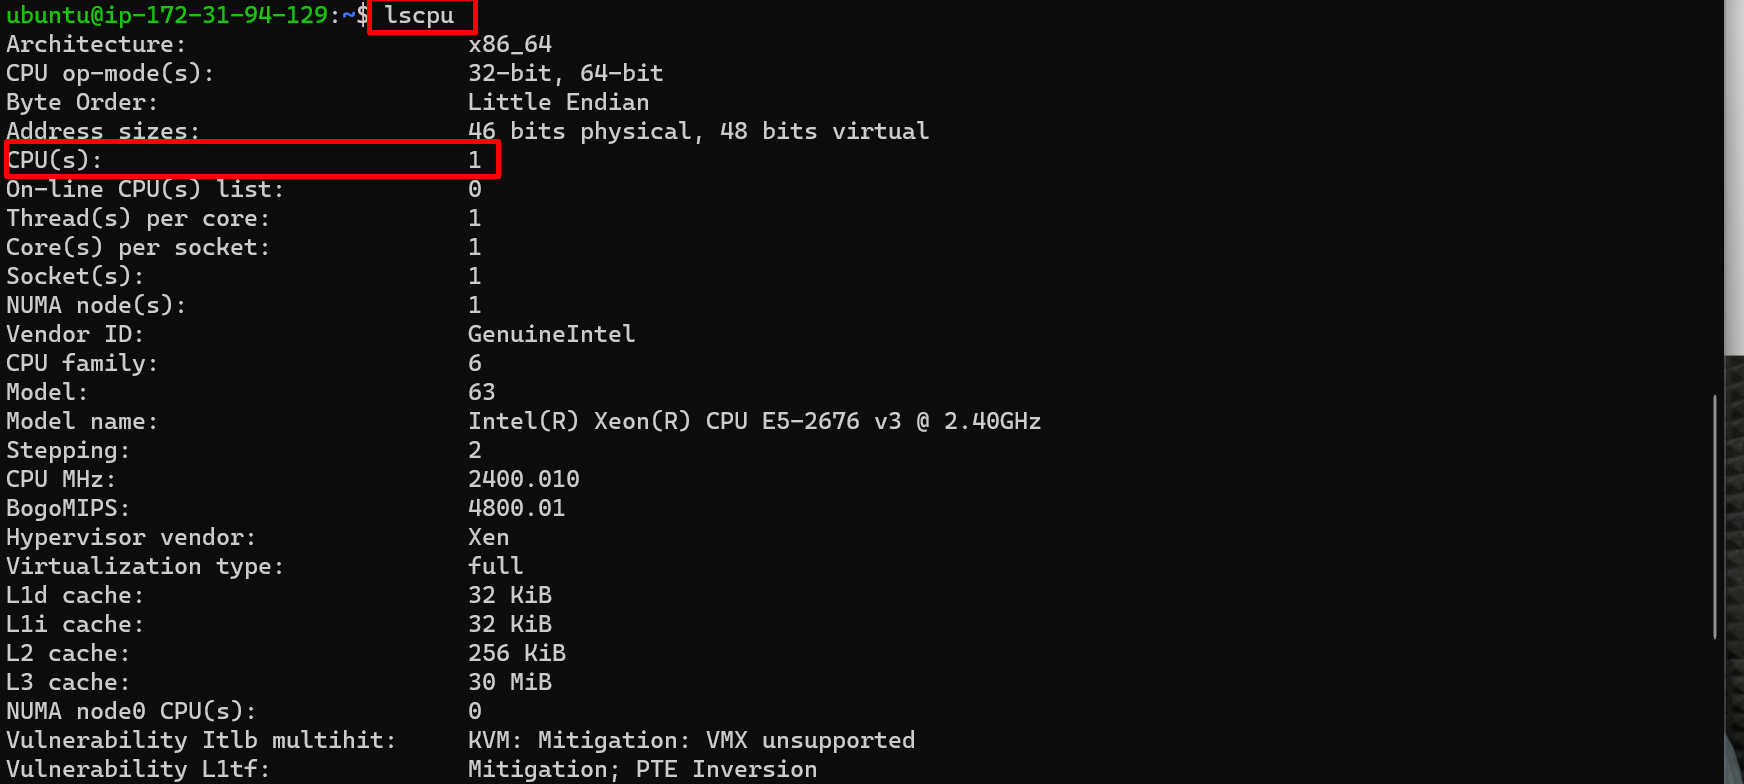
- Check Storage Capacity
cmd: df -h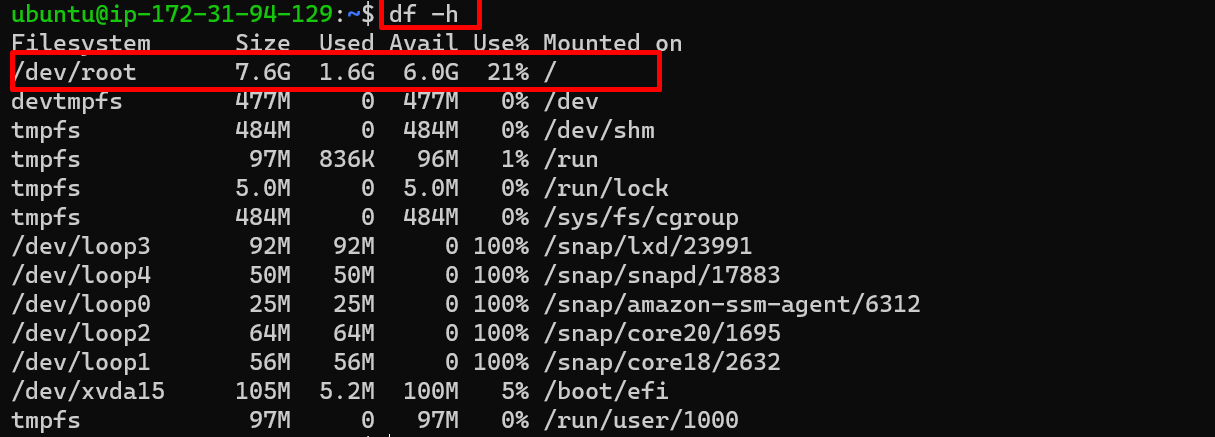
- Check Ip details
cmd: ip a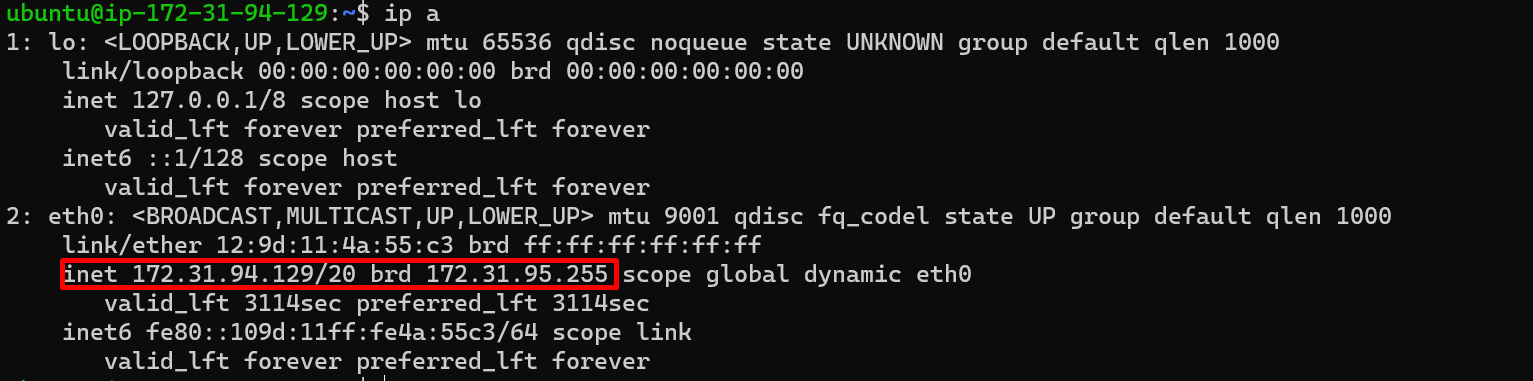
We establised communication with EC2 instance using terminals, now we need to upload our program files to AWS machine
- To upload external file to AWS machine we need a software called WinSCP https://winscp.net/eng/index.php
- Download and install WinSCP
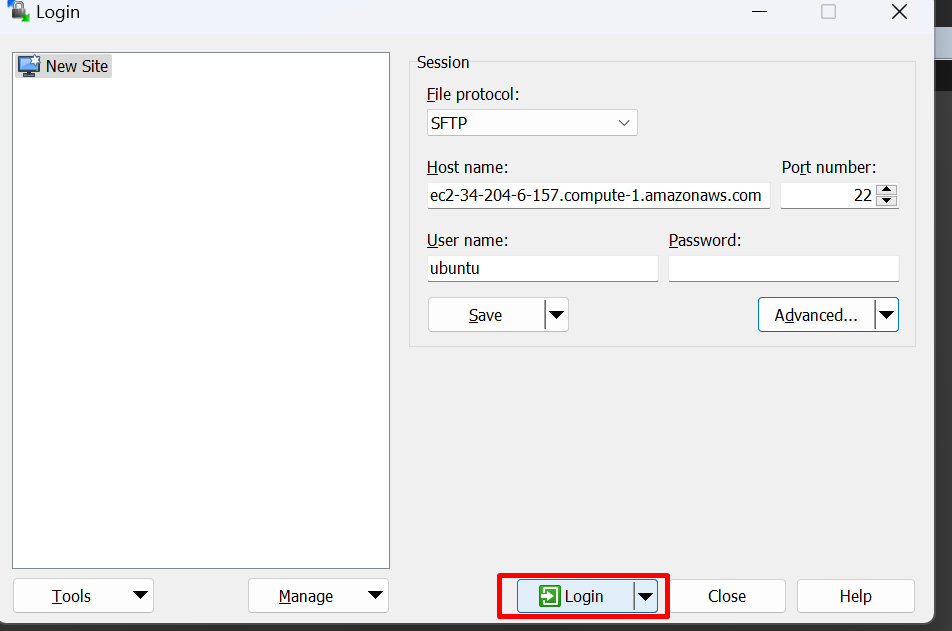
- Open WinSCP
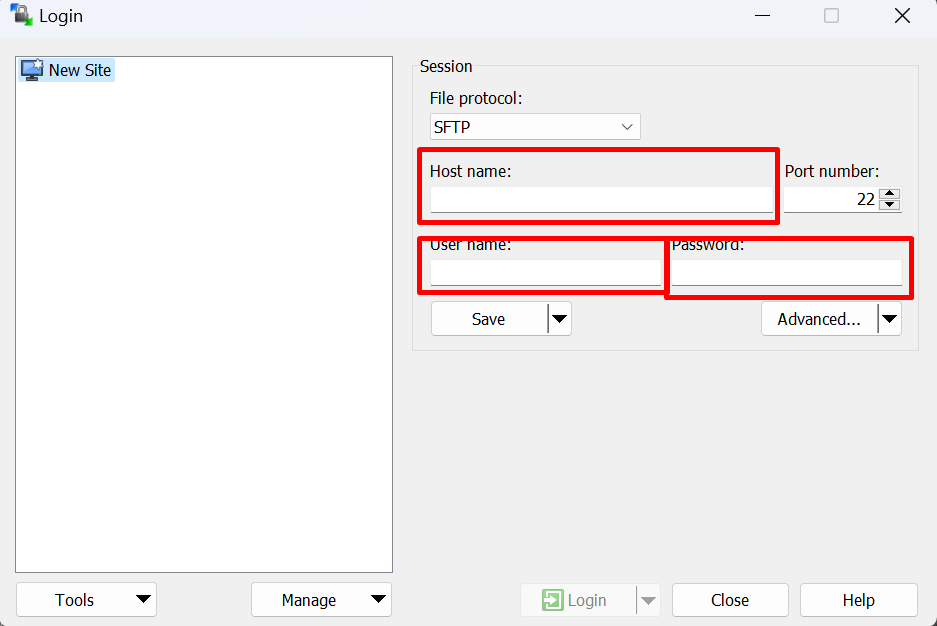
- To connect we need some details
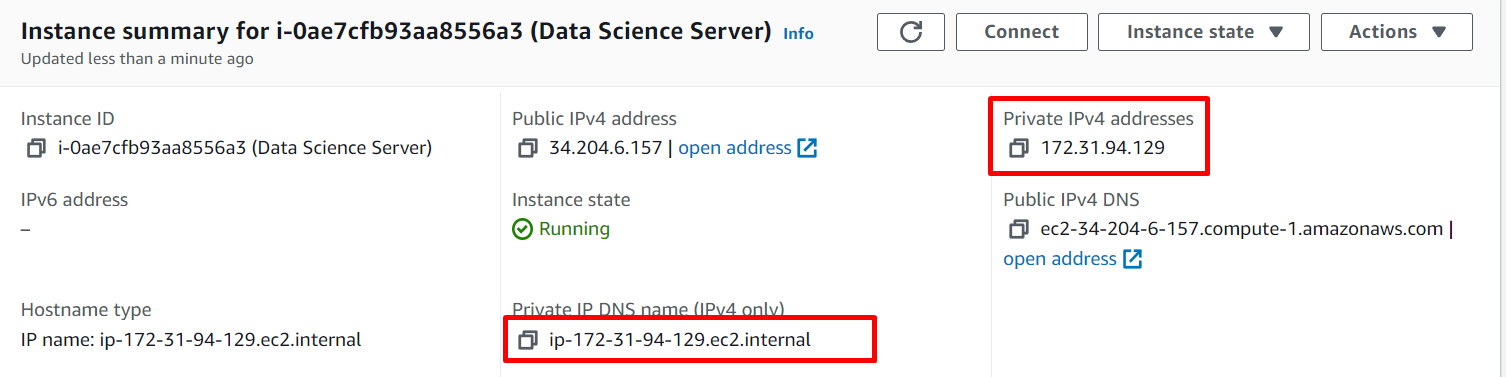
Hostname,usernameandpasswordof our EC2 machine- Find
Hostnameof EC2 instance, go to instance page > connect > SSH client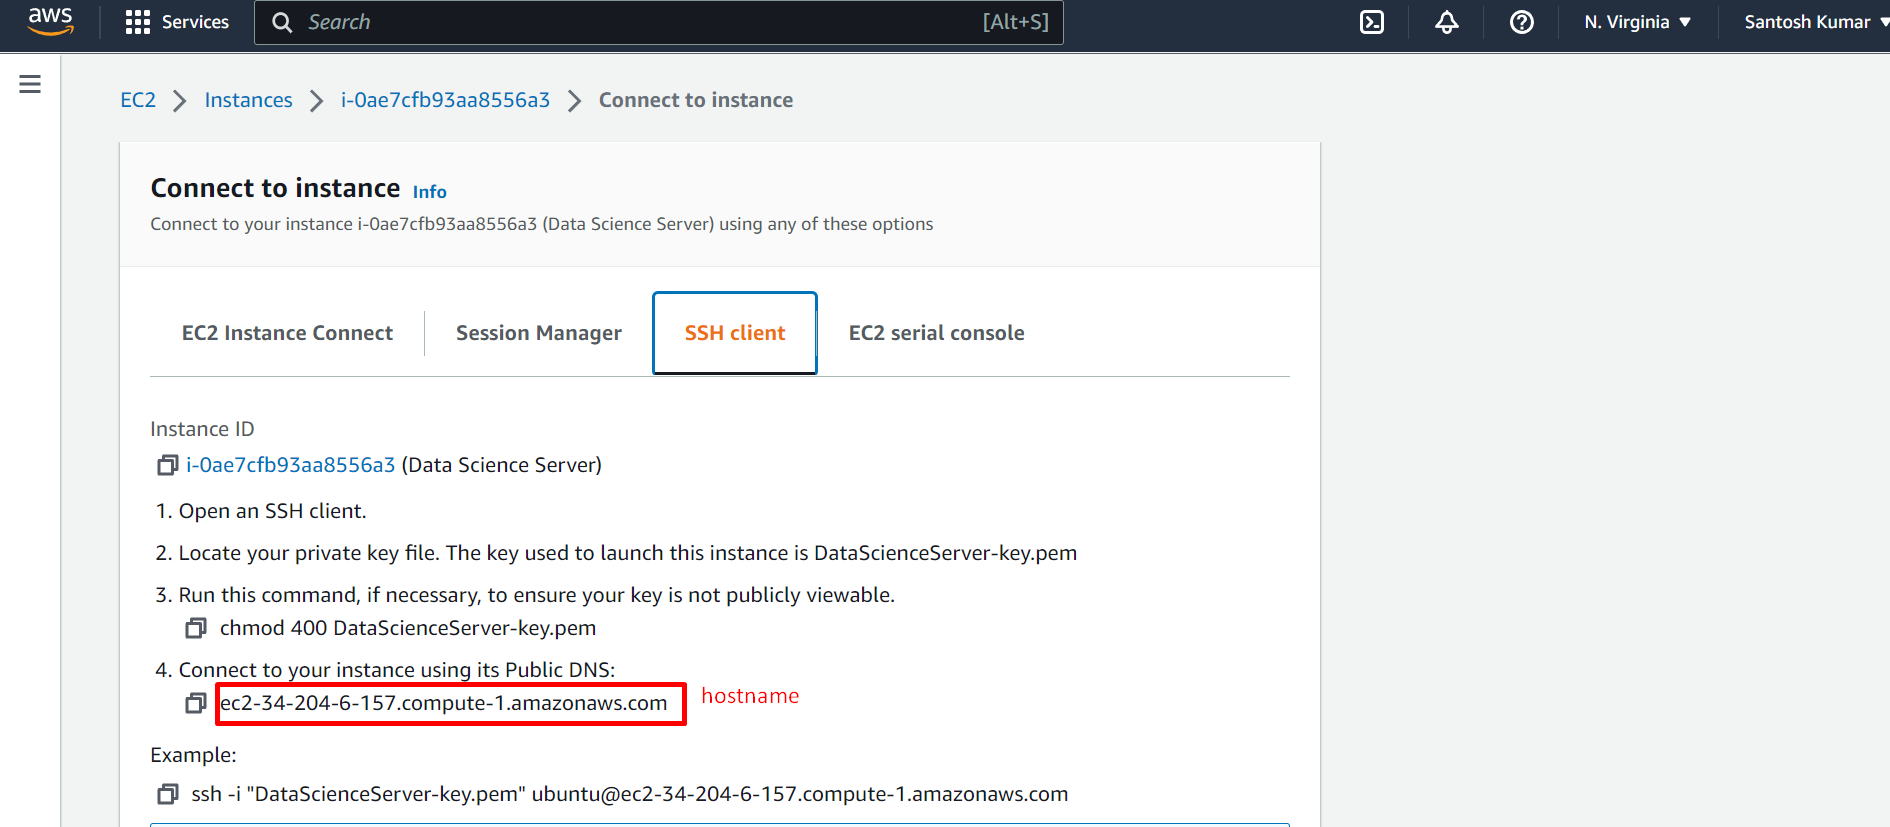
- to Find
Uername: Instance > EC2 Instance Connect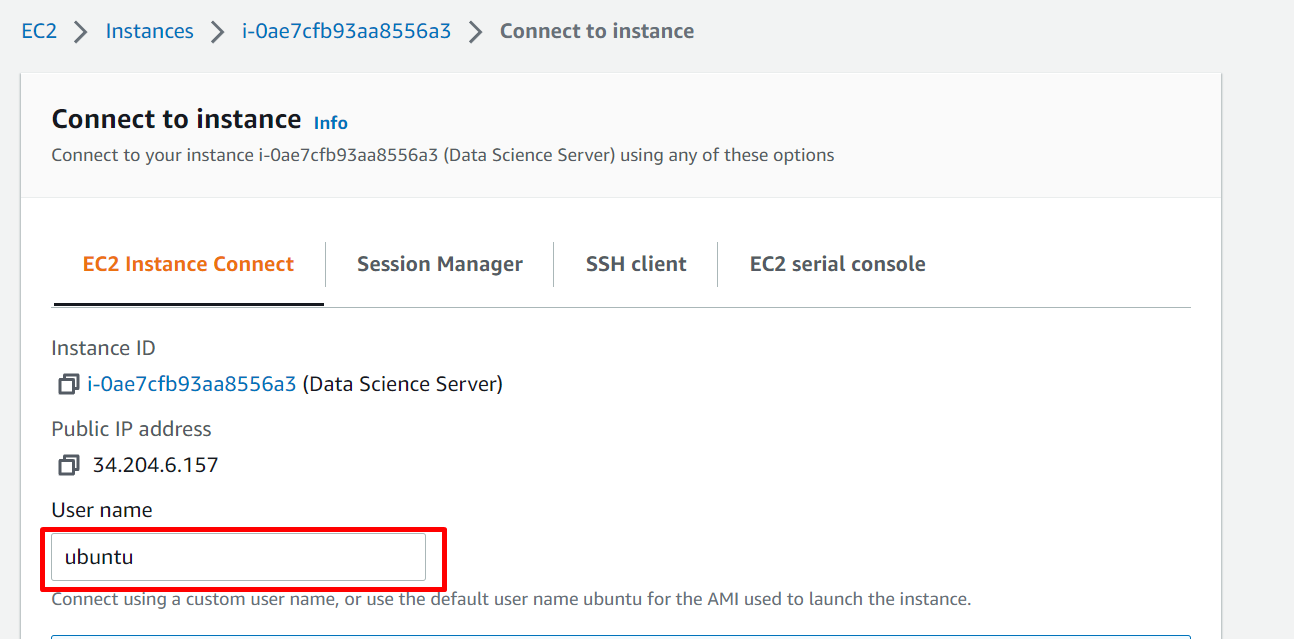
Passwordwe have already.pemfile as password
- Find
- Enter the Hostname and Username
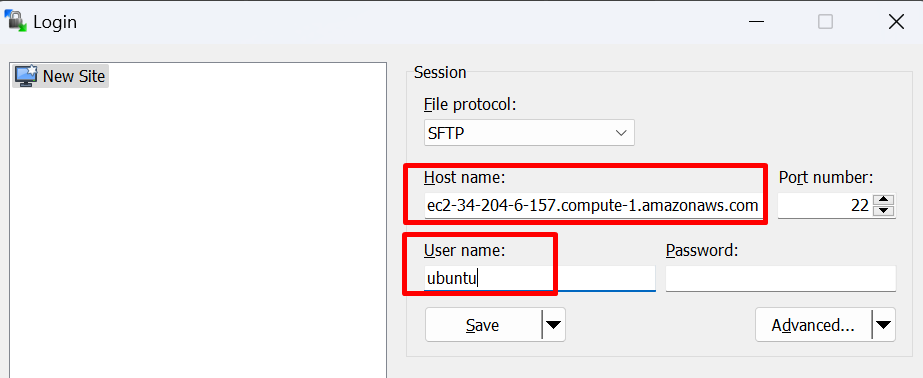
- To enter the password winscp required
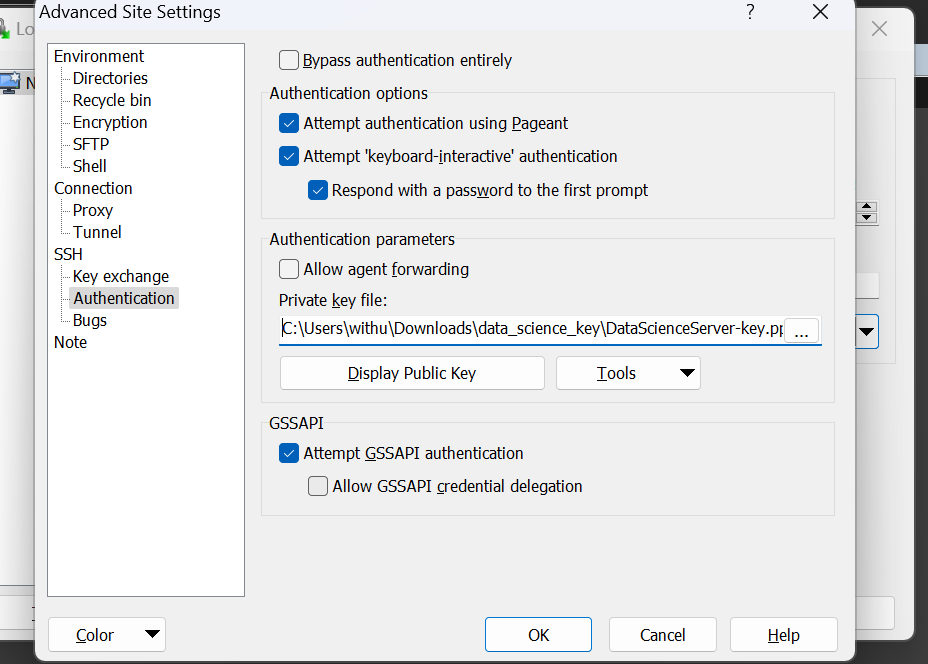
.ppkformat instead of.pem, click onAdvanced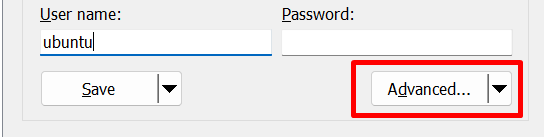
- Select SSH > Authentication and then select private key file
.pem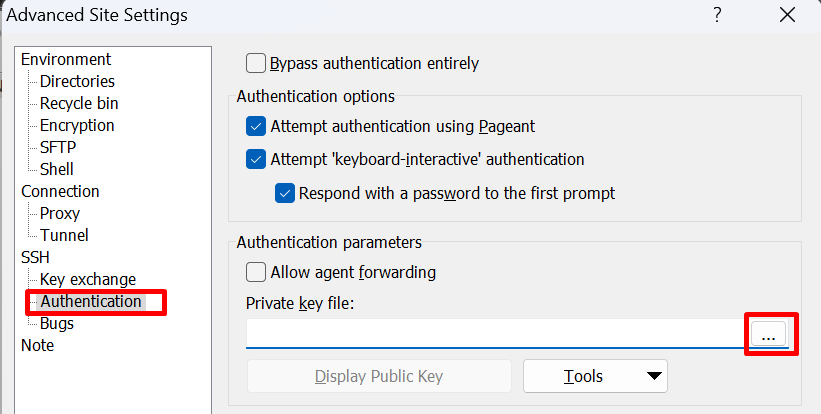
- if
.pemfile not visible while selecting then change the file type toAll File (.)in file explorer window then select that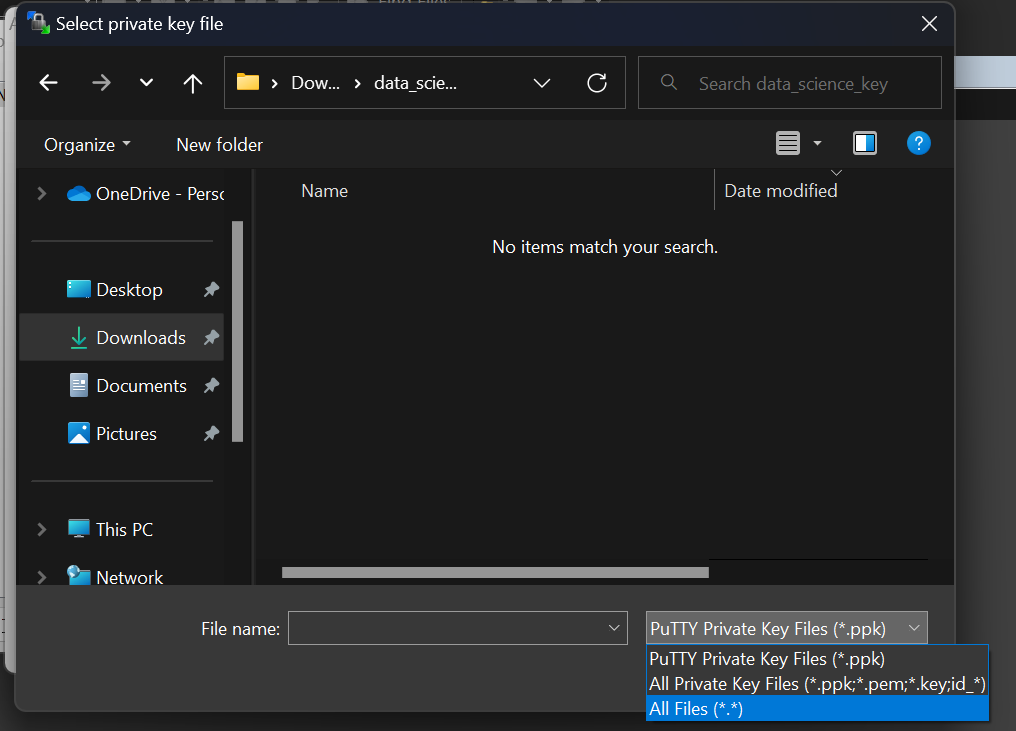
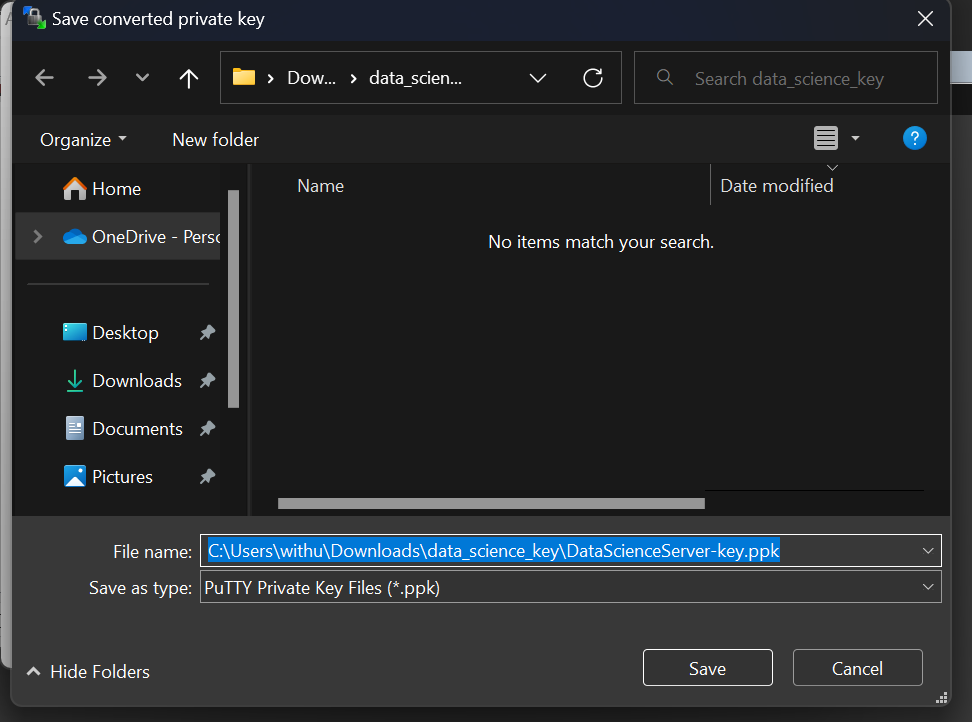
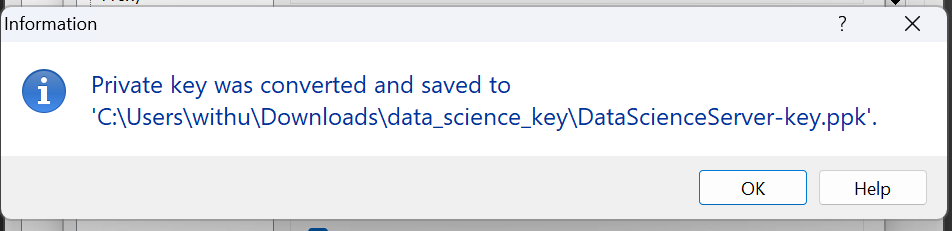
- It will ask to change file type to putty, click yes and then will ask to save new
.ppkfile, allow that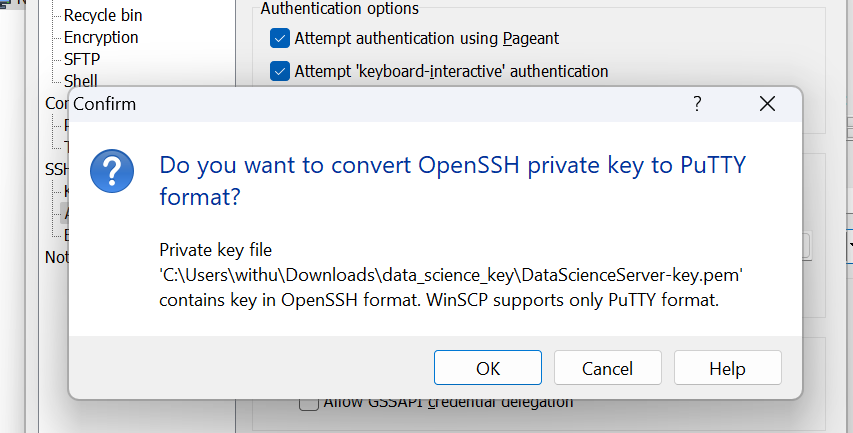
- Now, we are ready to connect
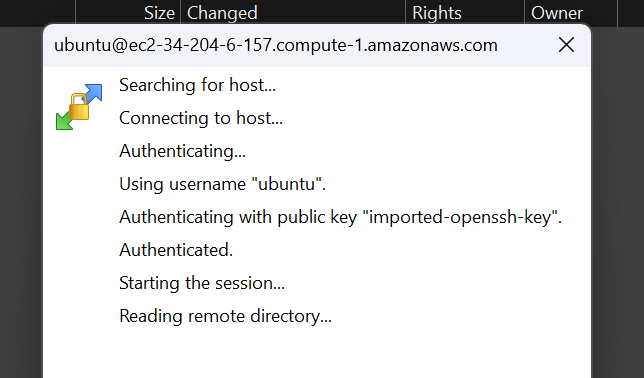
- Click ok and Click on Login to connect EC2
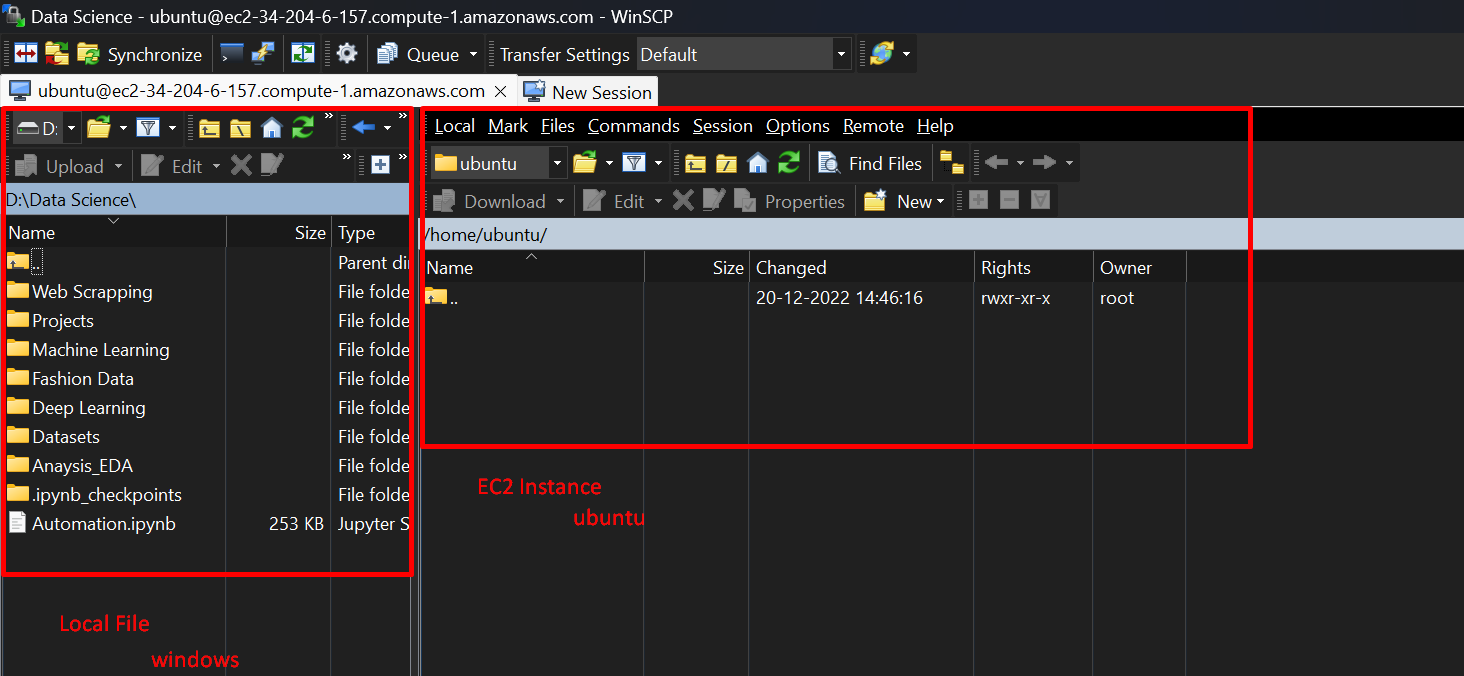
- We don't have any files in our EC2 machine
- using Winscp we can upload any file from our local machine to ec2 by jusy drag and drop
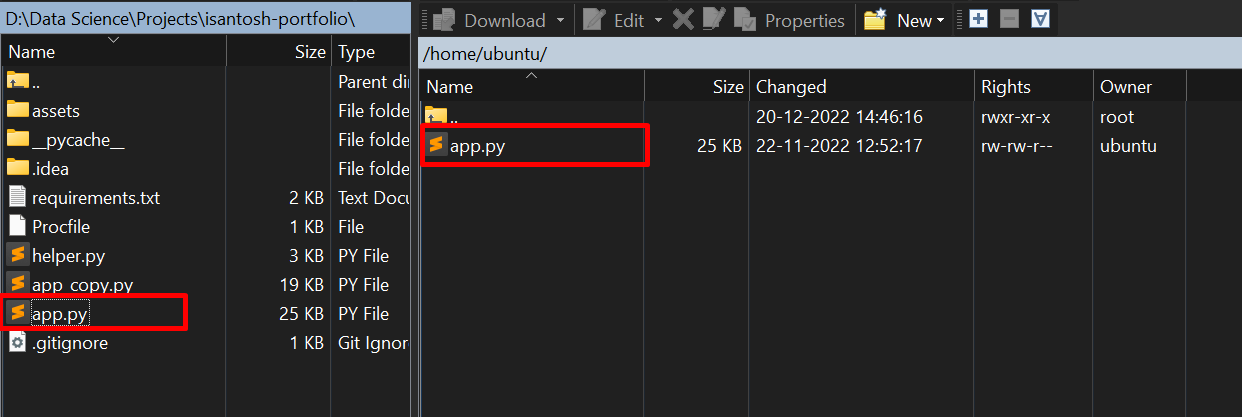
- uploading a python file to EC2, just select the file you want to upload > right click> upload
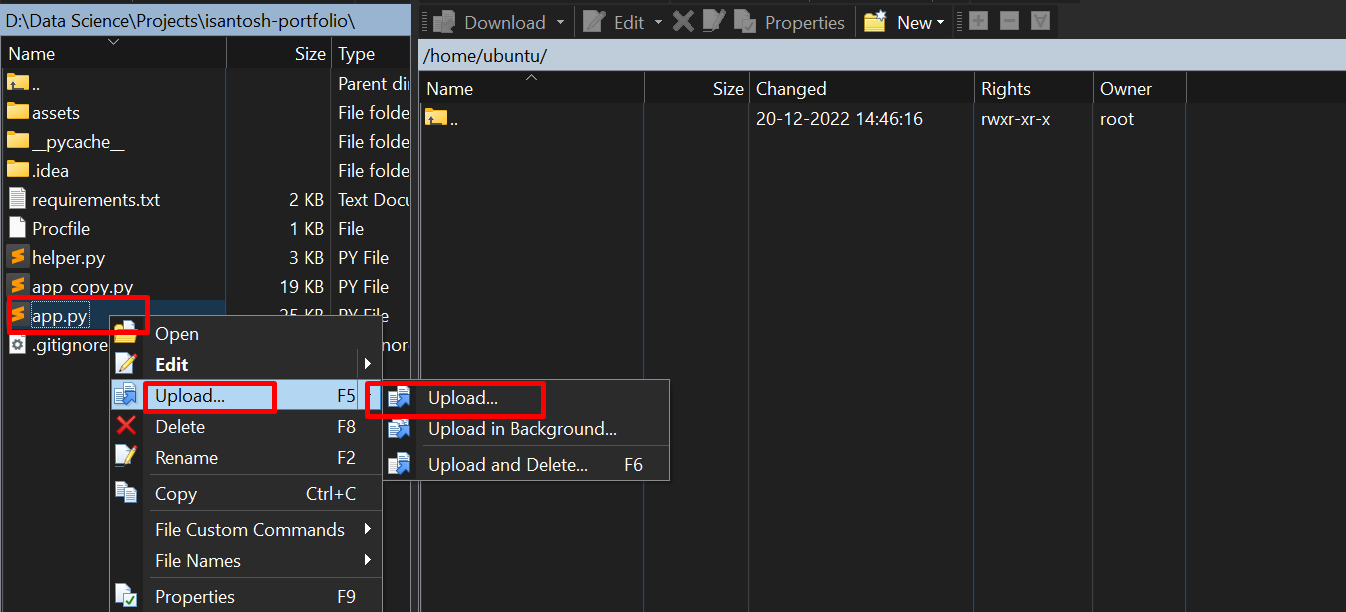
- File uploaded to EC2
- Also we can upload file and folders using drag and drop
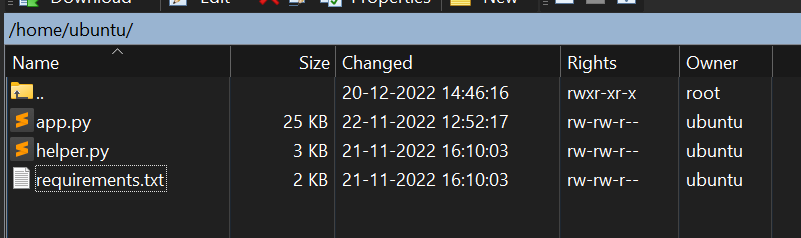
- Check all files uisng terminal
cmd: ls
If we have connected with WinSCP then we donn't need to configure Putty, it's automatically configured
- To launch Putty click on
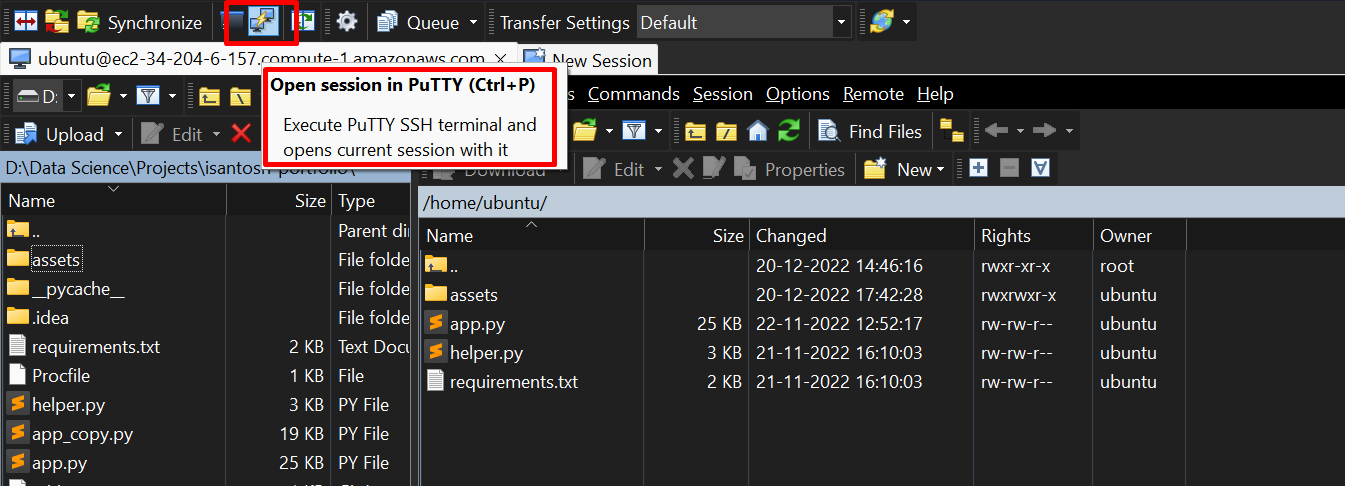
- Connected easly

-
Lets check python comes with ubuntu or not, type
pythonand press enter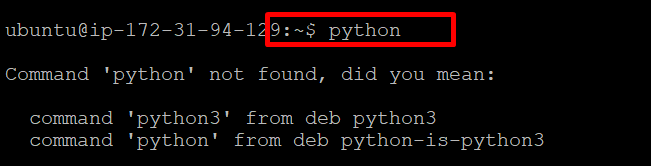
-
Let's check for
python3, so python3 is installed in our ubuntu os
-
we can install python using
sudo apt install python3command if python not installed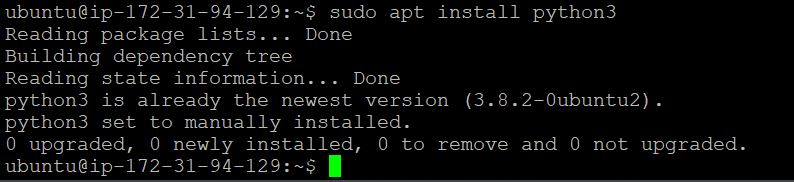
-
update sedu command
sudo apt update -
install pip for installing python packages using command
sudo apt install python3-pip -
installing
numpyusingpip install numpy
-
installing multiple python package using requirements.txt file at once
pip install -r requirements.txt
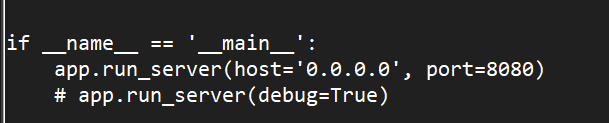
app.py file closing line should look like as below, host=0.0.0.0, and port can be anything in this case port=8080
- this 8080 port our this program will deploy
-
to run the app.py file, run command
python3 app.py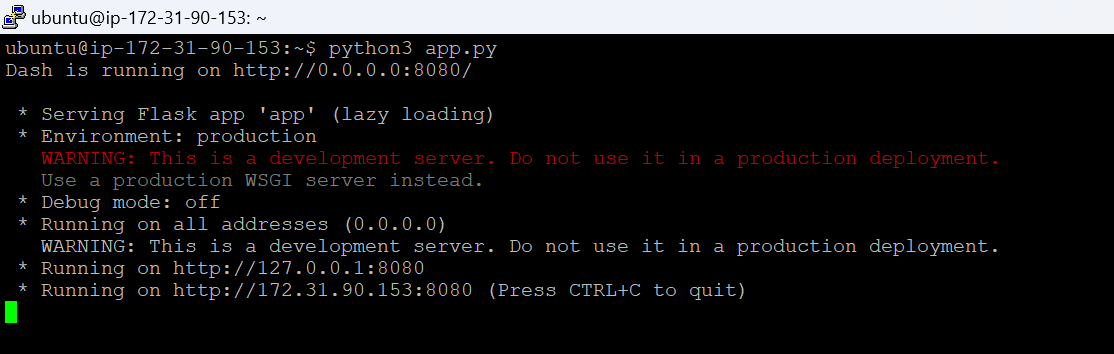
-
As mentioned above app running on this http://172.31.90.153:8080 server, but when you visit this link it will not work
-
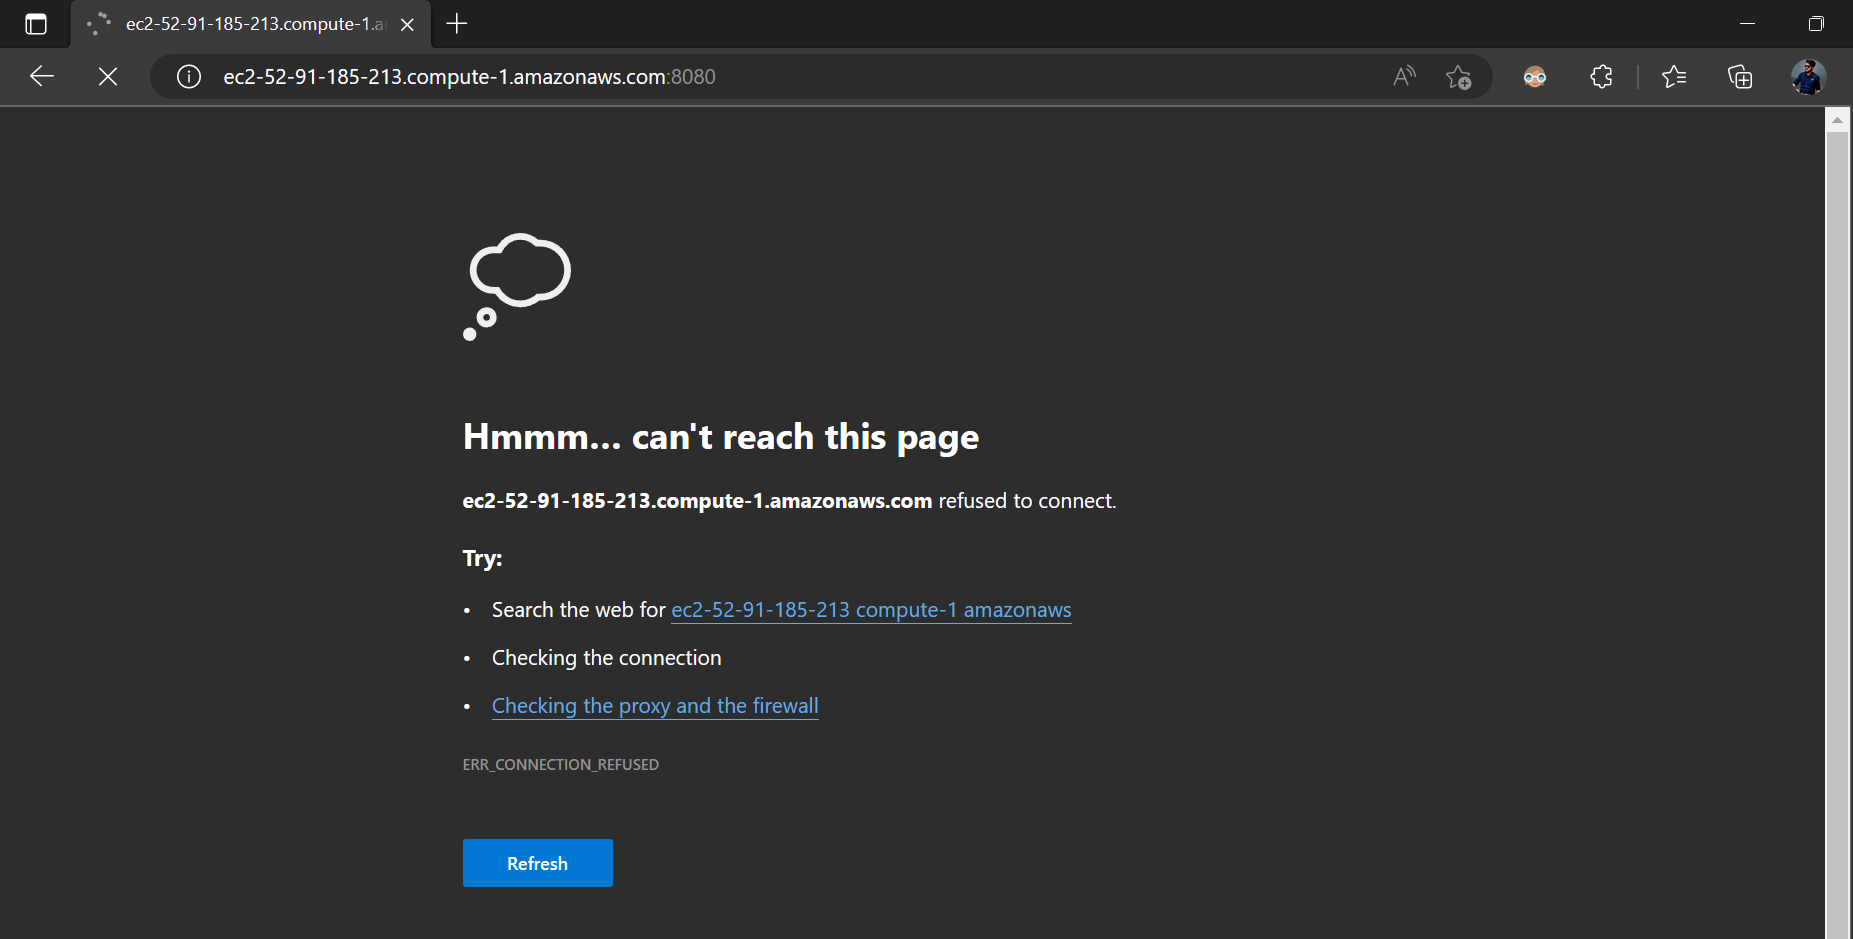
to see the deployment, use private DNS address along with port no:

-
our app is running at
ec2-52-91-185-213.compute-1.amazonaws.com:8080open this link in browser
-
To press
Ctrl+Cin terminal to quite/terminate the app -
Once the app is terminated this link will not work!
-
when you close the terminal then also this app will not work, to keep running the app we need to run the app in specific way
- to do so, first the terminate the code if running then, run this command
nohup python3 app.py &
- even after closing terminal app will visible
-
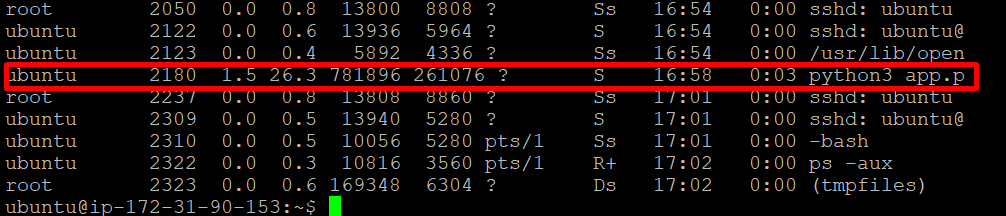
ps -auxcommand will give the all running process list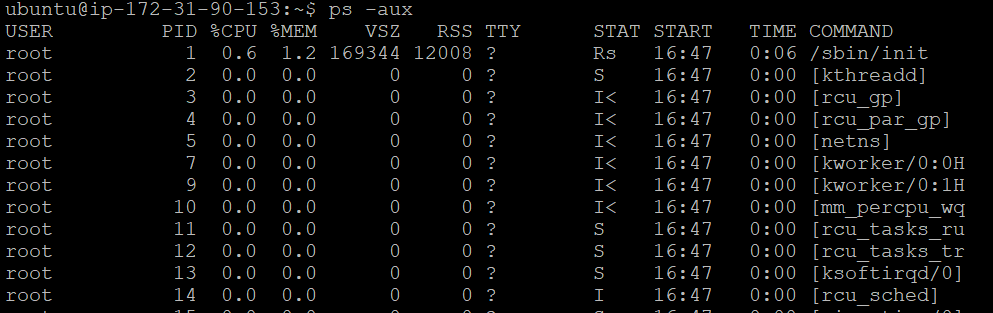
-
python script running
-
Check any specific port running status
sudo lsof -i:8080
-
Kill/stop running process on any port
kill -9 processId, process will get terminated
-
or sudo kill -9
sudo lsof -t -i:9001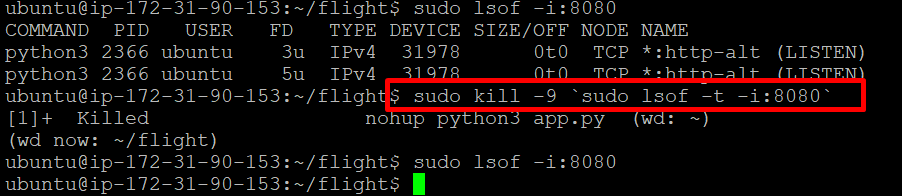
-
check port status after kill, there will no record

- Follow this video: https://www.youtube.com/watch?v=PBKmTRz_2R4&ab_channel=iTExplorer
- Install XRDP in Ubuntu:
sudp apt install xrdp
- Now, Enable XRDP:
sudo systemctl enable xrdp
sudo add-apt-repository ppa:gnome3-team/gnome3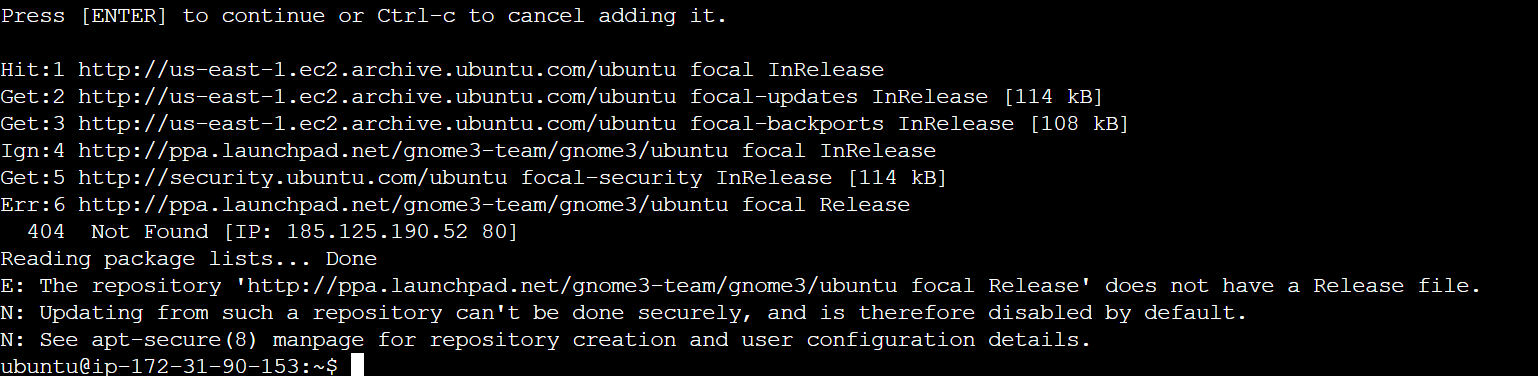
sudo apt-get install gnome-shell ubuntu-gnome-desktopthis step will take 10-15 minutes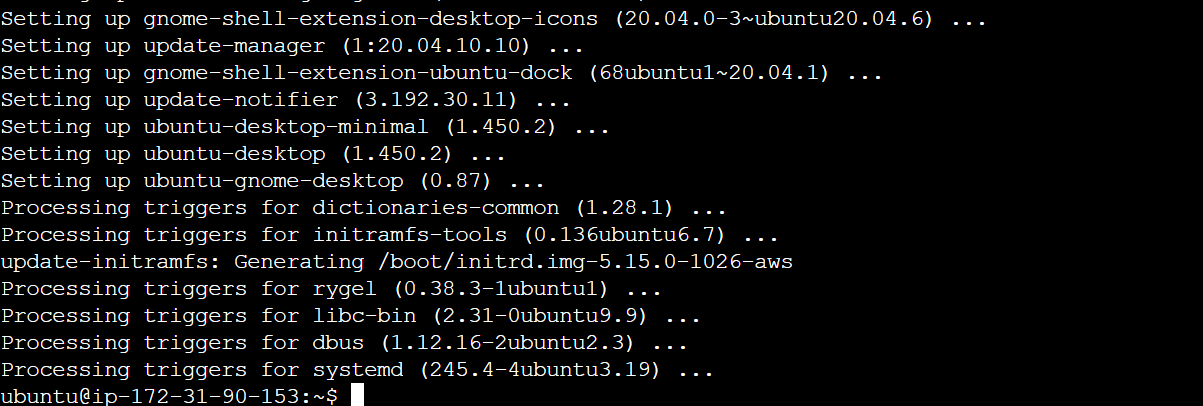
- Setup Ubuntu Password:
sudo passwd ubuntuhere ubuntu is username (type and confirm password)
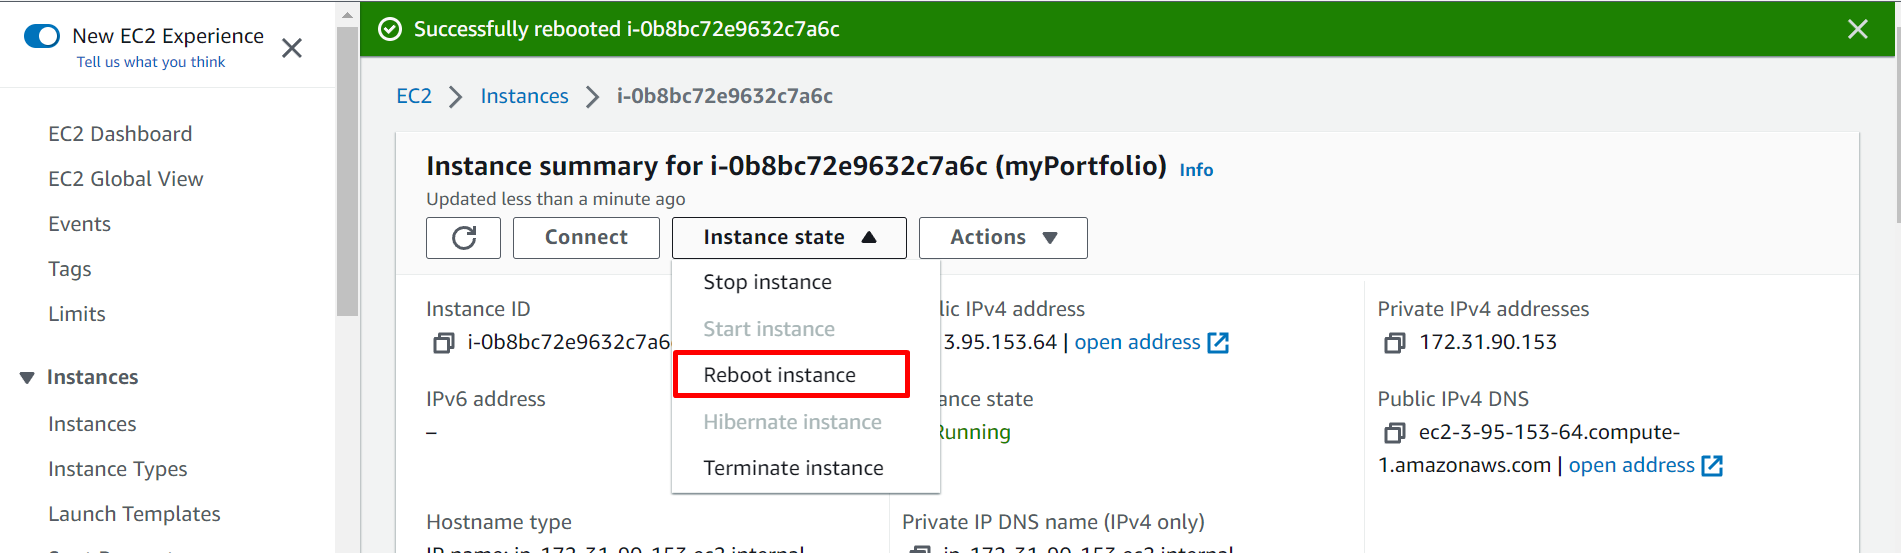
- Reboot or (Stop and Start) before connecting to Remote Desktop the EC2 Ubuntu instance
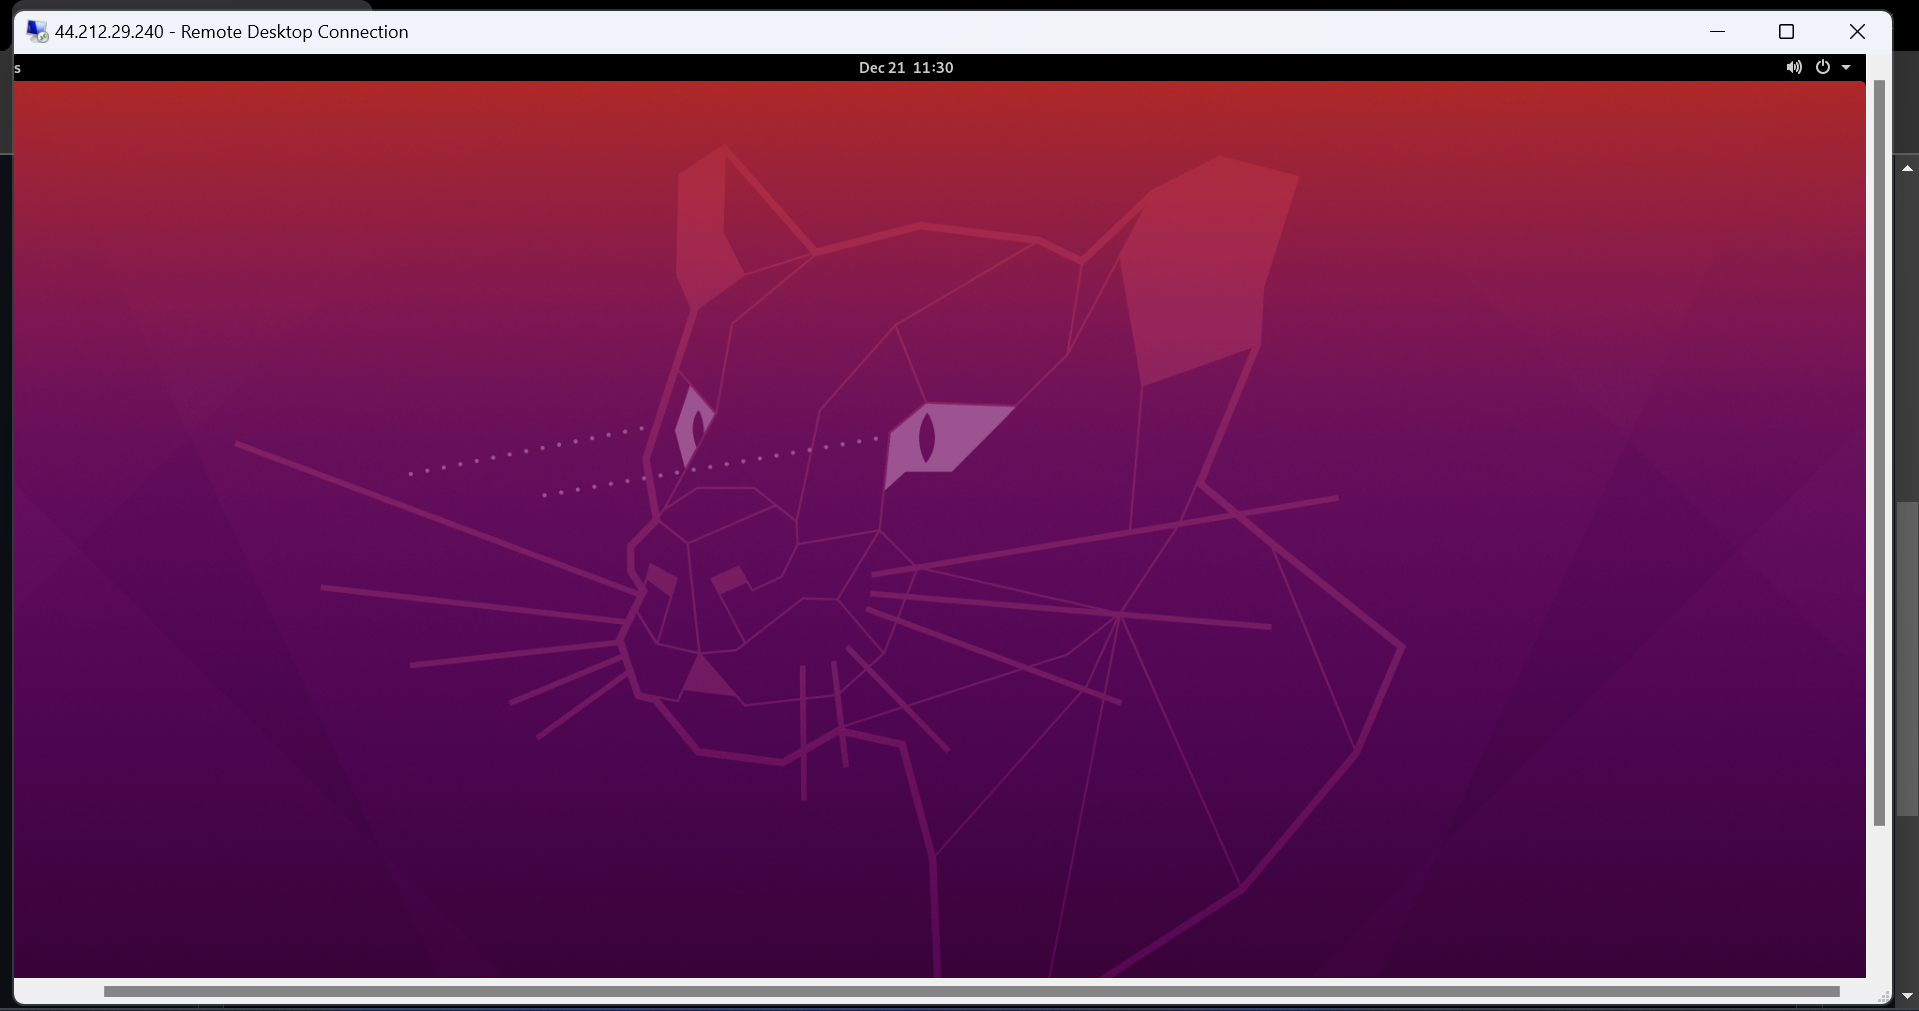
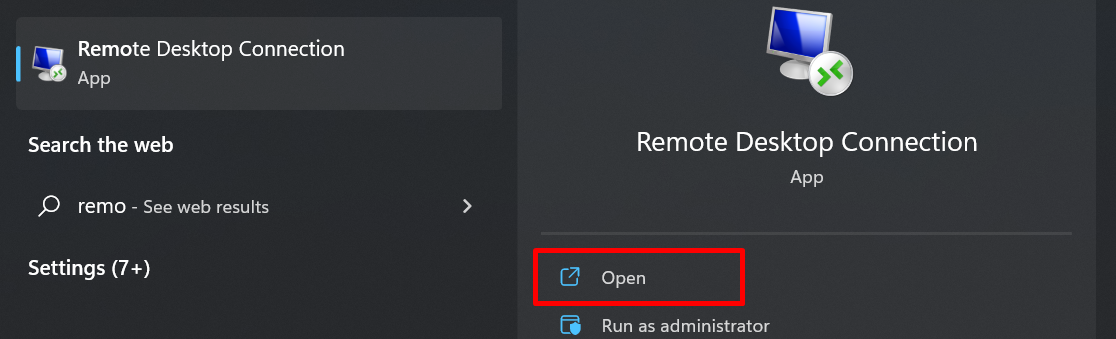
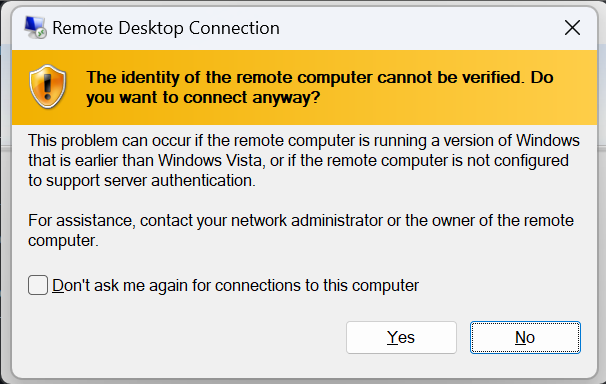
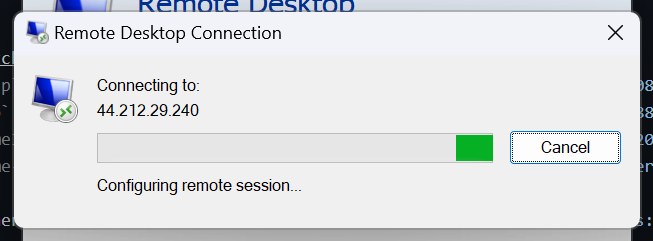
- Now, Open Remote Desktop Connection in windows
- Copy the Enter the Public DNS IPv4
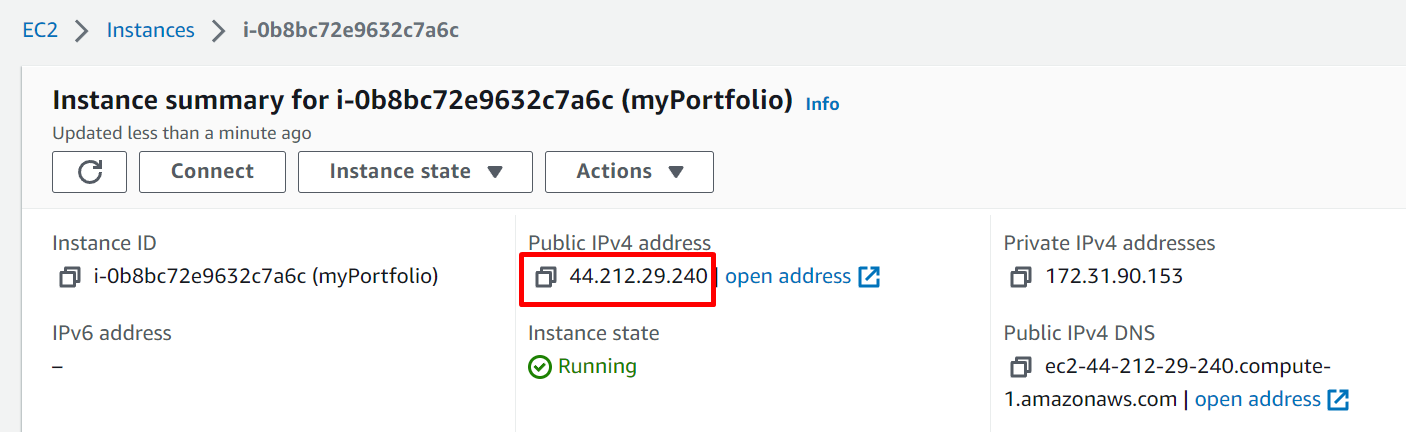

- Confirm Yes
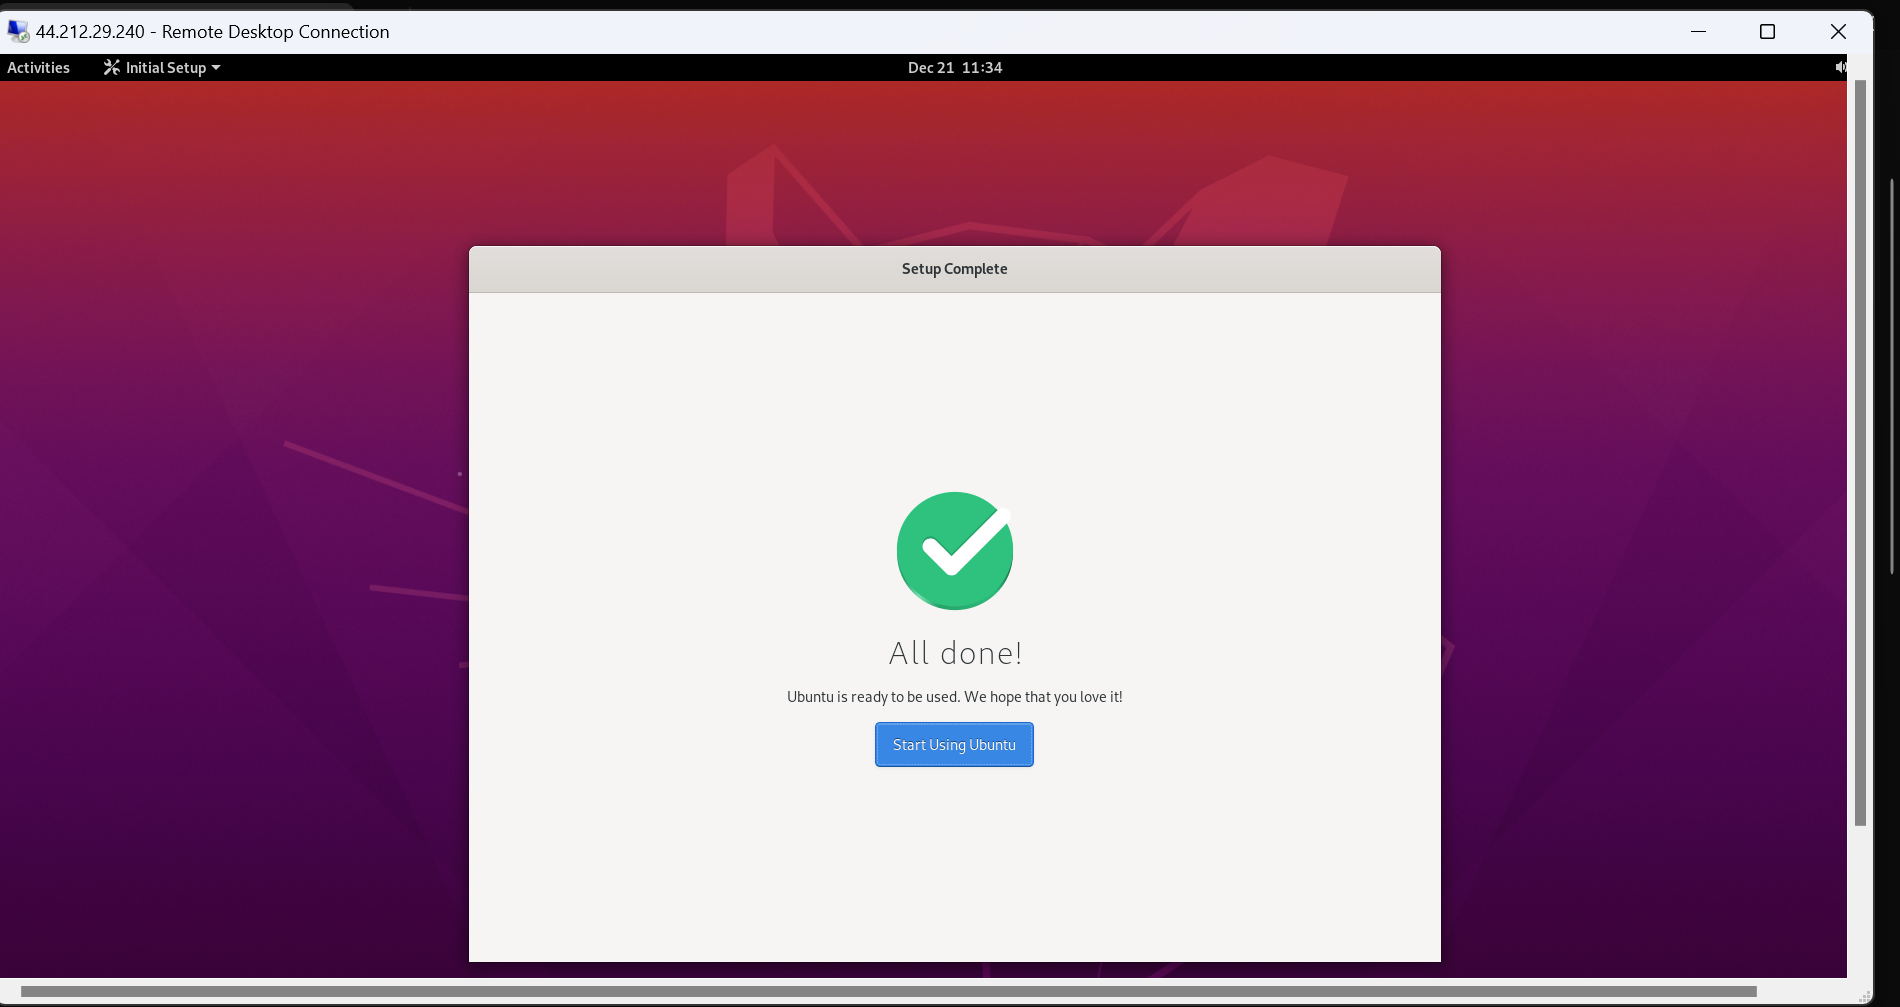
- Enter the Username
ubuntuand password that setup earlier12345and click Ok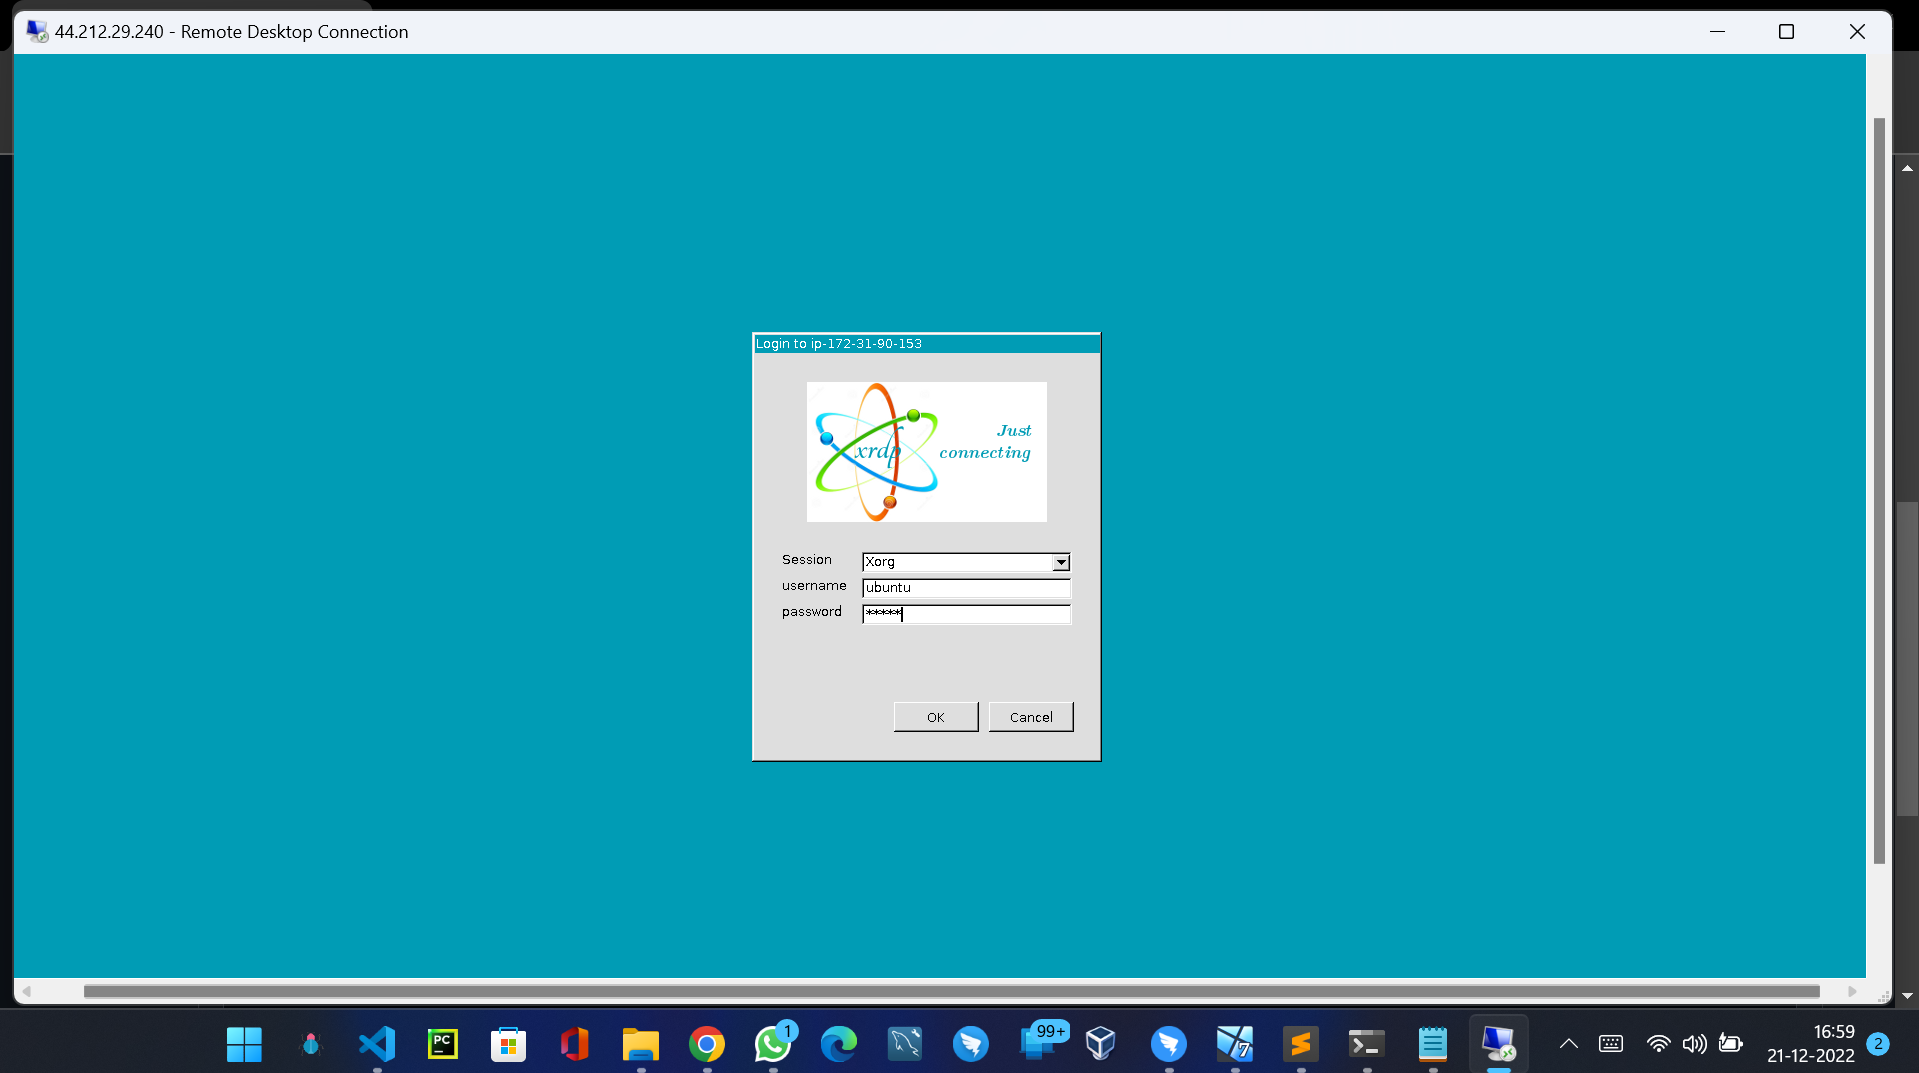
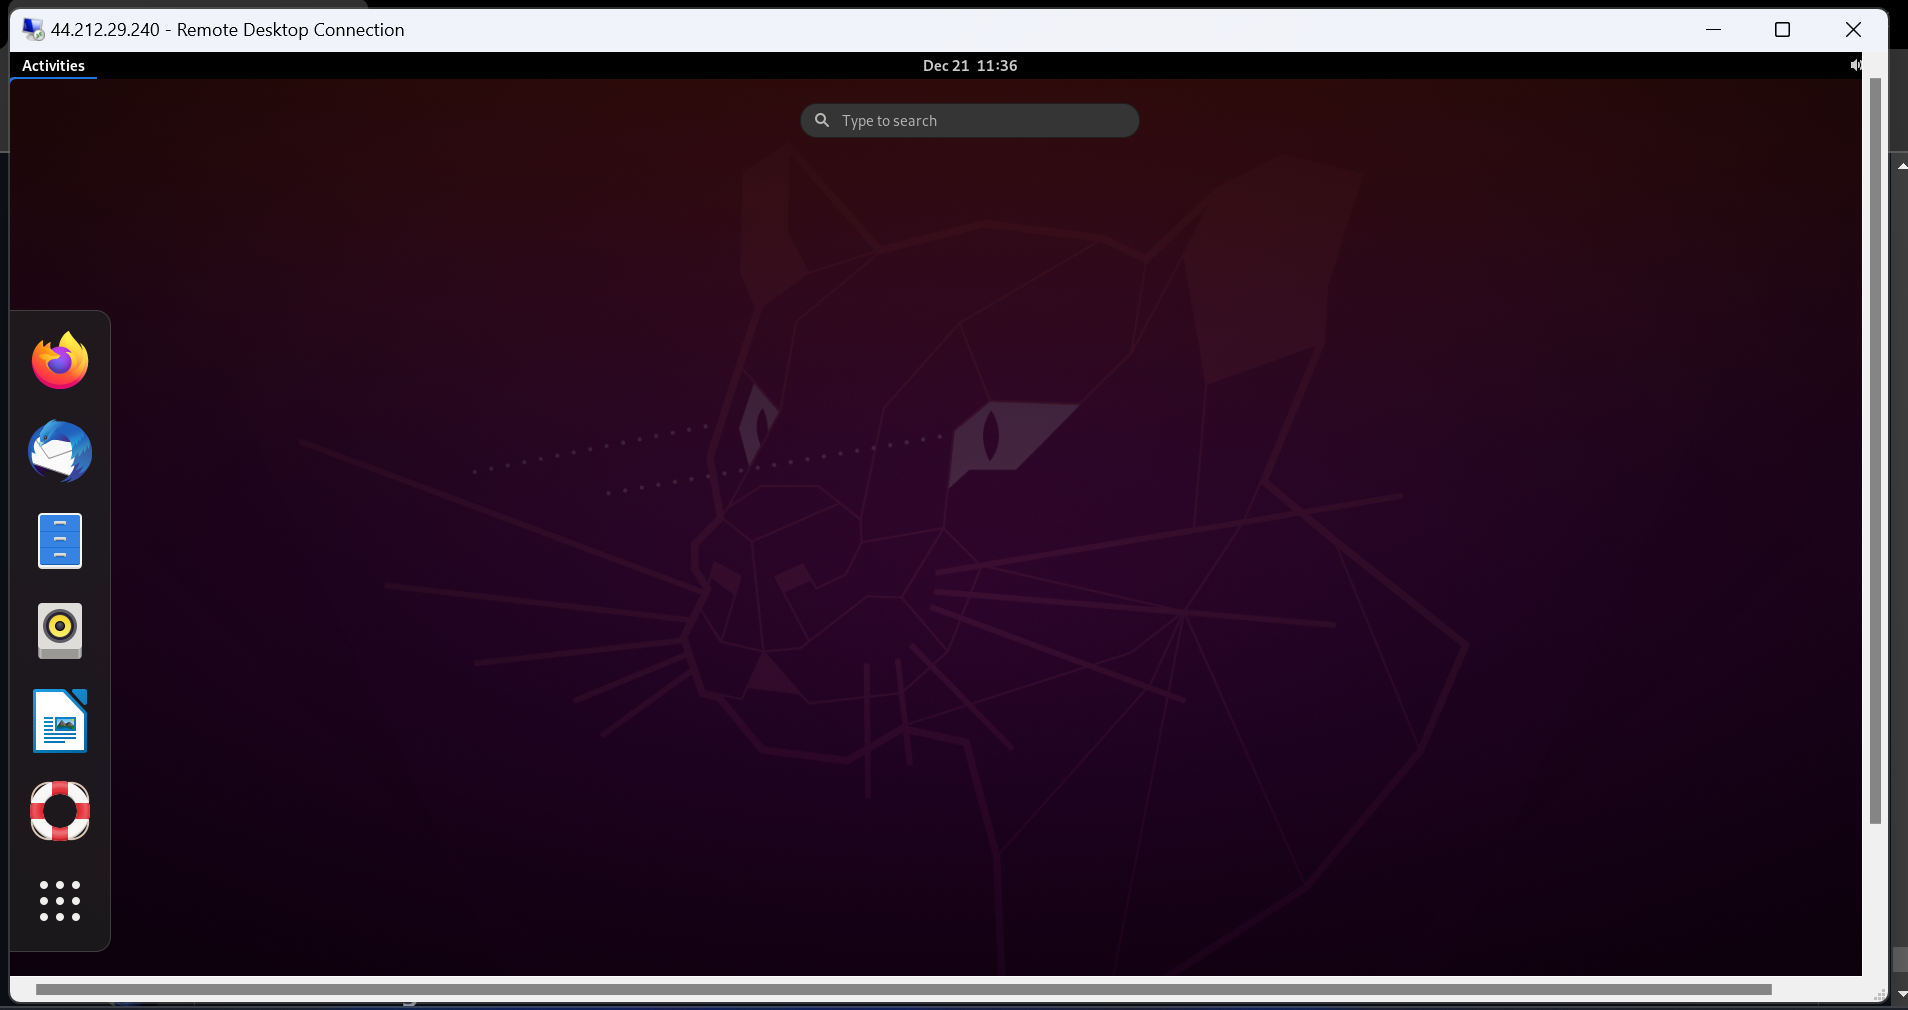
- Bingoooo!!! Connected to our Ubuntu GUI, although it might work very slow or get stuck below we are running this machine at very low configuration